Thursday 31 December 2020

Thursday - My favourite sets from 2020

 Today being the end of the year 2020 my selection is a bit of a mixture. A few months ago, Stampin' Up! bought out a series of images that could be downloaded as many times as we like. These were for the purpose of encouraging people to take care during this horrible virus and to make cards or notes for those we know who are all still working. For example; medical staff, essential shop workers, refuse collectors, postal workers, bus drivers etc. etc. etc. The list of people who have continued to work is endless! For that and for all of them, I am truly thankful. The PDF is called Share Sunshine PDF and the link is HERE

It may be down at the moment for maintenance but please persevere as it really is a brilliant set of images and messages and once you have purchased the pdf you can print it off as many times as you like. 


The second set of images are still one of my all time favourite products. They are the beautiful and shiny, Forever Gold Laser Cut Papers. These 2 images are cards designed by Emma Goddard. Emma is an amazing artist and has been one of the Artisan Design Team with Stampin' Up! for the last few years. The design team changes every year to let others show their style but Emma has been on the design team for a few more years than usual. Emma is also in our team of Stampin' Stars too so we are lucky enough to actual know her. Please look for her projects as they are truly amazing.
Now, many people know my hatred for the colour of Crumb Cake. It's the light earthy colour of beige that I just cannot stand! However, the cards that Emma designed are absolutely beautiful, so much so that I made 3 cards using the Crumb Cake card and I showed them to others! I have also sent one of them out as I was so impressed with it. That's a first for me! As Emma showed us, I used the beautiful die cut images in the gold foil. 
Sadly my pictures don't show the actual beauty of them but please trust me they are really gorgeous.


See you all next year. Take care, stay safe and keep on crafting please. 

😍😍 Gill  xxx😍😍


Wednesday 30 December 2020

Wednesday - my favourite sets for 2020

 Today's cards are some more of my favourite stamps for this last year. Today is the chance of the Celebrate Sunflowers stamps and the Sunflower dies. They are so lovely and the words equally as great as the images. I'm sorry that I don't have many samples to show you but the rest have been sent out! This set is so lovely, it can be made in lots of different colours from the obvious yellows to reds, blues, oranges etc. etc. The images look amazing in whatever colour you choose to make them up in. That's got to be a great thing hasn't it?

Here are a few of what I have left. Some of these will be sent out this week as thank you cards after Christmas and birthday cards in January.


Tuesday 29 December 2020

Tips, Tricks and Techniques Tuesday, my favourite things

 This week I will be showing you some of the projects that I made for some of our classes from this year as well as my favourite stamp sets. On that note and following on from yesterday, another of the classes that we managed to hold during this very strange year was our men's class. We used the By The Dock stamp set, another of my favourites particularly for the male members in our life. I love the versatility of the stamp set because although I said it makes lovely male cards, there are lots of different people that I have sent cards to using the set. These first 2 cards I have used the Stamparatus to line the oars up equally and wow does it work!!


Above is the front of the card and below is the inside


Monday 28 December 2020

Make It Monday - My favourites and memories of this last year's crafting

 Hello and welcome back and a very big thank you to Cary for covering for me last week. This week I have decided that I would like to talk about some of the events we have held in person (just before Covid 19 hit) and beyond. We have had an extremely busy year this year and although it meant a lot of posting out kits, it was so very good to carry on crafting. Not only did it keep us all making cards and projects, it motivated everyone we knew to keep going and stay positive during this horrible and very sad time. We held our last big event was in March, a week before the 1st lockdown. We held 1 more evening class after that and then we were all kept inside for our own safety. 

The most sad part for us was that we lost Diane, a most beloved friend from our crafting family. I know only too well that she will be laughing at us all having to stay home and keep safe but nonetheless we will always miss her cheerful smile and funny phrases that she kept us all going with.

The big event of our year is our annual retreat. We hold this a few hours away from home and have to take everything we need and ourselves down in 2 car trips! Cary has a large people carrier too, so that shows how much we have to take with us! One of the stamp sets this year was one of my favourites, Peaceful Poppies which has the lovely poppy dies to go with them too. Here are some of the projects that I have made this year with them. 


Tuesday 22 December 2020

Tips Tricks and Techniques Tuesday Simply Succulents

 Hi today's tip is why make 1 card when you can do 2?? Well with the technique I've used on today's Simply Succulents project I can do just that!!

I  have used the largest die from the coordinating Simply Succulents die set to create a vellum mask. Now a tip here is to make sure you leave a boarder around the die so that you can trim it down neatly after.

I then secured my white card mat to my work area. I used sticky note tape and covered the edges to create a narrow boarder. I then used more low tack tape to position the vellum die cut piece on top.


simply succulents Cardmaking tips vellum masking blending Stampin up


The next step is to apply colour. I have used blending brushes and ink pads in 2 colours, coral and navy. Working gently I brushed the colour over the vellum mask. Tip for blending always start off the edge of your project so that there are no harsh edges.


Now for the great reveal, the best bit 😉, but my tip here is to only remove 3 sides of the vellum mask thereby creating a hing with the 4th side of tape. The reason I do this is so that if I have missed a bit or want to go back in and add more colour I can do so with out miss alignment occurring.


Once your happy with your piece remove the tape securing the cardstock. Carefully place your vellum mask to one side to dry.

Now go create your card with the blended background.  I have kept it simple as I want the background to shine.


Now for the bonus card. Take the vellum mask and trim the edges to fit your project. I decided to create a window in my card front so that I could use the vellum to create a delicate looking card.


So that is how I got 2 for the price of 1 !!!!


Friday 18 December 2020

Fun fold Friday simply succulents

 Today I'm cheating!! My card isn't a fun fold at all!! Rather it's a techniquey one 😉 Now I know that's a new word but for me it's a crafting term 🙈 

I have used the Simply Succulents stamps and the masking technique to create a scene. Masking is when you stamp the image that you want to be at the front of your finished piece. Then you create a mask by stamping the image onto a sticky note and cut it out very close the the edge. Place the cut out over the stamped image . Now stamp the images that you want to be behind the covered image and the mask will protect it. 

Once I was happy with my scene I set about colouring it in. I used alcohol markers from stampin up called Stampin' Blends. These pens come in so many colours it makes colouring a doddle.

Once I was happy with the results I decided to cut it up !! Now I know that sounds a bit drastic but I had a plan promise 😉

I didn't just cut it up with scissors I used some lovely stitched layered triangle dies. And then matched them back up together but slightly apart. I think it gives a broken china effect. 

What do you think? Was it worth the effort? I'm rather happy with it 😊

Have a good weekend and see you next week.

Have fun 

Cary xx 


Wednesday 16 December 2020

Watercolour Wednesday Simply Succulents

 Wow the dies that go with the Simply Succulents stamp set are definitely one to have even just for the one die that I've used for today's card. There are actually 13 dies in the set. Some cut out the stamped images,  some are lables and some cut leaves and such but the one that is a wow for me is the intricate  die. Measuring 13.7cm x 10.2cm it is perfect for A6 cards and upwards.


I cut the die from black card and laid it over a piece of shimmery white cardstock that I had watercolour washed over. 

The effect it gives reminds me of stain glass windows. What you can't see in the pictures is the beautiful subtle shimmer the piece has sadly 😕 

A simple black card base, a white sentiment strip stamped in black and 3 rhinestones that I coloured black with an permanent marker and the card was done!. 

The watercolour background really does highlight the die cut beautifully.


Monday 14 December 2020

Make it simple Monday Simply Succulents

 Wow the excitement is really rising... It's nearly here 😀. ..  What am I talking about? Christmas?  No!! .. The great excitement is for the new January to June Catalogue from Stampin' Up! Wahooo new fun products to inspire my creativity 😃 It was really difficult but I have finally after much deliberation decided to give you a sneek peek of just one of the fabulous stamp sets!! Called Simply Succulents it's a great mix of images and sentiments.

simply succulents simple stamping easy card colouring in

 It also has a coordinating set of dies which just make it even better and give you sooooo many options!!!


This stamp set is great for all styles of cards and many different techniques. For today's #simplestamping card it is perfect. As you can see it is also a wonderful set of images for colouring in.  I have used alcohol markers but it would work brilliantly with watercolour,  pencils or any type of pens.

I kept it simple and love the elegant effect I achived. 


Friday 11 December 2020

Fun Fold Friday - Ornate Garden Suite

 It's that time of the week that I hope to show you a brilliant card fold idea.  The basic shape today is a Gate Fold style of card which I'm sure that many of you already know. Mine has a twist. I have added 3 panels to the front. Sounds simple enough? Well, yes it is. I do love a card that looks difficult but in fact it isn't. Here is the card..... and yes, it even fits in a standard C6 envelope too. Here you can see the card is closed making it look like a stard shaped card

 
Below, here it is partially open. The panels are actually fixed apart. 1 on the centre left and 2 on the right, top and bottom. As I placed an oval across the centre of the card, the panels on the right slide into each other creating a closure.
 

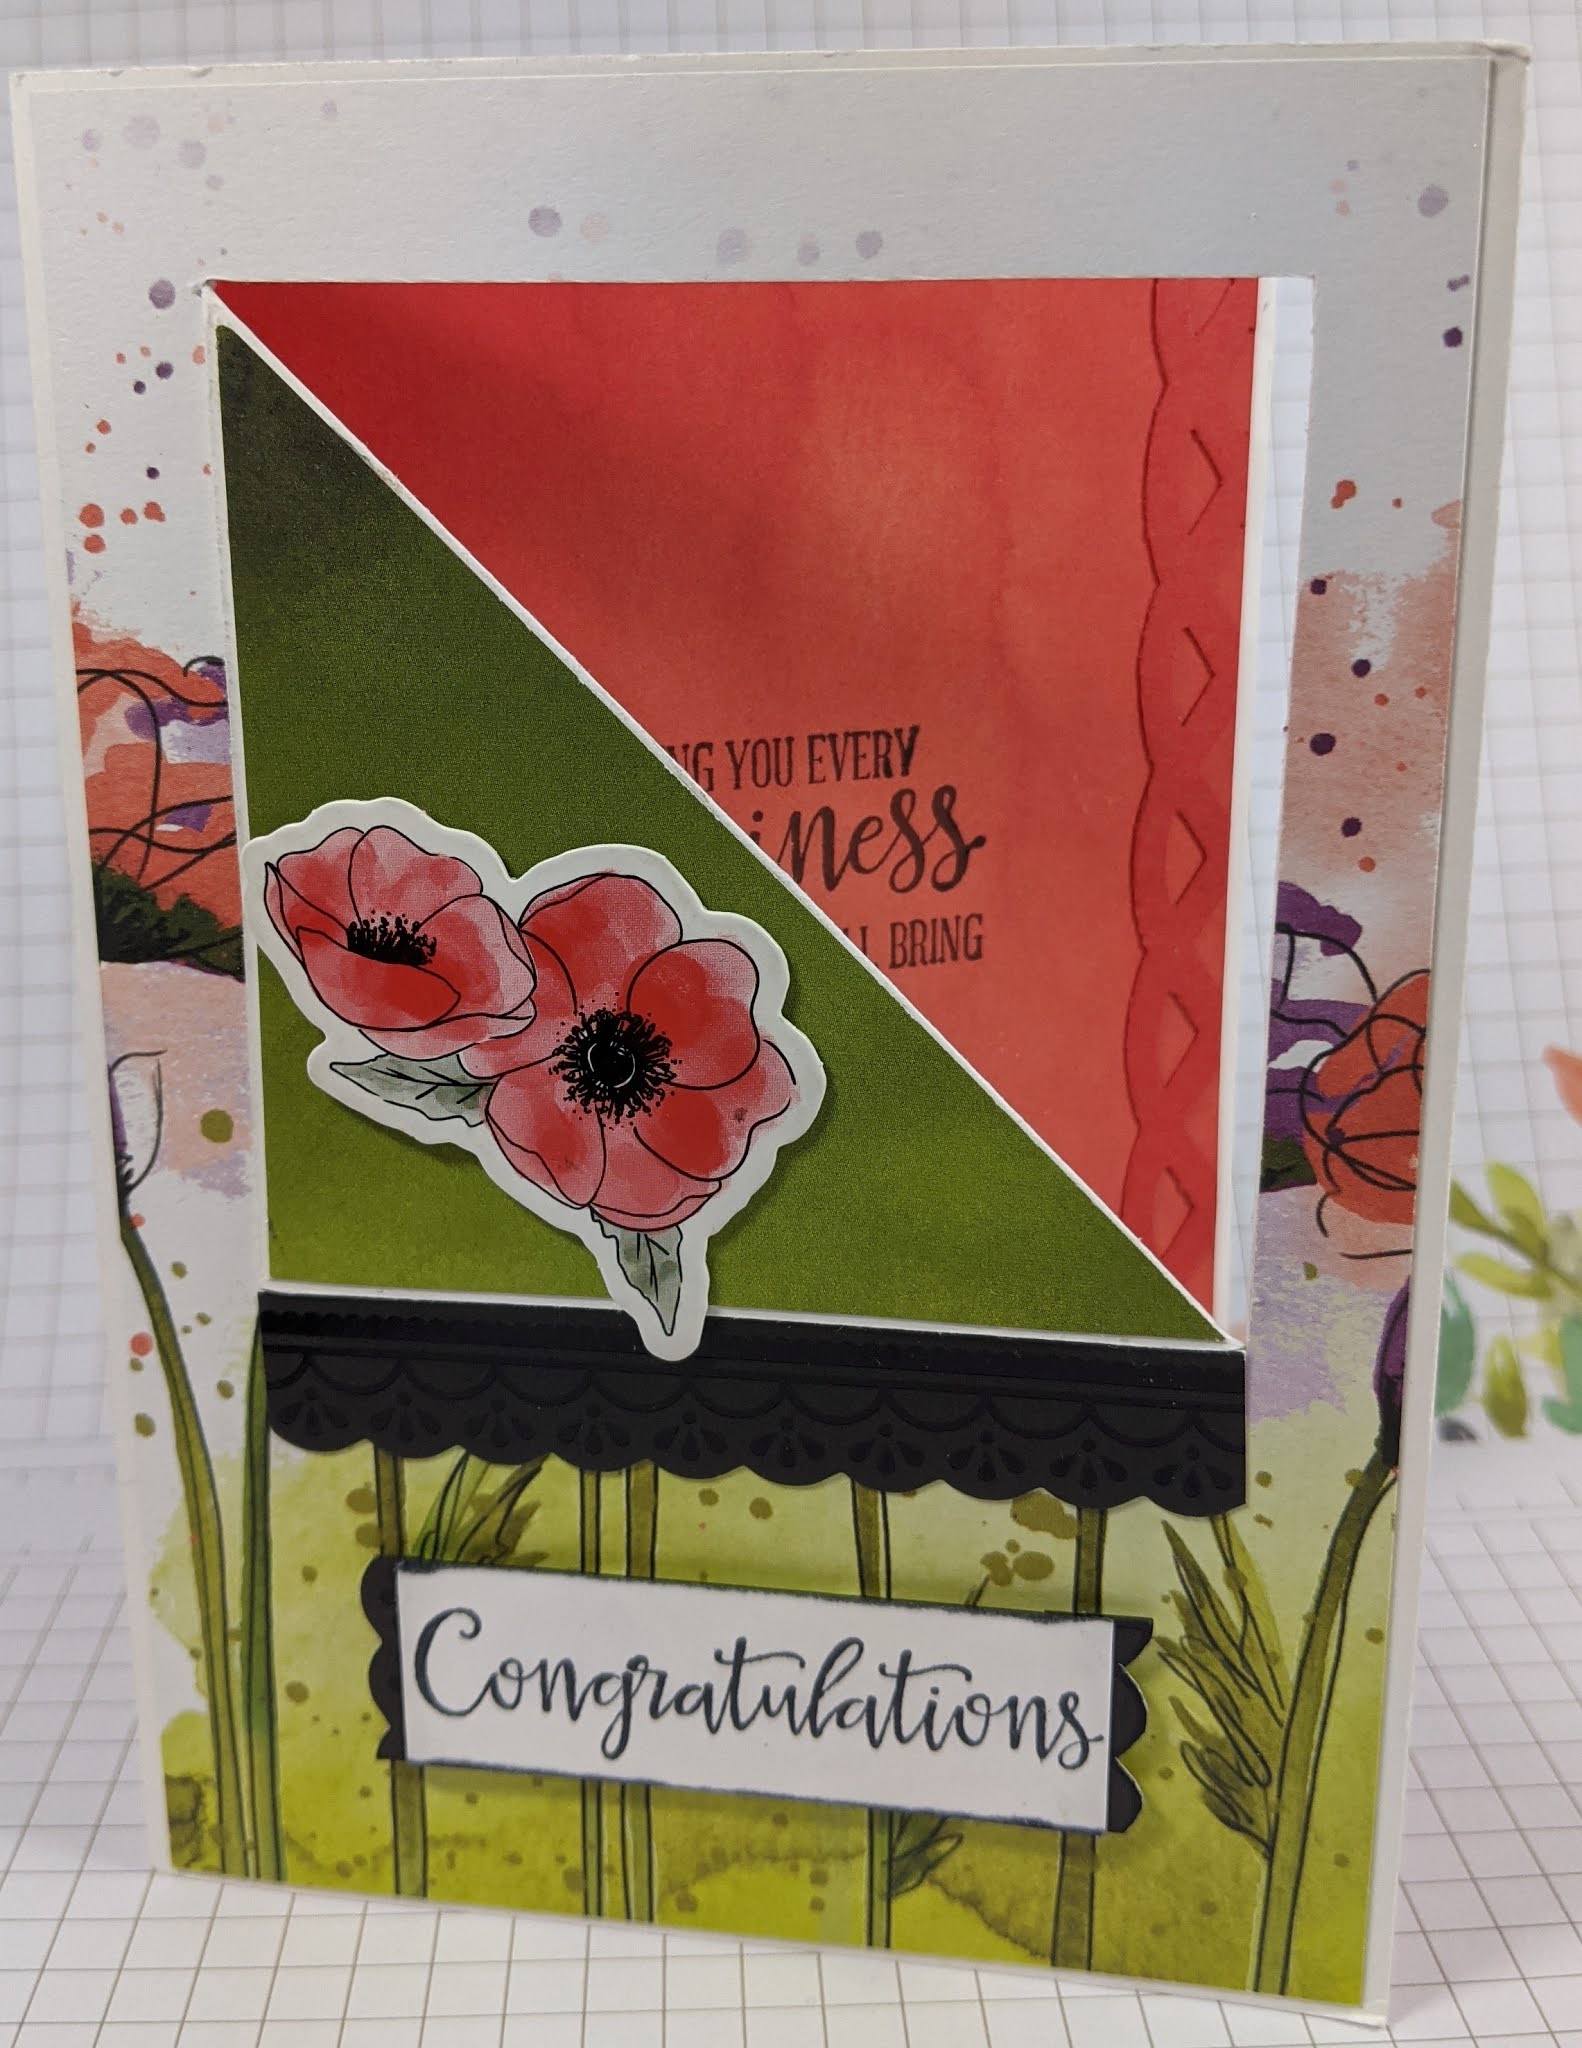
I used Whisper White Thick Card for the card base, Bumblebee card for the yellow mats and pieces of double sided paper to decorate my card. I added an oval of Gold foiled paper between the Bumblebee and the White ovals. The flower, I fussy cut from one of the pieces of double sided papers from the Ornate Garden Suite. Yes, many of them have gold images on as well as Bumblebee, Old Olive,Early Espresso, Mint Macaron, Terracotta Tile and Whisper White. So there's lots of colours to choose from.


Here it is as an aerial view. You can see where the card folds open and back then on top of the front panels you can see where I placed the 3 rectangular panels.

 
Below is the whole card opened so you can see exactly the placement of my panels on the card.

 
Here is the layout of the card. I cut a piece of A4 card along the full length  which in the UK is 29.7cm by 14.85cm or Imperial measurements are 11, 3/4" by 5, 7/8" You will then score as I have written below. 4.85cm and 9.9cm from each end. The first of the 2 measurements needs to be a light score as when you fold the card at 9.9cm you can then fold the end of the card into that fold. Thereby getting the exact placement of the 2 end panels. Make sure that the score lines are then all crisply folded.  


The panels measurements are .... 3 pieces of White 4.85cm by 9.9cm. These can be cut from the piece you cut off from making the card base. If you lay the 3 White pieces on top of the card, they should completely cover the front exactly, that way you should find that they all fit the whole of the front of the card properly.
3 pieces of alternative card 4.6cm by 9.5cm and 3 pieces of patterned paper are 4.2cm by 9.2cm. 
The inside centre mat is 14.4 by 9.5cm. 
I added 3 squares of Bumblebee which were 4.8cm by 4.8cm. Not essential but I think it helps to finish the card off. Personal choice of course.

 
Here are the 2 stamp sets and below the 2 sets of dies. It isn't essential to buy the suite which by the way contains even more than is here. 
Look below at the end and you can see exactly how much you will get for your money.  
 
   
With regards to the complete suite, it includes the following... Ornate Thanks Bundle (stamp set and Dies), Ornate Style Bundle (stamp set and Dies again), Ornate Floral embossing folder, Ornate Garden Ribbon combo of 2 reels of ribbon, a pack of the Ornate Garden Speciality Designer Series Paper and last but not least, a pack of Gilded Gems. 
If you bought the items individually it will cost more than the suite price of £127.75 . Buying the suite saves you 10% on each of the 2 stamp set and die bundles. 
 
 
That's it from me this week. I hope I haven't bored you too much and please stop by next week to see the creations that Cary will be showing you. 
 
Until I return, stay safe, keep well and have a fantastic Christmas, Happy Holidays 
and Happy Hanukah to those of you who celebrate this time of year. 
 
Most importantly, keep yourselves safe and well please. 
Thank you again, Gill 
😍😍 xxxxx 😍😍