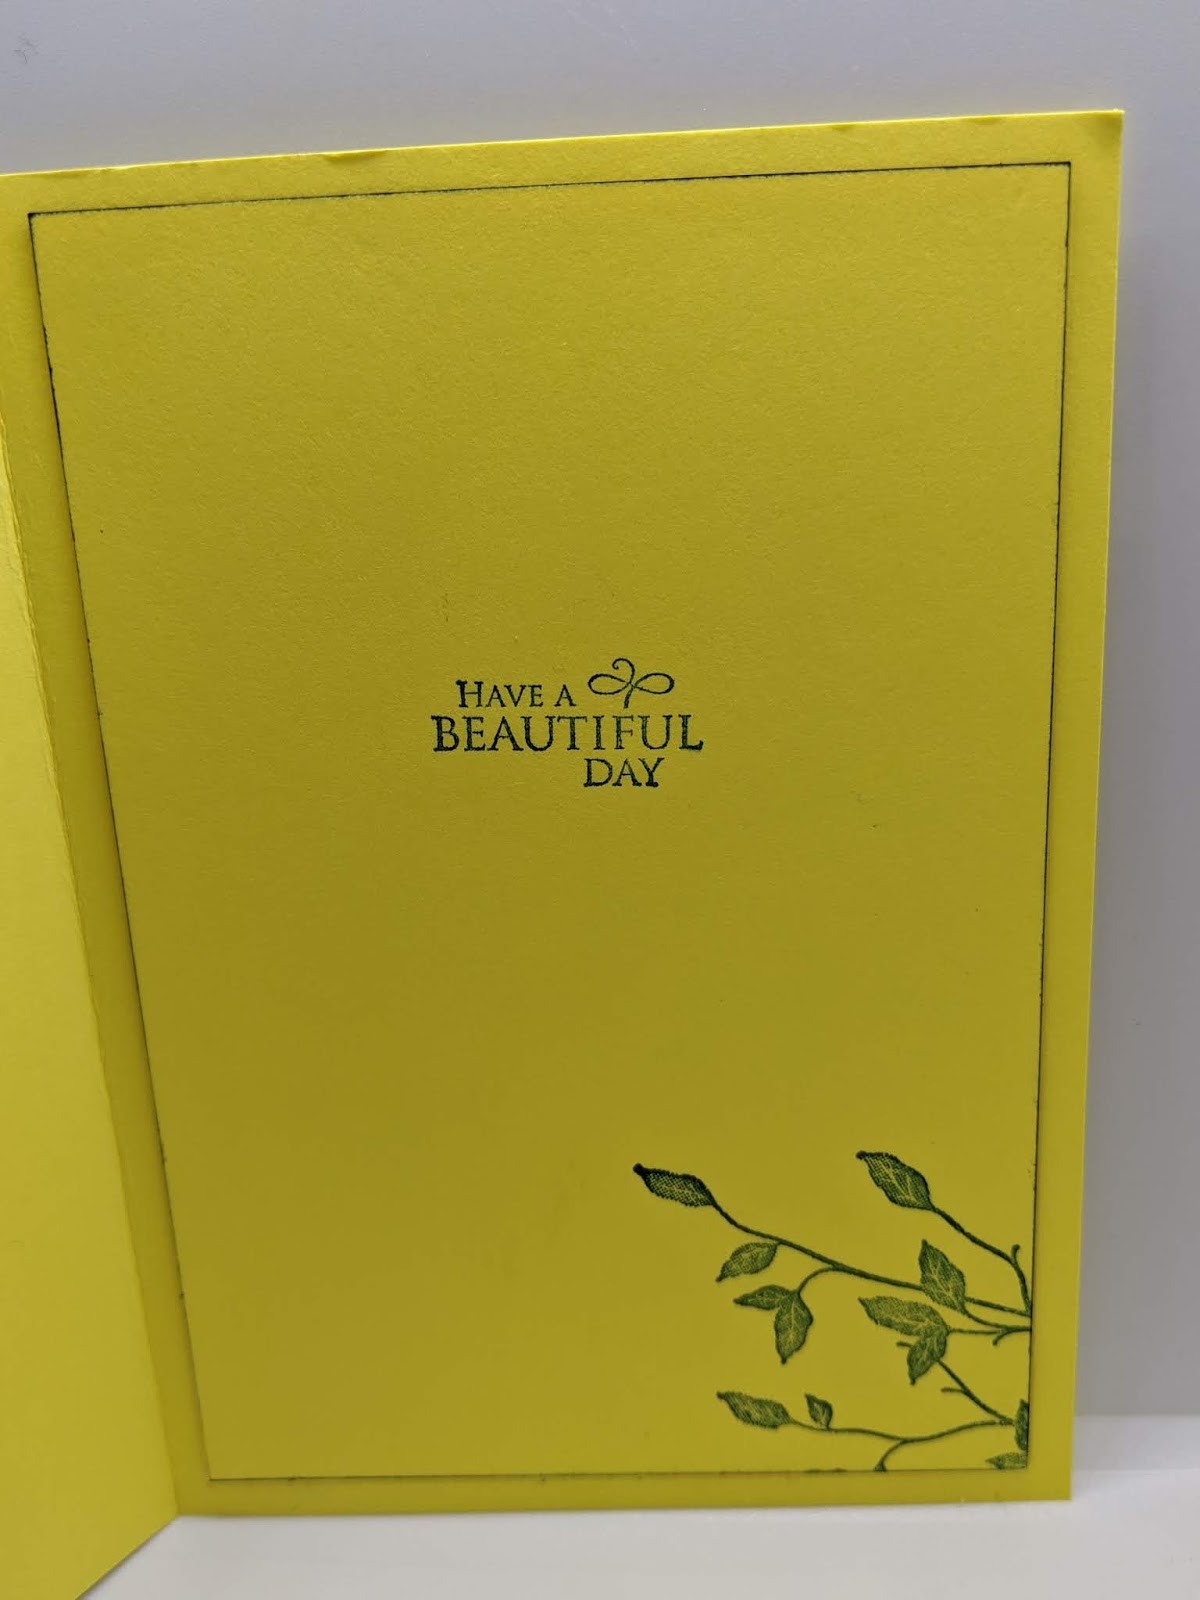
This time of year is one of my favourites. I love the light nights and warmer weather we have here in the UK. I also love watching the season's change into full on colour as things begin to blossom and grow.
Another thing that changes at this time of year in the Stampin Up world is the In-Color selection of colours. These colours are complementary to the core colour families. They are bang on trend and 5 new colours are released every year. But with 5 new colours coming it means that 5 have to leave to make room!
This year's new In-Color's are gorgeous!!! But not available till June 3rd and I will give you a sneak peek of those later in the week 😉 . But for this week I'll be showcasing the colours that we have to say a fond farewell too.
The colours are called...Call me Clover, Blueberry Bushel, Grapefruit Grove, Lovely Lipstick and Pineapple Punch.
These colours will retire on June 22nd and not be available at all so if you're interested go take a look at the retiring list on our shop before they are all gone!!!
Now these have been some of my favourite In-Color's especially Grapefruit Grove and Pineapple Punch.
But the question is what is your favourite of these five?
Monday, 18 May 2020
Friday, 15 May 2020
Fun Fold Friday
Have you ever wanted to make a card for that someone special and you wanted something different? Well, hopefully, this could be it.
I took a sheet of A4 card and cut it long ways or portrait style, at 14.85cm or 5,7/8"
Then scored it at 10.5cm, 14.5, 18.5, 21.5, 24.5, 26.5 and 28.5cm. That leaves less than 2 cm to join another mat 10.5cm by 14.85cm to form the front of the card.
I reinforced all of the folds with a bone folder to crispen them and joined the 4cm pieces together, as well as the 3cm and 2cm pieces. They stand out nicely now and when the front is joined too
it forms a lovely effect when it's open.
I did a card similar to this many years ago but no longer have pictures of it let alone the card.
Once all folded together, I decorated with the gorgeous Flowering Foil Papers from Saleabration which ended at the end of March.
I saved the best to colour one of the larger flowers and fussy cut it for the front.
For the messages, I used the lovely stamp set called To A Wild Rose which I'm pleased to say is staying in the new catalogue.
More information HERE
You can see here from above when the 3 folded sections are together .
When the folds are all together, it creates an effect of a book spine. I added a piece of 1" wide Flax Ribbon to mine to cover it.
You may want to show it or even not glue the folds together then creating a very long card.
As we say in all of our classes, It's your card, do what you want with it.
The cards that we make are samples and we love to see what everyone else will create.
Especially if they put a different effect to it.
When the folds are all together, it creates an effect of a book spine. I added a piece of 1" wide Flax Ribbon to mine to cover it.
You may want to show it or even not glue the folds together then creating a very long card.
As we say in all of our classes, It's your card, do what you want with it.
The cards that we make are samples and we love to see what everyone else will create.
Especially if they put a different effect to it.
On the left, you can see the effect of the 3 folds which can be decorated in different papers
like I have and add different embellishments to decorate it.
Well, that's it from me this week. Cary will be back to show you her creations and hopefully
inspire you to be crafty.
Thank you for joining me this week.
Please take care, stay safe and keep well xxx :)
Gill
Thursday, 14 May 2020
Throw Back Thursday
Today I should be showing you a project made using older projects or style.
I know, I'm a rebel!
I decided that I would use this lovely stamp set Under My Umbrella.
When I started making this, I thought that the set was retiring. I was wrong thank fully.
More information HERE
Fortunately, it is carrying over into the new catalogue. It also comes as a Bundle with a punch which is where I stamped the message onto. Perfect I love it! It really is a brilliant set.
One of our team members Elizabeth Bennett, made a lovely card this week using the umbrellas and she has inspired me to do this one. So thank you Lizzie.
I used one of the gorgeous Silver Foiled cards and envelopes which are sadly retiring at the end of the month. I love the effect the silver edge gives.
I stamped the images all in Memento black and coloured in using Blends.
You can of course colour them using any medium you have. It really is great fun colouring.
Here is Lizzie's card that inspired me.
Isn't that great? I love what she's done.
Wednesday, 13 May 2020
Watercolour Wednesday
Hello, I thought that this was going to be a big challenge for me today but it turned out so
not to be so. I chose a stamp set with a large image on Ornate Style. This is one of the new stamp sets in the NEW annual catalogue which is out on 3rd June. I stamped and heat embossed the spray with White embossing powder.
I coloured in the flowers and leaves using Watercolour pencils sets. Originally, I stamped the image onto a Highland Heather card mat and aimed initially to leave it as it was. However....
I didn't! I watercoloured it at first then decided that it needed fussy cutting out and putting onto a Whisper White card base. I washed some watered down ink on a clear block and brushed it across the middle of the mat. I added Dimensionals to the back of the flower spray and placed them together onto a Highland Heather card base.
I completed the card using messages from the Ornate Thanks stamp set.
What a really lovely font the messages are in!
Please click HERE for the Ornate stamps.
I thought this would take a while to make but once again it didn't.
The longest part is the fussy cutting but there is a die to cut them out.
I didn't want to use the die this time as it was a spur of the moment!
Tuesday, 12 May 2020
Tips, Tricks and Techniques Tuesday.
Hello, today I played with a piece of card and made my card in a different way.
I have no idea what the fold is called but I guess it's similar to a Z fold.
I used Blueberry Bushell card and cut an A4 sheet in half length ways, or portrait, straight down the longest length of it. Scored and folded in half and 1 side in half again you get the z fold card base.
I added a piece of DSP from the Ornate Garden Suite to the inside of the card and Daisy Lane stamps to blend with it.
I added a piece of Whisper White card to the front folded side but added a small border from the Decorative Ribbon Border Punch.
Then heat embossed Daisies on a separate mat of Blueberry Bushell.
My tip would be to add a matching mat behind the Whisper White to
strengthen the front of the card as without it the card is not quite strong enough.
The additional reason for the piece inside is that it gives you a surface for writing on too.
Monday, 11 May 2020
Make it Monday AKA # Simplestamping
Hello, once again Cary has made some beautiful cards last week. Amazing.
Today Cary and I were cardmaking with many demonstrators in our team in an online Zoom call.
It really is amazing that during this lockdown we can see and craft with our friends as though we were in the same room. Brilliant!
We had a really brilliant time and landed up making some really lovely cards
with only instructions to follow. WOW! What a challenge!
So after that, I took some Pineapple Punch cardstock and cut a mat slightly smaller than a C6. I then tore a post it note and fixed it about 2/3rds of the way along.
Using Very Versailles stamp set, I stamped the words twice and the leaves twice and added a lovely message in the gap where the post it note was.
More information HERE
To finish, I wiped a Memento Ink Pad along all 4 sides to accentuate it.
I did a similar effect onto the inside mat too.
That was it, very simple and it took about 10 minutes from cutting the card to completing it.
Below is the card from this afternoon's Zoom session. Thank fully, it was very close to the demonstrator's own card! Phew!! Making a card by just following instruction without colour, stamp sets information is very odd, to say the least. Great fun though. :)
This card I used Daffodil Delight, Night of Navy and Whisper White card and Night of Navy Ink pad.
The stamp sets used were Swirly Frames, Butterfly Gala and Butterfly Wishes.
Friday, 8 May 2020
Fun Fold Friday
Well a very happy Friday to you all. Here in the UK we have a bank holiday to celebrate VE day and for once the sun is shining!!
So with the sun brightening my day I've a super simple fun fold to share with you today. Called a gate fold card this style is created with just 2 score lines!!
So all you need is a piece of card measuring 14.85cm x 21cm ( 5 1/2" x 8 1/2"). Now score at 5.25cm (2 1/8") in from both ends of the long side ( see photo). Fold both sides toward the center of the card and voilá you have a gatefold card 😁
Once again I have kept the decoration clean and simple and used a soft colour palette.
Well that's it from me for this week. I do hope you'll join me in admiring Gill's inspiration here next week.
Have a lovely weekend
Have fun
Cary xx
So with the sun brightening my day I've a super simple fun fold to share with you today. Called a gate fold card this style is created with just 2 score lines!!
So all you need is a piece of card measuring 14.85cm x 21cm ( 5 1/2" x 8 1/2"). Now score at 5.25cm (2 1/8") in from both ends of the long side ( see photo). Fold both sides toward the center of the card and voilá you have a gatefold card 😁
Once again I have kept the decoration clean and simple and used a soft colour palette.
Well that's it from me for this week. I do hope you'll join me in admiring Gill's inspiration here next week.
Have a lovely weekend
Have fun
Cary xx
Subscribe to:
Posts (Atom)