Wednesday, 18 August 2021

Watercolour Wednesday Delicate Dahlias

 Sadly here in my part of the world the summer has come to a grinding halt and autumn is here already! I've  got my fingers crossed for a dry crisp autumn not a dismal wet one! My card today is full of rich autumnal colours with hints of gold just the colours that make autumn so beautiful.  And Dahlias remind me of autumn too for some reason! 

For my watercolour Wednesday card I thought I'd use a simple technique.  I chose the infil large stamp for this first stage of my design.

 firstly you ink up your stamp in a light coloured ink. Then take a sponge dauber and dab a darker colour around the edge or in the centre of you flower stamp. 

Next add water. You add water to the inked up stamp by misting it with a spritzer filled with water. Not too much misting as I didn't use watercolour paper so didn't want to make my white cardstock sodden. 

I then stamped quickly straight down and up. After each stamping clean the stamp and repeat until your cardstock is filled. Now pop it aside to dry.

Delicate Dahlias Stampin Up watercolour autumn colours

Now don't panic if it doesn't look fabulous...yet! A little magic and it'll come together promise 😉

Once the piece is completely dry dab all over with an anti static bag . Then stamp the outline stamp using versamark ink. The stamps are photopolymer so linning them up is easy but don't panic too much.  A little this was or that isn't  a problem.  Heat emboss usingbgold embossing powder. The fine lines of gold really add that certainly little something that the photos dont really do justice to.

Delicate Dahlias Stampin Up watercolour 2 step stampin autumn colours

A gold heat embossed sentiment on a diecut shape in the same coral colour cardstock as the card base and mat . With a leaf also heat embossed in gold on coral card was fussy cut out and place beneath.  Then a little white bakers twine wrapped around and swirly bit added I was finished 

Delicate Dahlias Stampin Up watercolour autumn gold embossing

One tip I will share is when you start making the  background cut a piece of cardstock bigger than you think you need. Then when complete you can trim to size. Now don't discard the trimmings use them to decorate the inside of your card! 

Delicate Dahlias Stampin Up watercolour autumn colours

So that's all for today. I hope the weather is good where you are and if it's not maybe that's a good excuse to get some crafting time 😉

Delicate Dahlias Stampin Up watercolour autumn colours


Tuesday, 17 August 2021

Tips Tricks and Techniques Tuesday Delicate Dahlias

 For today I'm sharing not 1, not 2... but 3 cards!!! Each card is using the same stamps the gorgeous Delicate Dahlias.  

It all started with a colour combination that caught my eye whilst roaming the web. The colour combination was a bright pink called magenta madness teamed with the same gorgeous turquoise as yesterday's inspiration called costal cabana.  To go with this I used a beautiful yellow called so saffron.

 The combination is bright and bold just what I wanted for the gorgeous large dahlia detailed image. So inspired by the colours I kept the card clean and simple.

Delicate Dahlias Stampin Up bright bold colourful card

As I was creating this card another idea was forming in my minds eye. So this card has the same colour combination and the same flower stamp but uses a technique called Joseph's Coat.

First I used blending brushes to add colour to a white cardstock mat in roughly the same place as the previous card. Then I stamped in versamark and heat embossed using clear embossing powder. All  the while trying to follow the layout from the first card.

Next the mess..... uhmmmm fun begins.  The technique requires you to cover the entire piece with a dark ink! The magic is that the embossed areas will resist the ink and alow the colours below to shine through.

I chose to use a dark grey instead of the more common black ink just becuse I could! 😅 A gentle huff over the embossed areas and a soft cloth to gently buff any remaining ink from the embossed flowers then mount onto a card,  add a sentiment and voila card number 2.

Delicate Dahlias Stampin Up josephs coat technique

My third and final card uses the same tequnique but with a twist. 

As I was buffing the previous card I wondered what would it look like if I stamped in clear onto white card and covered it in black ink ðŸĪ” 

Well that is exactly what I did ! My card is using the same stamps, the Joseph's Coat technique but no colour! 

Delicate Dahlias Stampin Up black and white Joseph's Coat technique


I hope you like my little creative journey that I've  shared with you today. Do you find that one card leads to another and another and another....? Maybe that's the best tip of all be your own inspiration and follow your creativity where ever it goes 😃

Delicate Dahlias Stampin Up simple clean colourful Joseph's Coat technique


Monday, 16 August 2021

Make it simple Monday Delicate Dahlias

 I've had a super busy week with family visiting, birthday celebrations and my tumble dryer going bang in the middle of the weekly wash!! So when I found the time to sit down and create today's samples I was so glad the week starts with Make it Simple Monday!

 I have chosen to show case a stamp set that didn't really jump out at me when I first saw it in the Sale-A-Bration catalogue. But you know what having played with it I love it! Does that happen to you? 

So which set have I chosen to celebrate this week well it's  called Delicate Dahlias . It is an exclusive set that can only be obtained for free with a qualifying purchase from Stampin' Up!

Delicate Dahlias Stampin up saleabration

 One of the best parts of this set is that it's basically 2 stamp sets that work individually but also together! The stamp set is a photopolymer one which makes lining it up easy. The advantage to that is that it means you can stamp the open line elements then fill them with the beautiful etched infills.  But the infills are also stand alone stamps that look beautiful alone!

With so much choice in the set I decide to start simple, a super important part of Make it Simple Monday ðŸĪĢ . 

I  decided to use just one colour ink pad and white cardstock and the stamps. This ensures that it stays SIP ( stamps, ink and paper) and #simplestamping. 

The ink I chose to use is called fresh freesia and is a very pretty lilac shade.

I stamped the flower outline stamp first then the outline leaf. Next I used the etched stamp to add colour and texture to my flowers.

Finally a sentiment stamped in the same colour and my card was complete.

Delicate Dahlias Stampin Up simple stamping easy clean and simple card


I so enjoyed playing... uhmmmm working ðŸĪĢ on creating this card that I got carried away and made another just to see if it would work in another colour 😉

So this time I replicated the card but used a pretty turquoise blue called costal cabana ink.

I also slightly changed the orientation of the layout because I stamped my first flower in the wrong place ðŸĪŠ and never one to waste I just carried on with it!

Delicate Dahlias Stampin Up simple easy clean card


I was really happy that my cards turned out as well as they did in the time I had to create them in. Proving that sometimes having to work quickly can be all the inspiration you need!! 

As always on a Monday I shall be doing a Facebook live at 4pm BST on our Facebook page Here If you can join me that would be fantastic if you can't don't worry I'll post the link to the video afterwards Facebook live here

So which do you prefer?  Lilac or turquoise? 

Delicate Dahlias Stampin Up simple stamping easy clean card


Friday, 13 August 2021

Fun Fold Friday - Batik Boutique

 For my last card this week I have made a fold that is so easy and really lovely. I guess it's a little bit like a Gate fold except that the right hand panel is an additional piece of card. I started by stamping the large flowers all over a piece of white card using the Batik Bouquet stamp set. Then piece by piece I stamped the additional pieces onto the other colours to get the effect I wanted. I used a Blackberry Bliss card base which is 17cm by 14.85cm high. I scored at 10.5cm across the 17cm side and folded it. The additional piece is 10.5cm by 9.5cm. I scored 1.5cm along the 10.5cm length. Using the small piece, I adhered it to the righthand inside of the card before adding a piece of Magenta Madness card mat over it. 


I do like coordinating the card colours together and really like this colour combo too. I cut 2 mats in Magenta Madness and embossed them both with the Pretty Flowers embossing folder. It gives a really great texture to the card front. I added a stamped piece to the left and using a silver foiled square that I already had, I added the die cut flower to the front. 

Using the Best Year stamp set, I completed the card with sentiments inside and out. 


Well, that's it from me for another week, please take care and stay safe but most importantly 

KEEP ON CRAFTING

Cary will be back next week to share her creations with you so please pop by and join her too. 

Many thanks, Gill xxx :)  😍😍😍

Thursday, 12 August 2021

Throwback Thursday - Batik Bouquet

 My throwback Thursday card really has to be this one. One of the first techniques I learnt was making a one sheet wonder. I still love making them today.  I used only 4 of the stamps from the Batik Bouquet stamp set and stamped them in a pattern all over the piece of A4 white card and Tuxedo Black Memento Ink Pad. The light green is Soft Sea Foam, the bright green is Granny Apple Green and the purple is Highland Heather. I don't know what it is about green and purple but I really love seeing them both together. I die cut 4 of the flowers out from one end of the A4 sheet once they were all coloured using the Stampin' Blends pens. I fixed the stamped mat onto a piece of Granny Apple Green card and the both of them onto a Highland Heather card base. Before I adhered the mats to the card base, I added a length of white Baker's Twine and wrapped it around the mats. I finished off with sentiments from the Best Year stamp set. The label on the front was die cut from the Scalloped Contours dies.

For more information on the Batik Boutique stamp set or any of the other products I have used, please click HERE It will open up in a new page so you don't lose this page.


Wednesday, 11 August 2021

Watercolour Wednesday - Batik Boutique

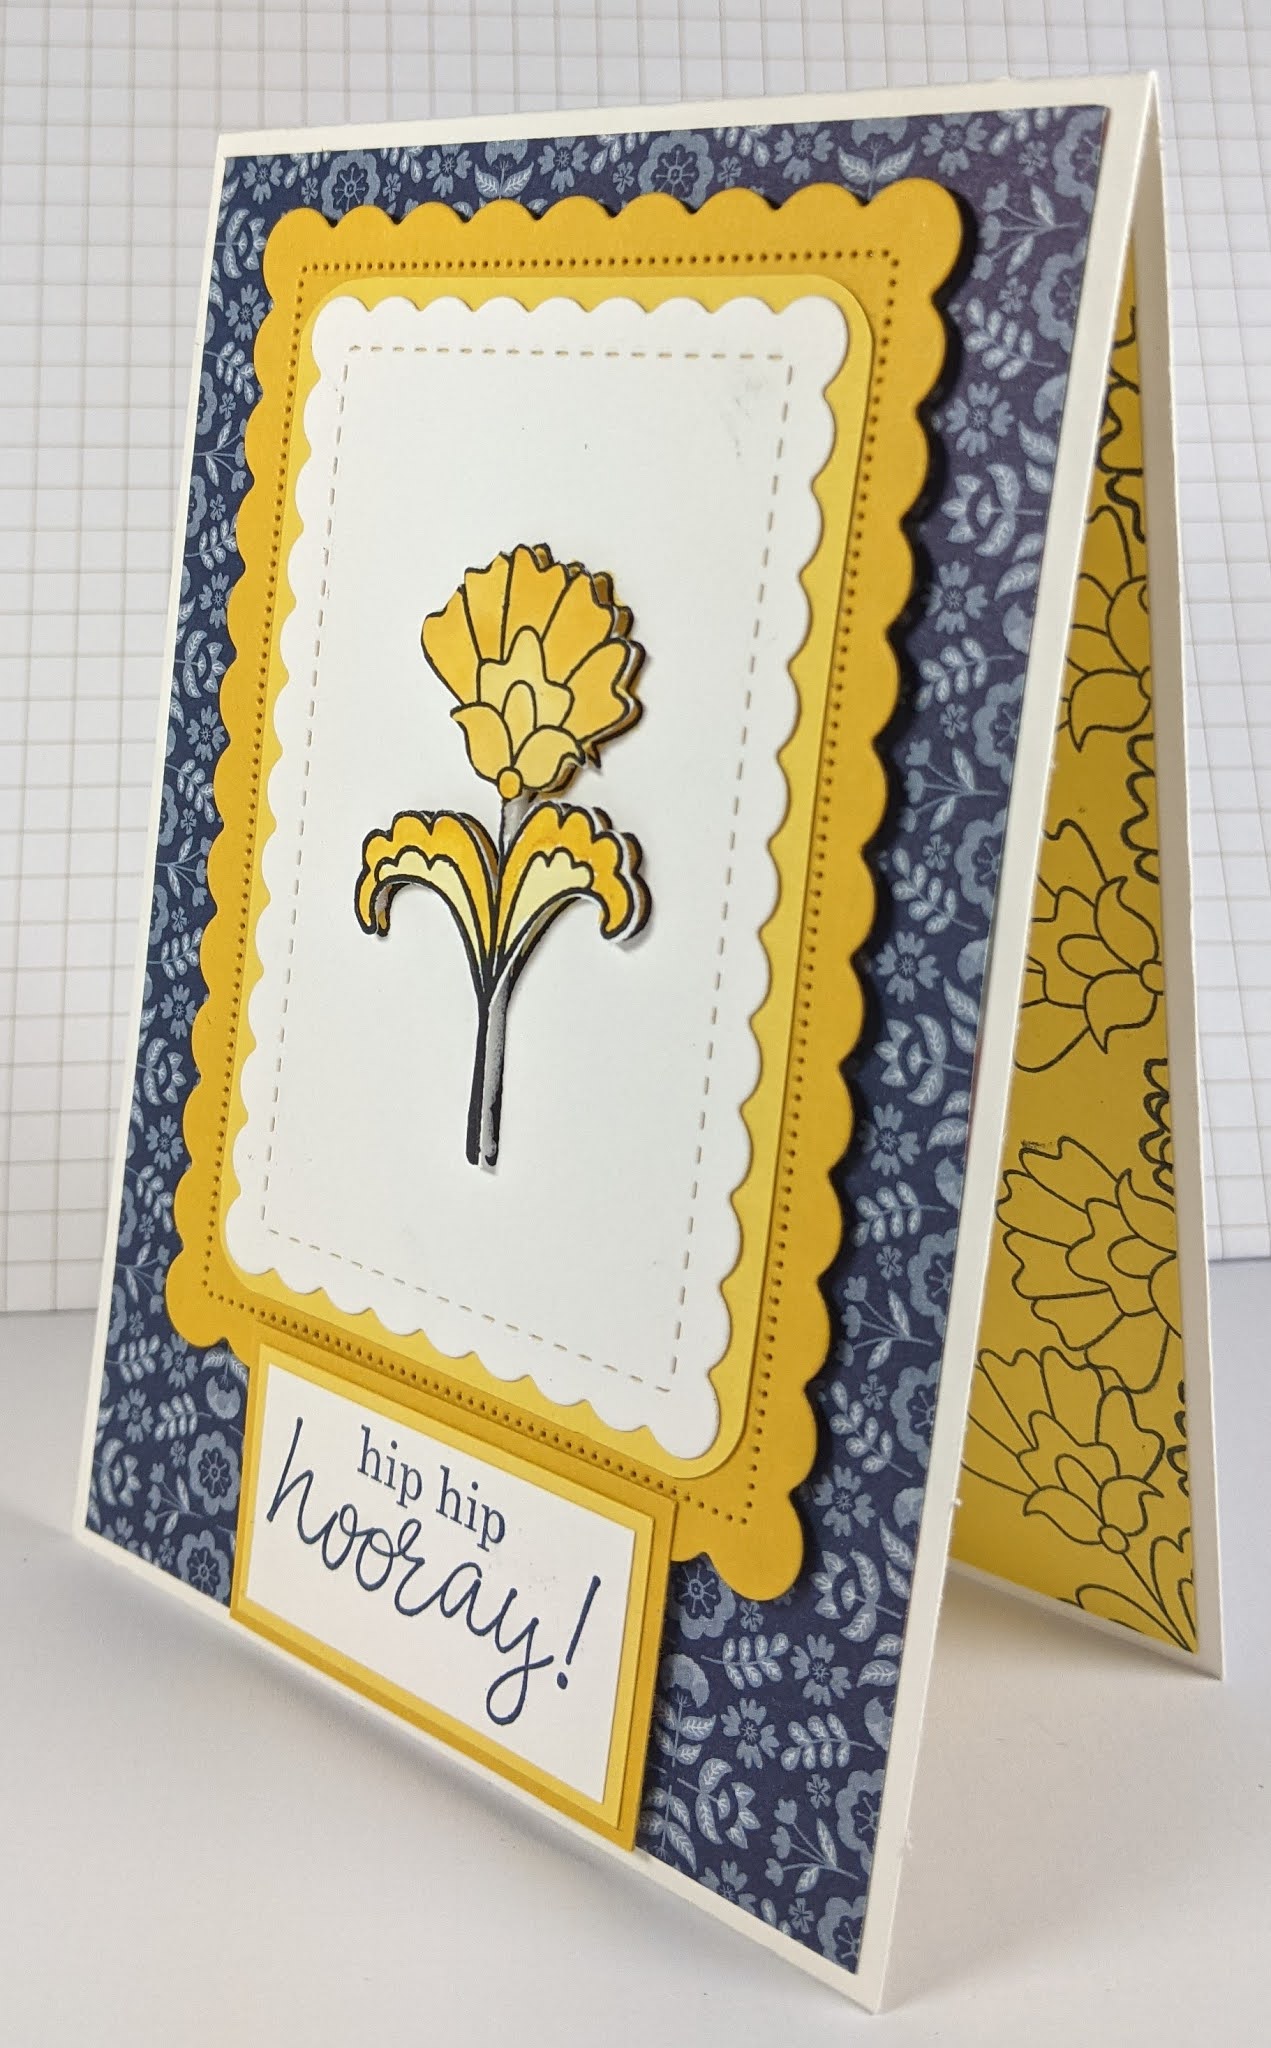
Well it's very wet outside and I'm indoors playing with water! Seems very logical to me :) Today, using the Batik Boutique stamp set I have done a small amount of watercolouring. This time I stamped the 2 flowers and watercoloured them both. I used the lovely bright yellow of Daffodil Delight and the earthy colour yellow of Crushed Curry. I'm really pleased with how they've both gone together. I stamped in Stazon Jet Black ink pad as to use water colours you need an alcohol based ink so that it doesn't run or bleed. I have layered the white mat and the 2 different yellow mats which were die cut using the lovely Scalloped Contours dies. The paper is a piece from the Sweet Symmetry Designer Series Paper which goes really well with the stamp set. Once again, I used the Best Year stamp set for the sentiments.


Tuesday, 10 August 2021

Technique Tuesday - Batik Bouquet

 Hello for another day of crafting. Using Batik Bouquet stamp set, today's card is all about repetitive stamping. I like this method of stamping as you really cannot go wrong. I stamped a row of the whole flowers and then using the infill stamps, I added the flower centres and the lower part of the leaves. The rest of the images were coloured in using Stampin' Blends pens. I've left it with a very simple background as I like the simplicity of it. Colouring can always be done with any colouring tool. If you don't have the exact tools just yet, make do with the children's pens or pencils. Then treat yourself to some lovely marker pens or the amazing Stampin' Blends pens. They really are amazing, no lies! A simple Happy Birthday and another sentiment on the inside completes this one. This time, I used the Many Messages stamp set for the sentiments. It has 18 different messages on this one stamp. It's a brilliant single stamp that has an individual die to go with it. It cuts out all of the sentiments. Which is great as you will have a bunch of sentiments ready for your next project.