Tuesday, 13 September 2022

Tips tricks and techniques Tuesday Yeti to Party Perfect Partners

 When is a Yeti not a yeti? When he's a sassquatch !!! As I said yesterday the Yeti to Party bundle isn't just for Christmas and it's not even always a yeti!!!

Yeti to party stampin up perfect partners fun bigfoot sassquatch card

Now this card was fun to make as soon as I saw the yeti  I thought he'd make a great big foot!
All I had to do to change him was to colour him brown and snip the horns off. I chose to use a forest setting for my sassquatch. I created this with a stamp and using first and second generational stamping. 

Yeti to party stampin up perfect partners fun bigfoot sassquatch card

I used the dies from the bundle to give mr Big Foot a warm scarf. I also stamped and die cut a few snowflakes to give the scene a little wintery feel.
All in all this cute card would work for any gender or age . 
So never forget to look outside the box when choosing stamps you never know what you'll find 😉


Monday, 12 September 2022

Make it simple Monday Perfect Partners

 Hello and welcome to the first of my blogs for this week. This week I will be sharing inspiration using a stamp set from the July to December mini catalogue from Stampin' Up! Called Yeti to Party. This fun set is part of the Perfect Partners promotion that is available for the monthe of September.  In the offer you can purchase coordinating dies for the stamps , or for an even better offer purchase the Yeti bundle with a great 10% discount 😉. 

Yeti to party stampin up perfect partners happy card

The Yeti to Party stamps aren't just for christmas !!  I will be sharing projects over the next week showing how versatile they are. 

Yeti to party stampin up perfect partners fun card

 My inspiration this week will of course feature the coordinating dies. These are exclusively available only until Sept 30th! 

Yeti to party stampin up perfect partners fun card


So what have I done with these amazing products?  Well in a break with our usual #makeitsimplemonday I'm not doing a simple card!! Rather I'm building on a request that was made in a comment on one of Gill's posts last week. 

The request was for a how to video on making a shaker card . I have decided that rather than do a video I'd use my weekly Facebook live to demonstrate how I create 3 different styles of shaker cards.  

As my Facebook live isn't until the afternoon today I thought I'd share another shaker card here featuring the fun Yeti.

Yeti to party stampin up perfect partners shaker card

 This card might not be #simplestamping but it is rather clean and simple in style .
I used the stamps and dies to create the dodads, my term for the shaker elements 😜.

Yeti to party stampin up perfect partners fun shaker card

I used alcohol markers to colour my images using the colour pallette from the patern paper. The paper is from a pack that is called Hues of Happiness. 


Overall this card is fun and shows that whilst it could be a Christmas card it also works as a winter celebration card.

If you'd like to join me for my Facebook Live you can do so by clicking here.  My Live takes place at 4pm BST. 

If you can't make it I'll share a link to it here later.


If you're interested in the other stamps and dies in the  Perfect Partners promotion have a look here

Yeti to party stampin up perfect partners


Friday, 9 September 2022

Fun Fold Friday - Family & Friends

 Hello again. For my last day this week using the Family & Friends stamp set, I have made one of my favourite folds. It's very easy and quick to do too. 

I started with a piece of Rich Razzleberry card 16.5cm wide by 14.85cm high or 6,1/2" by 6" high. I scored this at 10.5cm or 3" to make the card base. I cut another piece of the red card at 10cm by 11.5cm or 4" by 4,1/2" wide. This was scored at 9cm or 3,1/2"  I added adhesive to the narrowest part of this piece and added it to the main card back on the inside. I took some of the beautiful foiled papers of Splendid Day DSP and cut 2 pieces. One was 5.7cm by 14cm or 2,1/4" by 5,1/2". I added this to some scraps of white card and trimmed the edges so that there was a very small border around it. On the right hand side of the card, the piece I added on, I cut another piece of the foil 8.7cm by 9.7cm or 3,3/8" by 3,7/8" Once again, I adhered this to another piece of white card and before I added them both to the relevant sides, I attached a magnet to both left and right hand side to enable a closure for the card. I then added the DSP covered mats to the sides.

I cut a white mat 10cm by 14.4cm or 4" by 5,3/4" this was for the inside mat which I stamped my sentiment and decorated. 
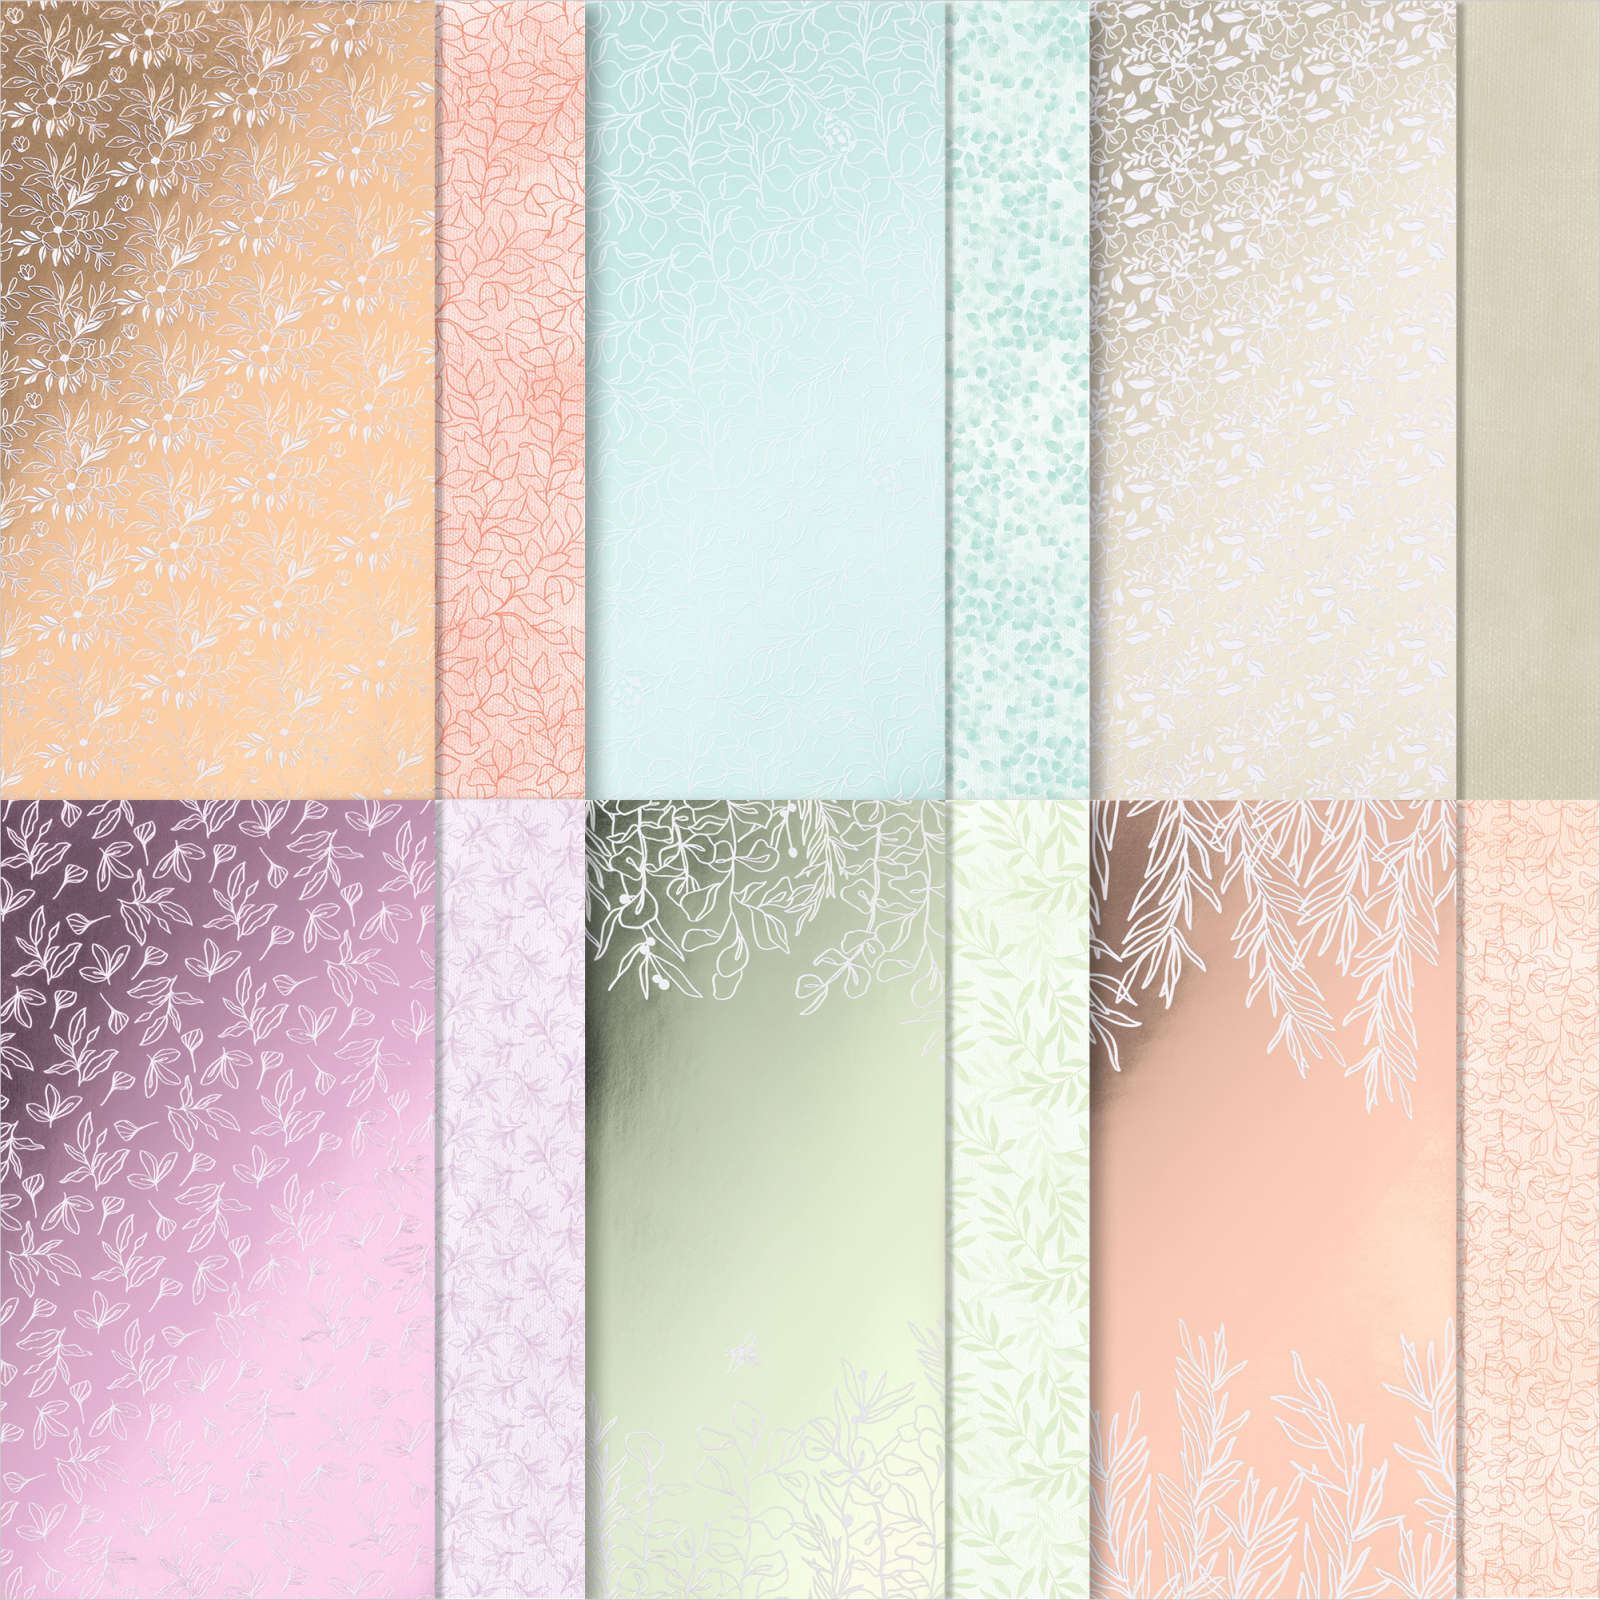
SPLENDID DAY 12" X 12" (30.5 X 30.5 CM) SPECIALTY DESIGNER SERIES PAPER 

Splendid Day DSP above

I then stamped the image for the front and coloured them in using my Stampin' Blends pens. I completed the card then added the sentiment. I cut the image down and added it to some more Rich Razzleberry card and then a white mat as before.


That's it from me once again this week. Thank you so much for joining me once again. I am sure that Cary will have recovered from her amazing trip to New Orleans and will be back to show you her cards next week.

Until I return the following week, Please take care, stay well and as always,

 😍😍KEEP ON CRAFTING! 😍😍 

xxx Gill xxx

Thursday, 8 September 2022

Throwback Thursday - Family & Friends

 The card today is another that I made a while ago. Using the Family and Friends stamp set and the Picture This dies, I die cut the circles from a piece of white card. I then used the Stitched Greenery die to add the leaf design to it. I added acetate on the inside of the mat and then added some of the foam adhesive strips around the edge of the circles. I die cut circles in DSP from the Santa Express papers and using some of the circles that I die cut and stamped the images and sentiment across them. Unfortunately, I used too many of the Effervescent Elements inside the circles! Another lesson learned! Don't use too many sprinkles! 

Once they were added, I placed the card base over the die cut mat with sprinkles in. I added a rim of Tombow Multipurpose glue to the tops of the circles so that I had a few moments to adjust it once it was added to the card base.  The card base is made from Shaded Spruce card. Inside, I added the strings of lights and another sentiment to complete it.


Wednesday, 7 September 2022

Watercolour Wednesday - Family & Friends

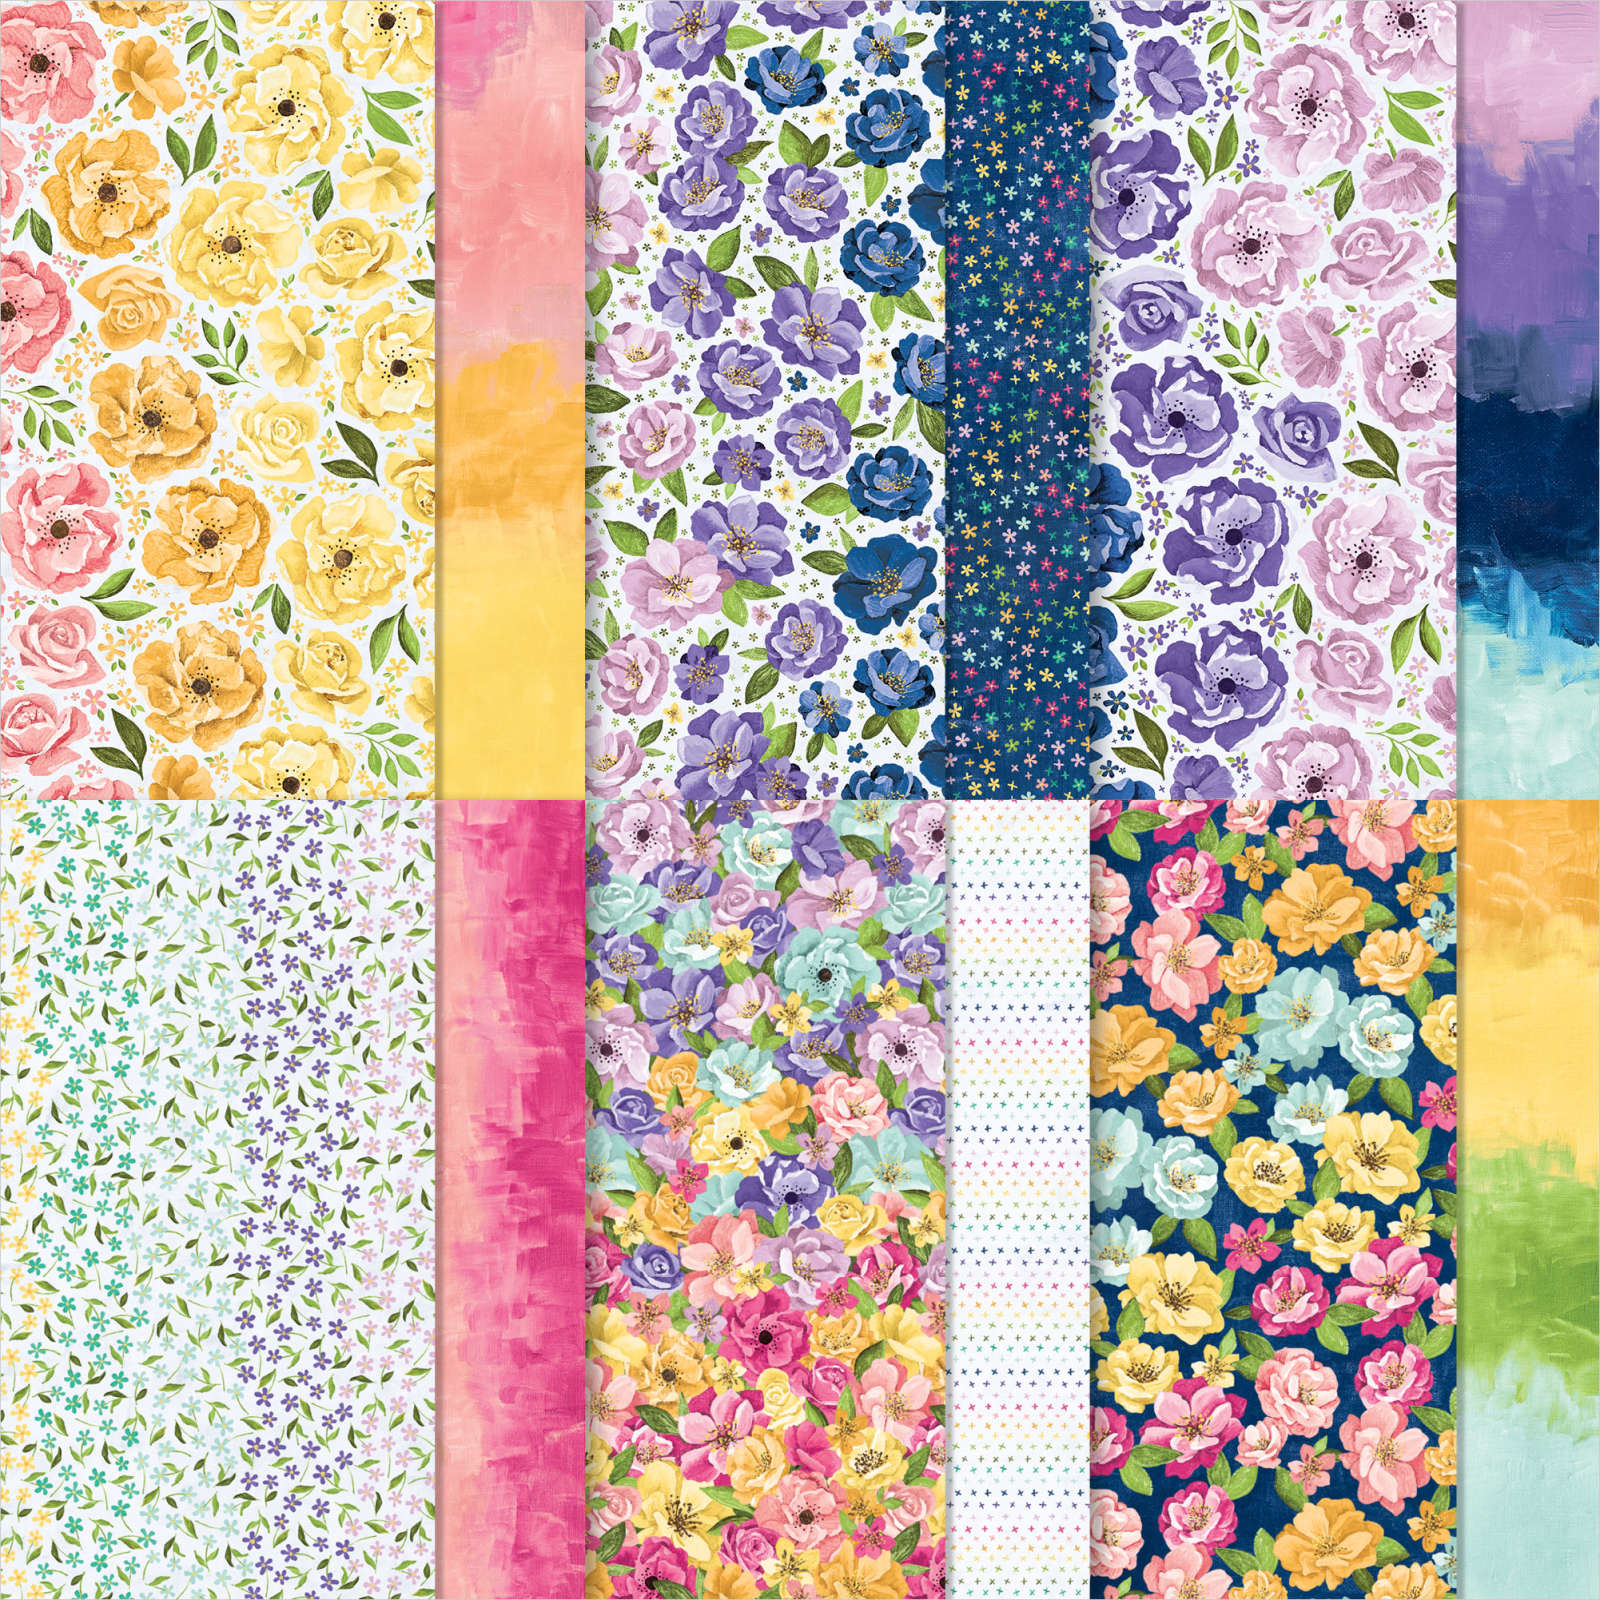
Using the Family & Friends stamp set again today, I cheated a little! Instead of watercolouring the whole background, I have used a piece of Designer Series Paper. It is from the Hues of Happiness papers which are stunning to say the least.

HUES OF HAPPINESS 12" X 12" (30.5 X 30.5 CM) DESIGNER SERIES PAPER 

The piece that I used is the last on the bottom right. Aren't they just gorgeous? Anyway, now I am sure that many of you have family and friends living abroad so for this one, I stamped the couple and then watercoloured them using the water painters and ink which I added onto an acrylic block from the ink pad. I seem to prefer taking the ink from the block, it's less messy too. I think this would work for me as I have many family and friends in much warmer countries than here in the UK. I die cut the image out using the Stitched Rectangle dies and added it to a piece of Granny Apple Green card. A few sentiments inside and out and another stamped image on the inside completes today's card. I also use Charming Sentiments for the sentiment on the inside.


Tuesday, 6 September 2022

Technique Tuesday - Family & Friends

 Today's project  is yet another simple one that if you have a Stamparatus you can replicate or mass produce very easily and quickly. I lined that card up and placed the magnets over it. Using the Family & Friends stamp set again I added the clean stamp to the left of the card so that it would cover most of the card. Then using several different colours, 6 in total, I inked the stamp and placed it down onto the card. When using different colours on 1 stamp, always remember to clean the ink off the stamp each time or you'll get messy ink pads! 

I added a strip of retired Real Red Sheer Ribbon that I had and tied with a knot. It doesn't conceal where I added the stamped image to the right of the card but just adds a focal point. Nothing else but the strings of lights. That's it!


Monday, 5 September 2022

Make It Simple Monday - Family and Friends

 Well, it seems like such a long time since I was last here but here I am. Lots has happened but mainly, Cary and many other demonstrators all went on a trip to New Orleans for an annual conference. They had a great time and came back yesterday. Thoroughly exhausted after a very long day to get back home. I think she deserves a rest! Anyway, this week I am going to make some cards using the stamp set called Family and Friends. It is based around Christmas but I have managed to use it for non-Christmas too. 

My first card is a quick and simple card that can be mass produced. An image of the whole family on the front stamped siomg Smoky Slate Ink pad and using colouring pencils to brighten it up, it's then complete. That simple.