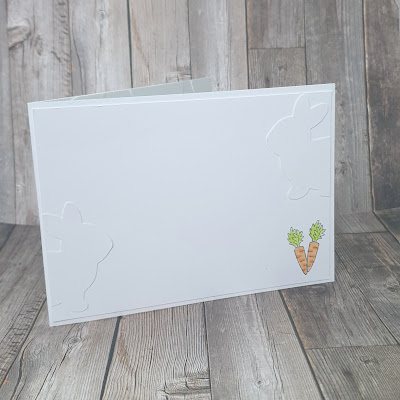
When I first started crafting with Stampin' Up! One of the things I loved were the punches. So when I signed up one of my first purchases were lots of the punches! I love the quality, versatility and the practicality of a punch. So when I saw that the Easter Bunny stamps came with a cute coordinating punch I was a very happy.. bunny!! 🤣🥕 The other nice thing about buying the Easter Bunny stamps and Bunny punch as a bundle is that they are cheaper as well as super cute!
So one of my favourite things to do with a punch is to use them to create texture on my cards. I often start by punching out muliples in the same colour cardstock as the card mat. Then adhere them all over the mat. This tone on tone plus the added texture creates gorgeous backgrounds.
So for today's card I did just that . I started with a basic white card mat measuring 14.85cm x 10.5cm, the same as my card front. I then punched out basic white bunnies.
I also used my Stamparatus, stamp positioning tool, to create a reverse image of the bunny. This is so easy with the Stamparatus and a silicon sheet.
You start by placing the silicon sheet into the corner of the platform. Then place the stamp onto the plate. And stamp the bunny onto the silicon sheet twice.
Then place a piece of cardstock over the silicon mat carefully. Reink the stamp and stamp again. Carefully take the cardstock out and look both sides have bunny on them!
Now punch the bunny out and you can use him either way round!
I then stamped and punched another bunny and added colour to both of their ears and cheeks.
I the stamped the little carrot stamp so that the came together to create a carrot heart.
I used basic grey ink to do all my stamping for this project as I like the softer look it gives.
I coloured the carrot heart with a light orange colour and a bright green for the carrot tops. I then fussy cut the carrot heart out.
So how did it all come together? Like this....


No comments:
Post a Comment