Monday, 16 November 2020

Make it simple Monday Wishes and Wonder

 As I sit writing this post it is a dreary,  dull day. Why is this important? I hear you ask. Well for me not only as a crafter but in general I need colour!! I love all colours  but I am usually drawn to bright or rich hues. But for todays #simplestamping cards I've used more gentle, subtle shades. The inspiration this week will feature the Wishes and Wonder stamps which at first glance call out for rich colours to me. So for something different I went the opposite way!! ðŸĪŠ

Now these are super simple cards  sometimes known as single layer cards. The reason for this is that the sentiment is stamped directly onto the card. These cards are great for new stampers and those who wish to create quick,  or multiple cards alike.

Now my question to you is which is your favourite?  Green? Blue? Or Pink?

I can't decide!! You choose and comment below.

 wishes and wonder stampin up simple stamping quick cards  beginner


Friday, 13 November 2020

Fun Fold Friday - Snowflake Wishes

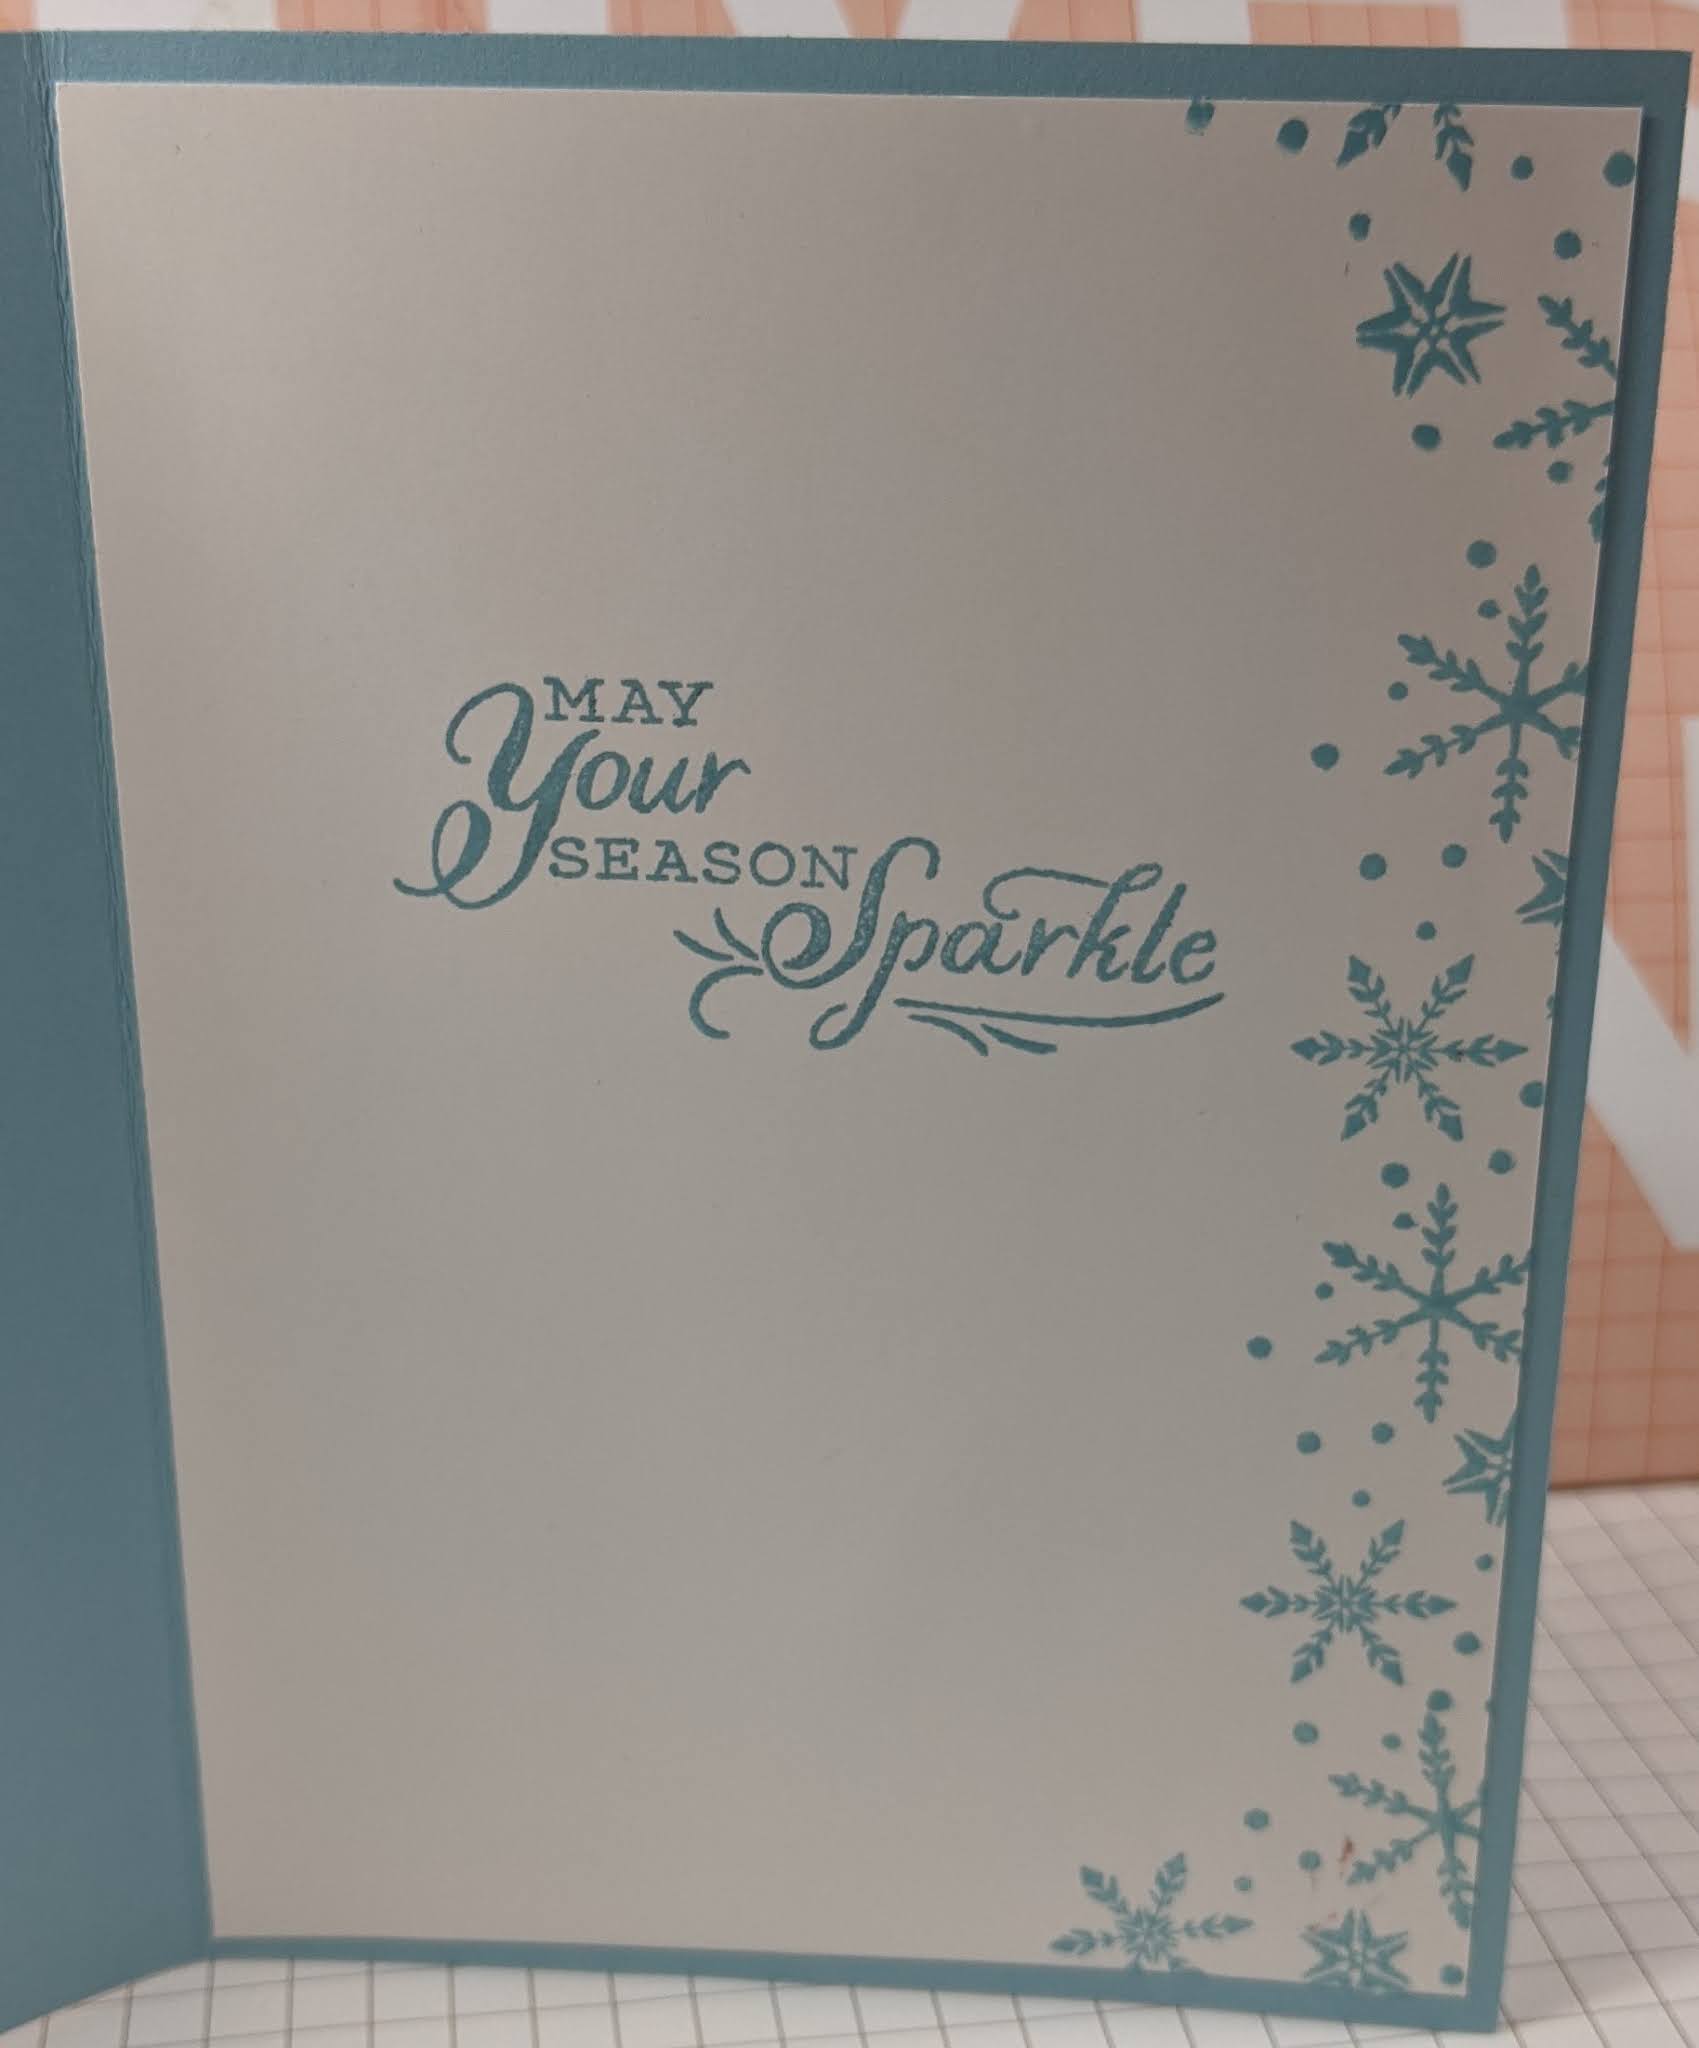
 My last card this week is one that I made very recently for a class. It may look fiddly or awkward but it really is simpler than it looks. I know, I always say that but I honestly do mean it! I started with a standard C6 card base of 21cm by 14.85cm and scored in half at 10.5cm.  I used Coastal Cabana card for this one. I decorated the front with an embossed, snowflakes, white mat. I then die cut out the snowflake from the centre which just leaves the main card intact. It really gives a lovely finish. I added a scrap of silver foiled card below the die cut shape and fixed it to the card base using Stampin' Dimensionals (foam shapes).I added another few snowflakes and a message to the front too. 

On the inside, I added a mat of Pool Party card, some double sided paper and a white die cut mat. The measurements are all below. I added 2 different ribbons to the back of the card and tied them at the side to keep the card closed in the post. Lots of the snowflakes and die cuts on this one and a simple Happy Christmas inside completes it.

The Pool Party mat is 19.5cm by 13.5cm. Laying the mat landscape as the picture, score through the middle and 9.75cm. You now need to mark a 2.5cm border all around the inside. If you use a pencil and lightly mark it on the reverse you'll find you can't go wrong. The dotted lines represent score lines and the straight continuous line is a cut. There are only 2 cuts on this mat. They are on the 2.5cm on the top left of the picture to the 2.5cm mark on the top right of the picture. This is repeated at the bottom 2.5cm marks at the bottom of the mat. 

All of the products I have used this week are available in our shop, so please follow the link HERE and it will start you off with the stamp set. You can save money too if you buy the stamp set and the dies together! Bonus bargain!

This next piece is double sided paper.  I cut a mat of paper 18.7cm by 13cm and gutted this at 2cm all around the mat. On my card, to enable folding the card easier, I cut the centre fold out by about 1mm each side. It seemed to fit much better that way. These will fold along with the folds on the previous mat.

This final piece is 12cm by 8cm. All I did on this was to die cut out the snowflake frame. I didn't think it needed anything more than that. Obviously, I added lots of snowflakes stamped and die cut all around wherever I could to finish this one off.

Thank you so much for stopping by this week. I hope I have managed to get some inspiration to make yourself some beautiful cards. That's it from me for the week, Cary is back on Monday with some more of her beautiful creations. Please stop by and be inspired with her woderful ideas. 

Until then, Be Safe, Stay Well and Keep On Crafting. Gill ;)) xxx

😍😍😍😍😍


Thursday, 12 November 2020

Throwback Thursday - Snowflake Wishes

 Today's card is another style that I often like to make. It is layers of paper and card, one on top of the other. Sounds simple? yes, it is very simple. If you can cut a piece of paper, you will be fine. 

I started with a standard C6 card base which is in white this time and scored it in half. 21cm by 14.85cm is the standard measurements in the UK. I took a piece of double sided paper from the Snowflake Splendour pack and cut a piece 14cm by 10cm, then straight away started to 'gut' 1,1/2cm from each of the 4 edges. This was repeated on the remaining piece too and the final remaining rectangle was gutted at 1cm all around. Once all of the rectangles were cut out, I glued them onto pieces of Highland Heather card and gave each one a small border of about 2-3mm. I stamped a collection of snowflakes around each corner of the papers at this point. More information on the stamp set and all of the products that I used is HERE

The rectangles were then all fixed to the one below using Stampin' dimensionals (foam shapes). On the very small one at the top, I fixed a bow using the gorgeous Pool Party Sheer Ribbon. It really is just beautiful. Once all of the layers were fixed together, I slipped another piece of ribbon from top to bottom to make it look like a gift. I then glued them all to the card base. A simple message inside and on the front, a few of the Snowflake Sequins added to the front of the card and the card is complete. 


This is so straightforward to make and it is a very quick card too. I do hope you have a go at making one as they are so rewarding when given as a greeting.


Wednesday, 11 November 2020

Watercolour Wednesday - Snowflake Wishes

 Hello and thank you for stopping by our blog posts. This week so far has been a busy one for me as my son and his wife went back at work on Monday. That's not a problem except that I have been home looking after the baby. He has had me on my toes the last 2 days. He is so quick and so much fun, I wonder how I ever managed when years ago and Jonathan was a baby, I child minded! That was 40 years ago now so I guess it is a wee while! 😍😍 Unfortunately, Jemma came home today to read a letter from the government saying that she should not go to work due to medical reasons! She was not impressed! However, I am having a lie in tomorrow!!!

It's quite late now as I'm posting this as I haven't had any time for crafting today sadly. Today's card is a simple gatefold card in Balmy Blue, a really beautiful soft pale blue, with Night of Navy and white card that was embossed and 'watercolour washed'. It's a simple as that. I embossed a white mat using the Winter Snow embossing folder and I inked a block with ink from Balmy Blue pad. I added a big puddle of water to the centre and using a wide water brush, I mixed the water in then washed it all over the white mat from side to side. That's it, that is all it needed. Something so simple because the mat was embossed the water and ink formed a sort of shaded patch against the snowflakes on the card. You can still see some of the white card showing through and in some places the snowflakes are even more blue than some of the others are. 

I die cut the large snowflake from the matching dies which only cuts out the snowflake centres. I layered this onto another piece of Navy card to make the pattern pop. I added a Silver foiled snowflake in front to add another dimension. Then 4 small snowflakes around the front of the card plus a message and it's done. 

Yet another simple card made very quickly.


Another message on the inside along with some small stamped snowflakes and a strip of the embossed paper that was cut off and the card was complete.


Tuesday, 10 November 2020

2019/20 achievement

 Wow, wow, wow!!

Last night I found out that Gill, myself and our team of Larger Than Life Stampers placed 17th in over 2000 UK demonstrators. 

This would not have happened without the amazing support of our  customers and team. We will be eternally grateful to each and everyone of you all.

 Creativity is sanity for us all in these strange times, and we are so thankful for it and all of you!


Technique Tuesday - Snowflake Wishes

 Hello, today has been a crazy kind of day for me. My son and daughter in law have both returned to work now and I'm left at home with my grandson Theo. My son thought that I would have time to craft etc. Not a chance!! He has kept me occupied ALL day. Don't get me wrong, it's been fun spending all of this time alone with him. I can spoil him rotten if I wanted to, I won't..... but I'm just saying that I could! Today he waved for the first time! It was lovely to see and after he waved a few times and I said that he is clever, he clapped his hands together too! Bless him!! 😁😄

Anyway, today's card is more of a style than a technique really. It's not my design but one that I saw a while ago and fell in love with. I have used a few punched circles each in graduating, different sizes. I started with a 2, 1/4", 2", 1. 3/4", 1,1/2". I alternated between Highland Heather and Gorgeous Grape card stock. I know some of those sizes have retired but I always keep my punches, especially the particular shaped ones as they are still very useful. Then I took a smaller circle in 1,1/4" of the double sided paper in the Snowflake Splendour papers and added that to my pile. I took each circle and cut them directly in half and one by one starting with the largest, I glued them one on top of the other to one side only on the lower semi-circle. When the 2 half circles are complete, I fixed them so that the edges of the circles were below and to the side to give the swirly effect. Another 2 punched circles a die cut 2 snowflakes from the set of matching dies called So Many Snowflakes cut from scraps of Silver foiled card. 

 A message on top and inside, LOTS of the Snowflake sequins scattered all around has completed this card. I don't normally use that much bling but it just had to be done! 😂😂


Monday, 9 November 2020

Make It Monday - Snowflake Wishes

 I hope things are good where you are at the moment, it's cold and wet here for a change, Not! Once again we are now in Lockdown so I am going to make the best of it and keep crafting. On Thursday, Cary and I and the rest of our team all sat and watched our annual get together online. It lasted for 2,1/2 days! We were shattered after all that but really excited as we got to see some of the gorgeous new products that will be coming to everyone in January. Including the brilliant Saleabration! YES!!

This week I have decided to work with the lovely Snowflake Wishes. Click HERE to have a good look and for more information on this amazing set which also has dies, an embossing folder, ribbons, gems and more! This lovely stamp set is just literally full of different shaped and sizes of snowflakes and some messages. Perfect! Today's card is a very simple one, #simplestamping is our motto and this one is definitely simple. 

It was so simple, I made 2!

The first is on the left in the picture, I cut pieces of double sided paper to match both colours of card, in this case a Pool Party (pale green) mat on a white card base and the other on the right is on a Balmy Blue, (a pale blue) card base. The papers are both from the matching suite as the snowflakes and they are called Snowflake Splendour. These papers are in beautiful shades of light and dark blues, pale and darker greens and a lovely shade of lilac and purple through to pink tones. Gorgeous!

I added the paper then using a sticky note, I placed it on the edge of the paper and stamped randomly over the top part of the card using the same colour ink pad as each of the cards. I then added the message which I stamped in Memento black ink pad. Where I trimmed the card down a little, I used a strip and added it to the card as an underline.

The second card on the right was made in very much the same way only this time only 1 image stamped in the centre. The scrap of paper I used was left over from a watercolour card mat that I made a few weeks ago. I tend to keep a large cup which holds lots of strips of coloured card in all colours and angles. I like the way that the scrap shows all of the colours as in the papers.

On both cards, I added a little decoration to the inside and messages to complete them. I haven't added any bling as I generally add them when I have decided who to send them to. Until then, they will remain devoid of sparkle but trust me that I will add some lovely sparkle very soon.