Thursday, 10 December 2020

Throwback Thursday - Ornate Garden Suite

 Have you ever had one of those cards that you have seen made but never had the courage to make one? I did. Surprisingly, when I did first attempt it, I was so shocked at how simple it actually was! What a whally I was! The card was eventually made a very long while ago by me and for the life of me I cannot remember who's card first caught my eye but there have been too many to mention since then.  I found another of the cards that I made in this style a few weeks ago when I was looking for another project. 

Get on with it! I can hear someone saying. I used the gorgeous deep dark purplish/red of Blackberry Bliss card for the base colour. It is such a lovely rich colour that blends with so many other colours. I just love it! A white mat which I embossed with the Dainty Diamonds embossing folder and before attaching it to the card base, I added some folded rectangles of the Ornate Garden double sided papers to each end. I love the gold pattern within the green of this paper. I die cut one of the stems of flowers from Blackberry Bliss and using the black Dimensionals/foam pads, I raised it up over the 2 diamond shaped corners.

A few messages on the front and inside of course with a small spray of flowers completed the card. For a change, I also added some of the lovely frosted epoxy droplets onto the flowers. I don't normally add any bling or rhinestones to my projects until I prepare to post the card to the recipient. This time, I just wanted to!

The messages in this set of stamps are brilliant. You can add several of them to any card and they look just perfect.


Wednesday, 9 December 2020

Watercolour Wednesday - Ornate Garden Suite

 For today's card, obviously watercoloured, I did a technique that I often do. I added some colours using the ends of the ink pads onto a large acrylic block. I used 5 different colours from pinks , lilac and greens. I spritzed a piece of watercolour paper with water and then spritzed the block and immediately the colours started to mix together. Wasting no further time, I wiped the block over the paper and allowed the ink to be absorbed and left it to dry.

Once it had dried I took the 2 words SO GRATEFUL and THANK YOU and stamped them quite closely to each other then cut them closer still. You can see how the colours have blended and given me such different shades on them all. I took a white mat and embossed it with the Argyle embossing folder from Stampin' Up! I decided to add dimensionals (foam pads) to the backs of the words and added a few of the small flowers from Ornate Thanks stamp set. I added a few more of the messages to the inside from the set and an other THANK YOU to complete it.
A very simple card that didn't take a lot of work but I am pleased with the result. I hope you like it too.


Tuesday, 8 December 2020

Technique Tuesday - Ornate Garden Suite

 My goodness, it has got so cold here this week, I may have to resort to putting my thermals on!! 😁😂

On a better note though, it's lovely and warm indoors where my duties include looking after my gorgeous grandson Theo. All week! Mummy and Daddy are both working so good old Nana duties are back! He is growing so fast. 10 and a half months old now and shooting up. He is such a character too, he loves to copy and repeat things that I say to him too. In his way of course. 

Anyway, I could talk about him all day but I won't bore you. Today's card is a very quick and easy technique called the spotlight technique. It gives a really lovely effect when done as I have or just using 1 larger image as the spotlight. I used 1/2" and 3/4" small punches to get my images just so and like the way it looks. I also used the 1" circle punch too which is still current. 

Talking of retired products, today is the start of Stampin' Up! Year End Close Out Sale. Follow the link to the shop HERE and you will see all of the reduced products from the current August - December 2020 Mini catalogue.  OMG! There is so much on special offer with many reductions of 10% to 50% AMAZING OFFERS!!!!

I am a firm believer that if you bought a product from Stampin' Up! and for whatever reason it has since been retired, we must continue to use them. Yes, I do use the amazing new products too of course but I cannot bear to part with my punches. I LOVE THEM! 

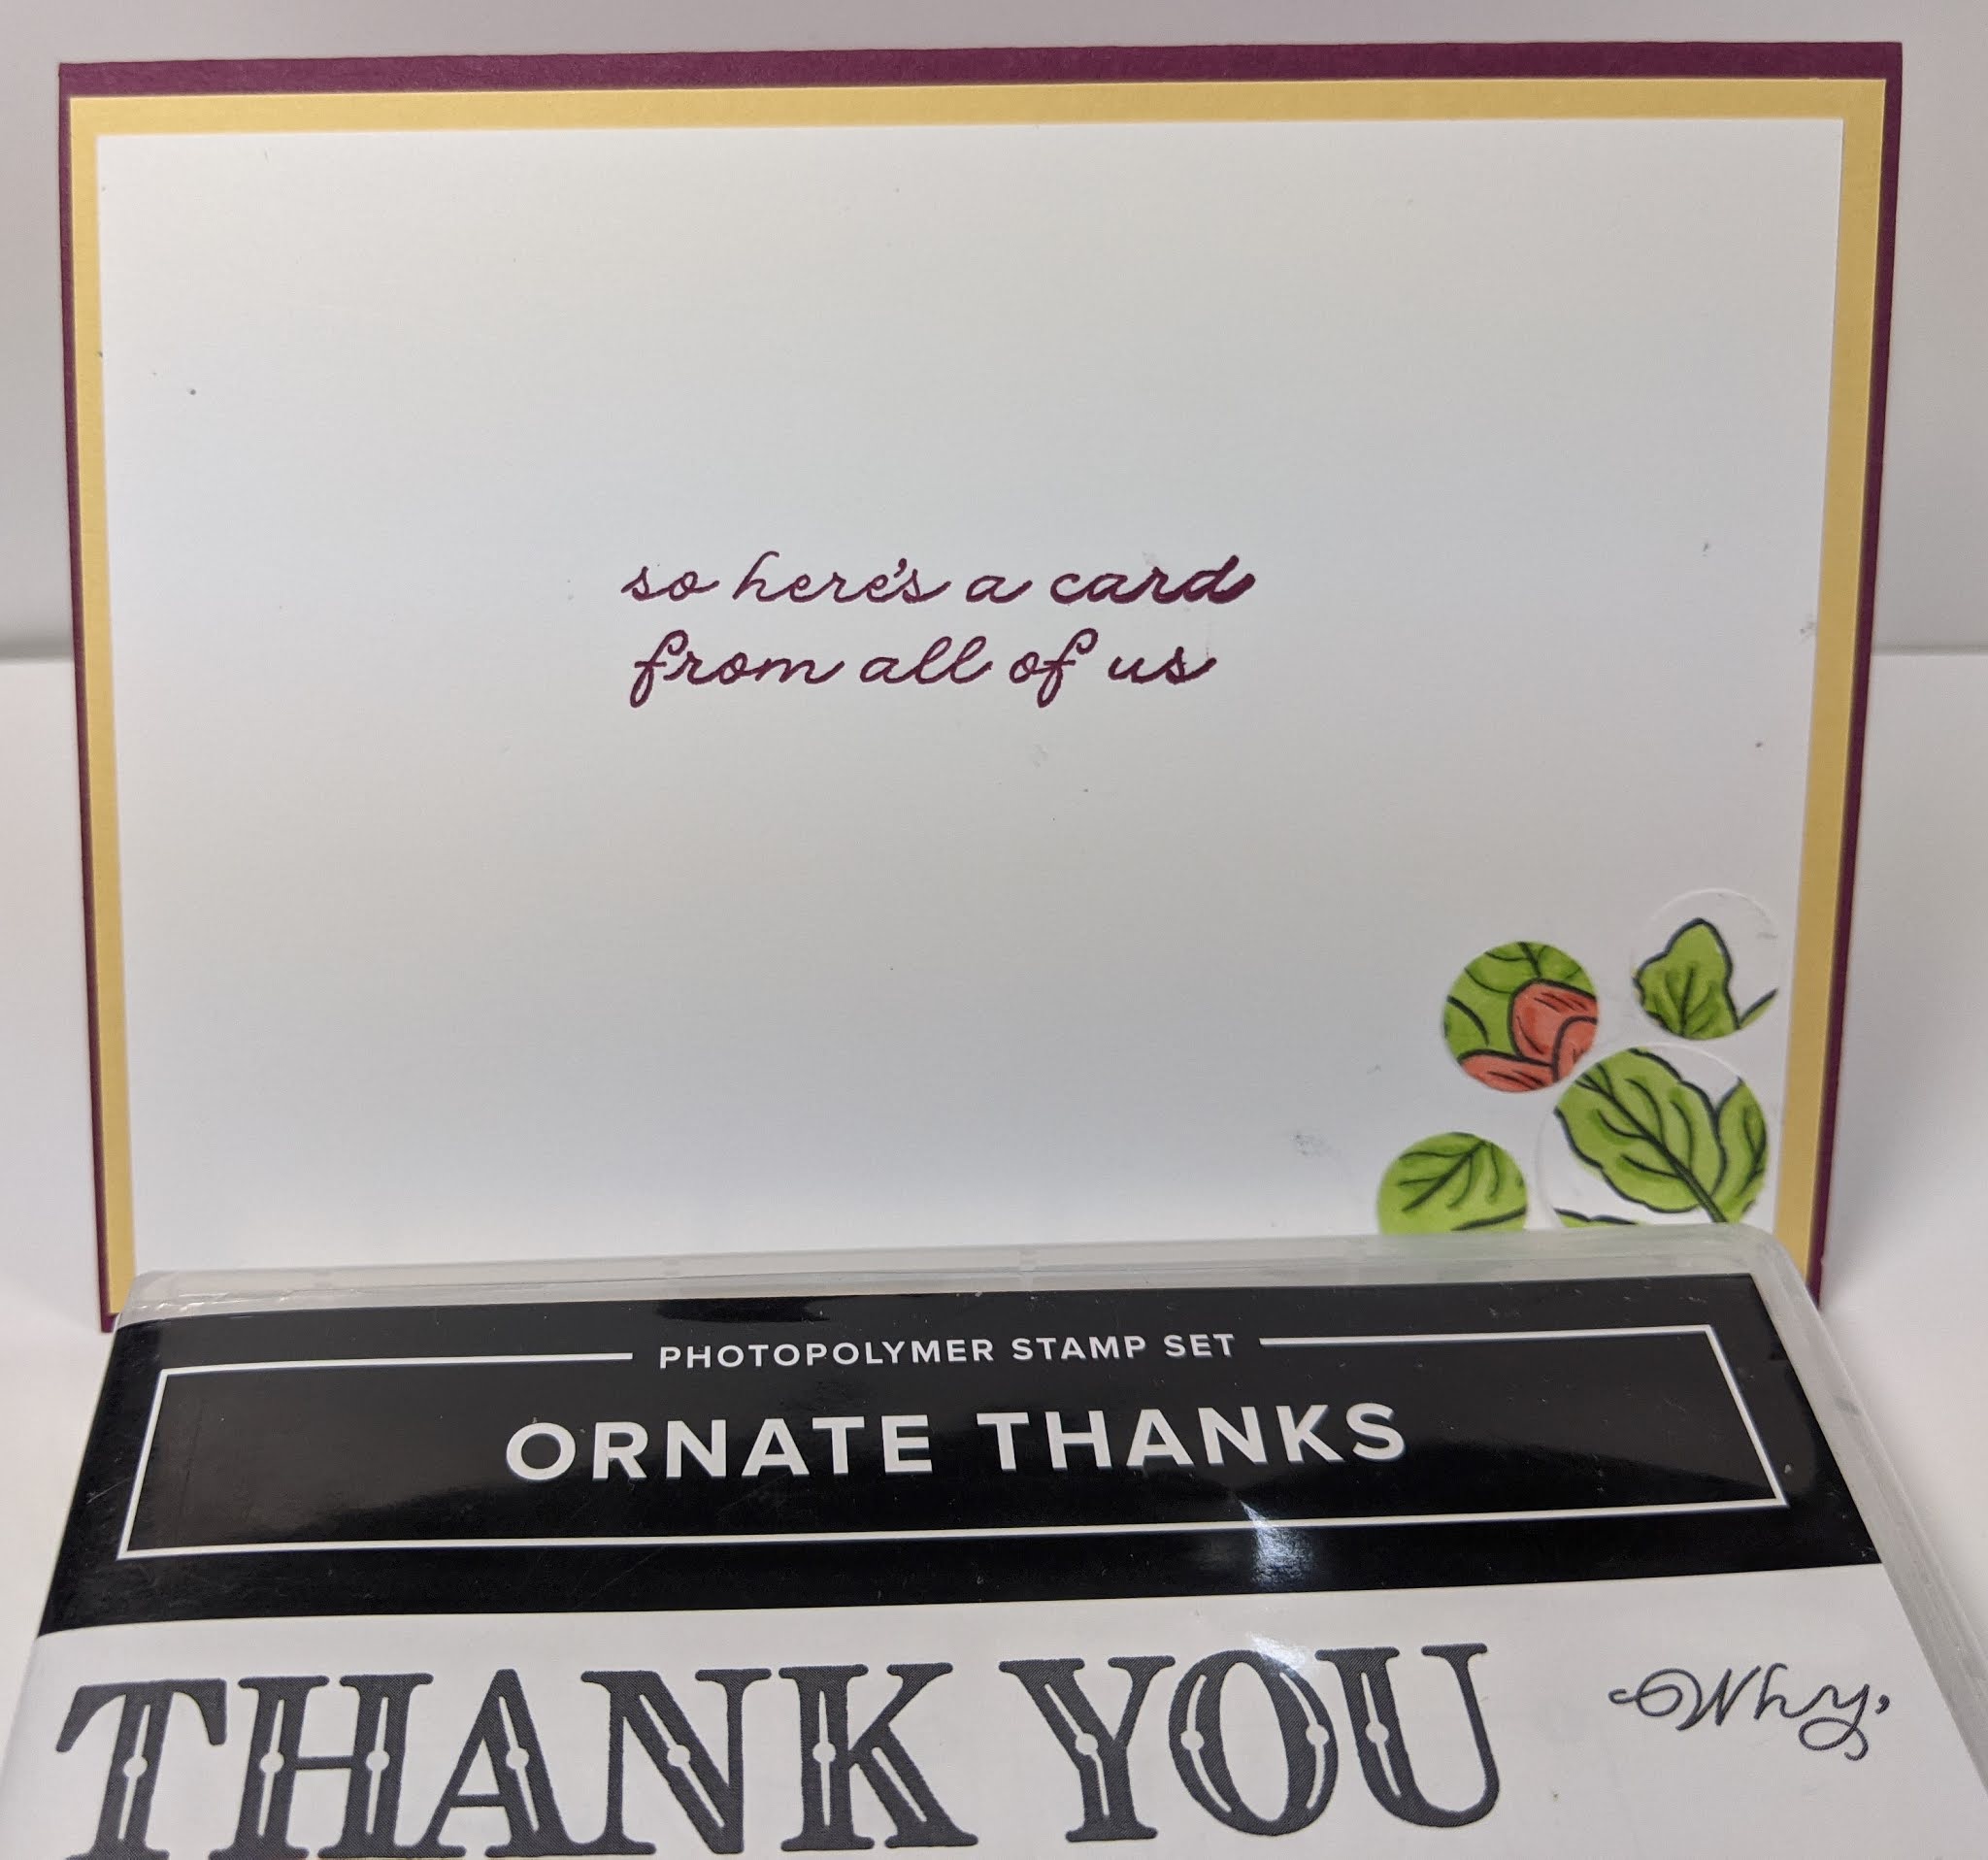
I have used Rich Razzleberry and So Saffron card base and mat for this one today. I think the colours really complement each other from the dark red of the Rich Razzleberry and the muted yellow of So Saffron. The image was stamped onto 2 different white mats. Only 1 was coloured in. I used Blends pens for mine in Rich Razzleberry, Calypso Coral, So Saffron and Granny Apple Green. Once coloured, I randomly punched out the image and then mounted several of the images onto the mat on the card. Adding a few messages from the Ornate Thanks stamp set from the suite. There were a few of the little punched shapes left over and I added them inside.


If you would like to know more about the suite or other Stampin' Up! products, please follow the link to our shop HERE  It will open up a new window for you.


GIANT YEAR-END CLOSE OUT EVENT!


    Today marks the start of the the Stampin' Up!  GIANT Year-End Close out Event! 

Many of the amazing products from the Retiring August–December 2020 Mini Catalogue have been reduced by up to 50% Sounds too good to be true? It isn't, I can assure you. IT'S AMAZING!
Click on the image and it will take you to our shop where you can see all of the reductions.
 

Shop NOW.

The sooner you shop the more chance you have of getting what you want before stock runs out.
 
 
Click HERE and go shopping.

Have fun browsing 😀😀
 

Monday, 7 December 2020

Make It Simple Monday - Ornate Garden Suite

Hello and welcome back to another week of me hoping to inspire you with some ideas for your cards. Well, I'm sure many of you have made enough Christmas cards for this year so this is now December and we are all about the rest of the year. Cary and I have had a crazy week, we have had so many events this year online that we now have to send out our annual gifts and thank you's. In addition to preparing for the new catalogue which has arrived with us but will arrive with you by the beginning of the New Year. If you would like a catalogue from us, please drop us a line for your complementary copy. Don't forget too that if you live in the UK, and Europe (at the moment) you can shop with Stampin' Up! through us. Follow this link and it will take you to the 2 Big Girls Crafting Catalogues. No, you'll not see the new products there yet but it will be very soon. Please click HERE. The link will want you to open up a new window so that you don't loose your place on here. 

We will have first of all Thank you cards to write, then birthday, weddings, anniversaries, birth and of course sadly, loss of loved ones. I've gone into full thank you mode this week as the children and grandchildren are going to be asking for lots of thank you cards to send to friends and family this year as they'll obviously be unable to thank them face to face. What a year!! It has certainly has been a very unique one that hopefully will never be repeated. 

As I mentioned above in the title I am using the lovely Ornate Garden Suite this week for mainly thank you cards. More information on the suite, please click HERE 

My first card is of course a very simple one. I have stamped the images onto a white mat using the gorgeous bluey-green of Coastal Cabana ink and card base. I have actually made 3 different versions this week to show that with a few extras, you can change your card up very quickly and simply.

 
Here is the very simple card and using a few blends and some Frosted gems added it brightens the card immediately.

This next version I have stamped another flower and fussy cut it out and raised it using the foam shapes and the added gems.

As I said before, just by adding a few little touches I have managed to liven the card a little more. What will tomorrow bring I wonder?


Friday, 4 December 2020

Fun fold Friday Peaceful Nativity

For the final post of the week I've used the beautiful Peaceful Nativity stamps and dies from Stampin' Up!. This set is adorable 😍 and straight away I knew I had to make a diorama card with it.
I also wanted to use the colour I've been featuring all week which is....Highland Heather. 


A beautiful soft purple that goes so well with so many colour schemes and different styles.


 Diorama cards are all about the layers and leading the eye through the image. 

I  had so much fun stamping and colouring the images to use. I used Stampin' Blends which are alcohol markers as they give a great finish to a project. Then I used the dies to cut them all out and worked on my layout.


My card folds flat for postage which is very handy! And fits in a standard C6 envelope.

I decorated a panel on the back so that you can write your message. 


Well that's it from me this week. Please join us next week when Gill will be sharing her creations with us all.

Have fun

Cary xx

Thursday, 3 December 2020

Throwback Thursday Poinsettia Petals bundle

 Today's card style is one I remember using a lot a few years ago....ok it might be bit longer than a few years but hey oldies can be goldie can't they? 😉 So to bring it bang up to date for December 2020 I've used the fantastic Poinsettia Petals stamps and dies from Stampin' Up!.


To create the window I first die cut a circle through the card base front and a seperate layer of cardstock.  I then sandwiched a piece of acetate between the layers and trimmed the edge to ensure a flush fit.

To decorate I die cut from white and grey. To tone down the grey I sponged white ink over the edges and left them to dry whilst I coloured my flowers. 

I used Stampin' Blends which are alcohol markers, but watercolour pencils or any other type of colouring tool will work, to add splashes of colour radiating from the middle of thw flowers. I then took a darker shade of alcohol marker and coloured some clear rhinestones to coordinate with my flowers for the centers.

Next was layering and portioning to make it look pleasing to my eye. I think it looks pretty even though it is quite busy . What about you?