Showing posts with label #blends. Show all posts

Wednesday, 13 July 2022

Watercolour Wednesday - Apple Harvest

Another hot day for us here again today and it's only 6am! Mustn't grumble as it'll be gone before we know it sadly. Using the Apple Harvest stamps today I have been playing with making backgrounds. Have I had fun! I tried lots of different ways to get the effect I wanted for this project and eventually after 4 attempts, I made it thankfully. I soaked the back and front of some watercolour paper and while that was absorbing the water, I took a cello bag and swiped 3 inkpads across it. I used the gorgeous soft purple of Highland Heather, the bright yellow of Daffodil Delight and the blueish green of Coastal Cabana then spritzed the whole lots really well. 

I didn't want the colour to travel into each other too much so I just lifted it after a few moments. However, as the colours were quite soft, I spritzed some more water over the watercolour paper and gently touched the tip of the ink refils onto the very wet paper and brushed the colour to and fro'. I left it to the side to dry before stamping the larger bunches of apples onto it. Though I have used the Blends pens in the dark red of Cherry Cobbler and they now resemble cherries to me. Cherries or apples, I don't mind as I'm rather pleased with the outcome.


Friday, 7 May 2021

Fun Fold Friday - Butterfly Brilliance

Hello. For my last card this week I have of course made a folded card. Not just a fun fold but a box fold or Diorama (I think that's how it's spelled). This isn't my fold it's one that I saw on another site made by Julie DiMateo. It is her template that I am using today.  I have made box cards before and thoroughly enjoyed making them but it was quite a long time ago now I think of it! I am obviously using Butterfly Brilliance Stamp for this project with Whisper White and Calypso Coral card stock for the box to deliver or post it in. 

For more information on the stamp set or any other products, please click HERE and it will take you to our shop. It will open up in a new page so that you don't lose your place here.

I started with a 21.5 cm squared piece of White card and scored it all around at 1.3 cm, 2.6 cm, 3.9 cm and 5.2cm. Julie uses Imperial measurements so follow her instructions if you prefer to as they are include here too. Once you have scored all 4 lines on each of the 4 sides you will need to score on opposite sides down to the 2nd horizontal line @ 6.4 cm and 15.2 cm. For Imperial measurements, you will need to follow the cutting instructions on the chart. Basically trim off the greyed out areas on each of the corners in Julie's diagram. Trim a little notch on each of the corners that will be folded to join the corners together. Then fold and burnish all of the score lines, tape or wet glue the little tabs and feed them into the hollow ends. Decorate as you wish. I chose the large Swallowtail butterfly from the set in the end. It was too hard to decide! 

I stamped the whole set of 6 butterflies using my Stamparatus. I have arthritus and cannot hold the very large blocks in my hands so I find the Stamparatus the most fantastic tool ever! Once stamped, I die cut them all out using the single die, oh that is so very clever! Then using Blends alcohol marker pens, I coloured several of them in and decided which one I wanted to use.

I took some DSP (double sided paper or in Stampin'  Up! terms, Designer Series Paper. It is exactly both in fact) and cut a square 11.5 cm squared then cut out or gutted the centre at 1.1 cm all around. That gave me a perfect frame to add to the front of my box. The piece from the inside was trimmed down a little to fit into the centre of the box. The rest is purely decoration. I finished the front by adding a vellum butterfly too. 

Julie has added a kick stand to hers, I added a card base. I cut a piece of card 23 cm by 11.5 cm and scored along the long edge at 11.5 cm. A mat in Calypso Coral of 10.8 cm squared, a message and another small butterfly to complete. It stands really well with the card base too.

stampin up 2 big girls crafting butterfly brilliance brilliant wings calypso coral stamparatus box card frame card shadowbox template


Here are Julie's instructions in inches

Below is the measurements for the box and lid that I made to hold it. The box is 16 cm squared and scored at 2cm on each of the 4 sides. I made little notches in the corners to join them together so make the notches and tabs as shown..

The lid is similar to the box only 0.5 cm bigger at 16.5 cm. Again score at 2 cm on all 4 corners and make the notches and tabs as shown.

Below is the completed box. I will add a gift tag when I get around to sending it.


Thank you so much for joining me this week, please stop by next week to see Cary's creations. 

Until then, please stay safe, keep well and Carry On Crafting. 

xxxxx Gill xxxxx


Friday, 12 March 2021

Fun Fold Friday - Massive Thanks

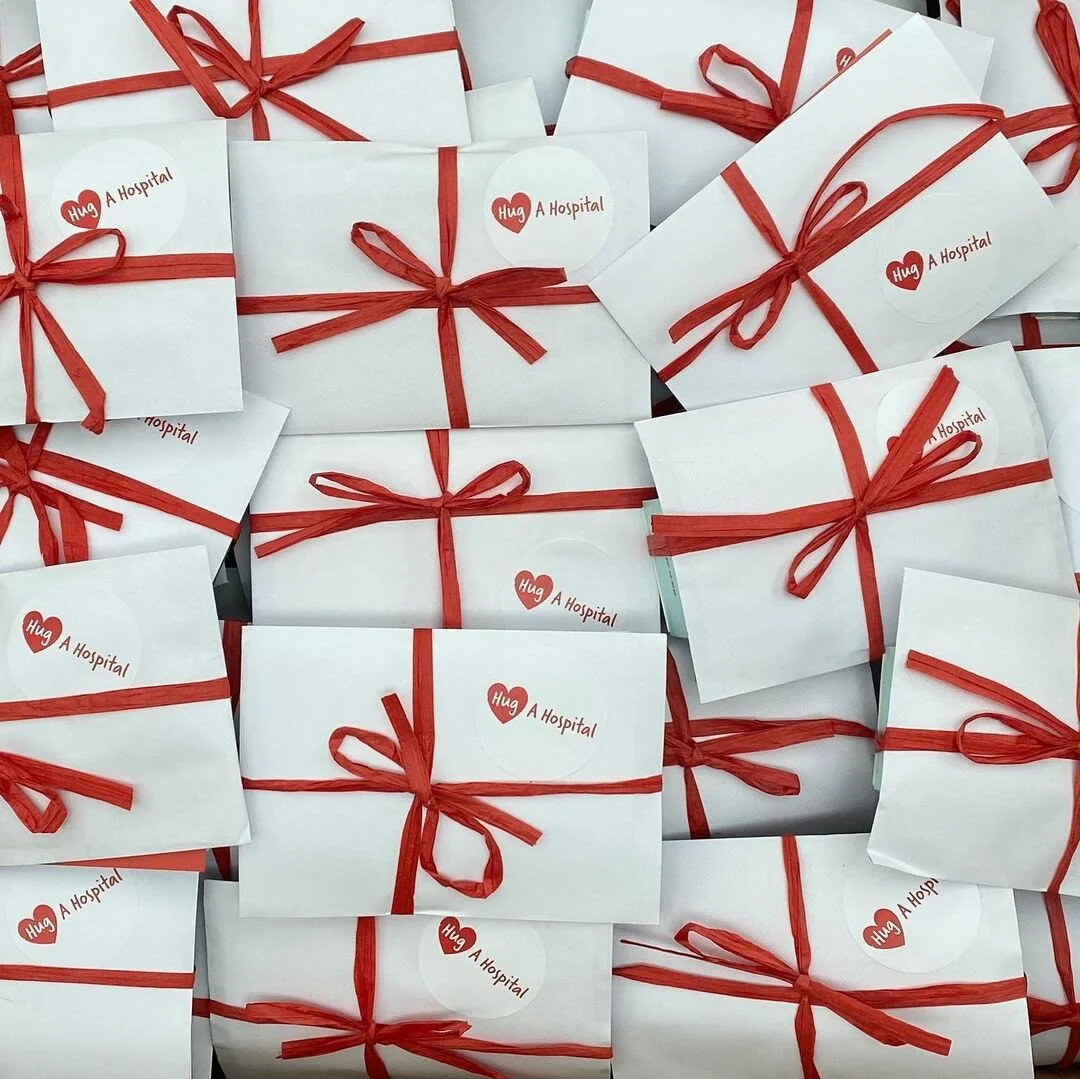
For my last post this week, I would like to remind you about why I have made thank you cards all of this week. Cary saw an article for Hug a Hospital campaign. It is about people making C6 cards and personally writing your own message of thanks and your signature to the nursing and medical staff at all of the UK hospitals. Throughout the Covid 19 pandemic, the staff in all hospitals have basically put their lives on hold to care, treat and support everyone. More information at the bottom of this post.

Anyway, here is today's card from me. I made a triple folded card, probably not suitable for the campaign so I will be making some simpler style of cards as this one will cost a little more to post because of the layers. I started with a length of card 29.7cm wide by 14.85cm high. Scored at 10.5, then 2 marks at 5cm from each, 2 x 4cm marks from each one. As the card will only fold up to the second 4cm mark, the little piece of card that is left became a hinge for a 6cm piece which had been scored at 3cm. I lowered the first level of card by 2cm on the 5cm wide strips. on the 4cm wide strips it was a further 1cm lower than before and another 1cm lower on the 3 cm wide piece too. So you can see the stepped layers of each part of the card. I used some of the Free Ombre papers that we got during Saleabration to decorate each layer. I finished off by adding a much smaller white mat onto the main card base and decorated the side panels with more Thank you's and some of the gorgeous Forever Gold Speciality papers. They are AMAZING!! They add such a lovely touch to any project. I added a sunflower from the Celebrate Sunflowers stamp set and fussy cut it out. I coloured it in using Bermuda Bay Blends.
Please click HERE for a link to the stamp set, Massive Thanks and all of the other products from Stampin' Up! in my shop. 


It really is that simple. We held a craft day where our crafting friends and family came together and made thank you cards, it was a great success. They can be sent directly to us but also directly to the campaign address which is...

Hug A Hospital 

PO Box 119

Haslemere

Surrey

GU27 9HG 

If you feel that you would like to contribute some cards and thank you's to your hospital, please feel free to do so. It really is important.


We are raising the morale of frontline staff in our hospitals everywhere in response to COVID-19, through the giving of virtual and metaphoric hugs from the communities around them. 

“Hug A Hospital has such a vital role to play. We have been fighting this pandemic for almost a year, and our staff - especially the nurses - are exhausted. Whilst the rest of the world is bored of social distancing, mask wearing and staying indoors, our nurses have to get up day in, day out and carry on. Round the clock, they are looking after the sickest of our patients, some of whom will die, feeling very forgotten”

Hug A Hospital does NOT want our nurses to feel forgotten.

Our Hug-in-a-Card campaign needs YOU!

Please can you help us raise the morale of our amazing but exhausted nurses working with Covid-19 patients throughout the UK? Hug A Hospital’s campaign is delivering the public’s unique, handmade cards with their own personal message of thanks and support inside to all these nurses.

A HUG IN A CARD! 

Thank you so much for joining me this week, please stop by next week to see what creations Cary has in store for you. 
Until I return in a few weeks, please take care, stay safe and well and 
KEEP ON CRAFTING 
Thank you again, Gill xxx 

Monday, 7 December 2020

Make It Simple Monday - Ornate Garden Suite

Hello and welcome back to another week of me hoping to inspire you with some ideas for your cards. Well, I'm sure many of you have made enough Christmas cards for this year so this is now December and we are all about the rest of the year. Cary and I have had a crazy week, we have had so many events this year online that we now have to send out our annual gifts and thank you's. In addition to preparing for the new catalogue which has arrived with us but will arrive with you by the beginning of the New Year. If you would like a catalogue from us, please drop us a line for your complementary copy. Don't forget too that if you live in the UK, and Europe (at the moment) you can shop with Stampin' Up! through us. Follow this link and it will take you to the 2 Big Girls Crafting Catalogues. No, you'll not see the new products there yet but it will be very soon. Please click HERE. The link will want you to open up a new window so that you don't loose your place on here. 

We will have first of all Thank you cards to write, then birthday, weddings, anniversaries, birth and of course sadly, loss of loved ones. I've gone into full thank you mode this week as the children and grandchildren are going to be asking for lots of thank you cards to send to friends and family this year as they'll obviously be unable to thank them face to face. What a year!! It has certainly has been a very unique one that hopefully will never be repeated. 

As I mentioned above in the title I am using the lovely Ornate Garden Suite this week for mainly thank you cards. More information on the suite, please click HERE 

My first card is of course a very simple one. I have stamped the images onto a white mat using the gorgeous bluey-green of Coastal Cabana ink and card base. I have actually made 3 different versions this week to show that with a few extras, you can change your card up very quickly and simply.

 
Here is the very simple card and using a few blends and some Frosted gems added it brightens the card immediately.

This next version I have stamped another flower and fussy cut it out and raised it using the foam shapes and the added gems.

As I said before, just by adding a few little touches I have managed to liven the card a little more. What will tomorrow bring I wonder?


Thursday, 26 November 2020

Throwback Thursday - Have a Hoot

 Today's card was supposed to be a shaker card as I have made so many over the years but it didn't work out as I have imagined. So I went back to the drawing board, so to speak. I die cut the triple frame from a plain white mat and then embossed it using the Woodland embossing folder. The folder has always been one of my favourites and I'll be forever using it too. I stamped 3 of the owl images and coloured them in using a mixtre of Blends and Watercolour pencils. 

Colouring is so relaxing just like fussy cutting is too. I know, I am strange! 

I lined each of the images up and one by one added them onto the frame from below. There is an easier way to place them and that is to make a mask of the die. I did use that a few weeks ago and found it very useful too. I had kept the mask but now I can't find it! Typical!