Showing posts with label #stamparatus. Show all posts

Friday, 10 March 2023

Fun Fold Friday - Love Cats

 Well here we are already it's Friday and kick off day for Cary and I. Today we leave our homes to go to our retreat for the weekend for lots of fun and crafting. So I have had to get the card for today made a little early. This is a simple fun fold in the form of a Z fold card. Using Sweet Sorbet card, I covered the facing pages with some more of the DSP Country Gingham papers. Just 2 of the cats on this one today but I have really fallen in love with these cats which is crazy as I'm a dog person! 

I used a piece of Sweet Sorbet card 10.5cm by 29.7cm which is basically half a sheet of A4 card cut down the long side. This was then folded in half at 4cm and 14.85cm. I then added DSP on the 2 front panels and a white mat on the inside mat with a strip of the DSP to the right. I added another Sweet Sorbet panel which is 10.5cm by 7.5cm with a white mat and strip of DSP on top. Both of the cats were stamped using the Stamparatus. As they are solid images, you generally need to stamp them a few times to make sure that the whole image is perfect and the Stamparatus is perfect for it.


Well that's it from me for this week. Cary will be back next week to show you some more of her creations, please join her and see what she's been up to. 

I will be back the week after so until then, as always,  stay safe, keep well but more importantly...

KEEP ON CRAFTING!

Love, Gill 

xxx 😍😍😍 xxx

Tuesday, 6 September 2022

Technique Tuesday - Family & Friends

 Today's project  is yet another simple one that if you have a Stamparatus you can replicate or mass produce very easily and quickly. I lined that card up and placed the magnets over it. Using the Family & Friends stamp set again I added the clean stamp to the left of the card so that it would cover most of the card. Then using several different colours, 6 in total, I inked the stamp and placed it down onto the card. When using different colours on 1 stamp, always remember to clean the ink off the stamp each time or you'll get messy ink pads! 

I added a strip of retired Real Red Sheer Ribbon that I had and tied with a knot. It doesn't conceal where I added the stamped image to the right of the card but just adds a focal point. Nothing else but the strings of lights. That's it!


Friday, 26 August 2022

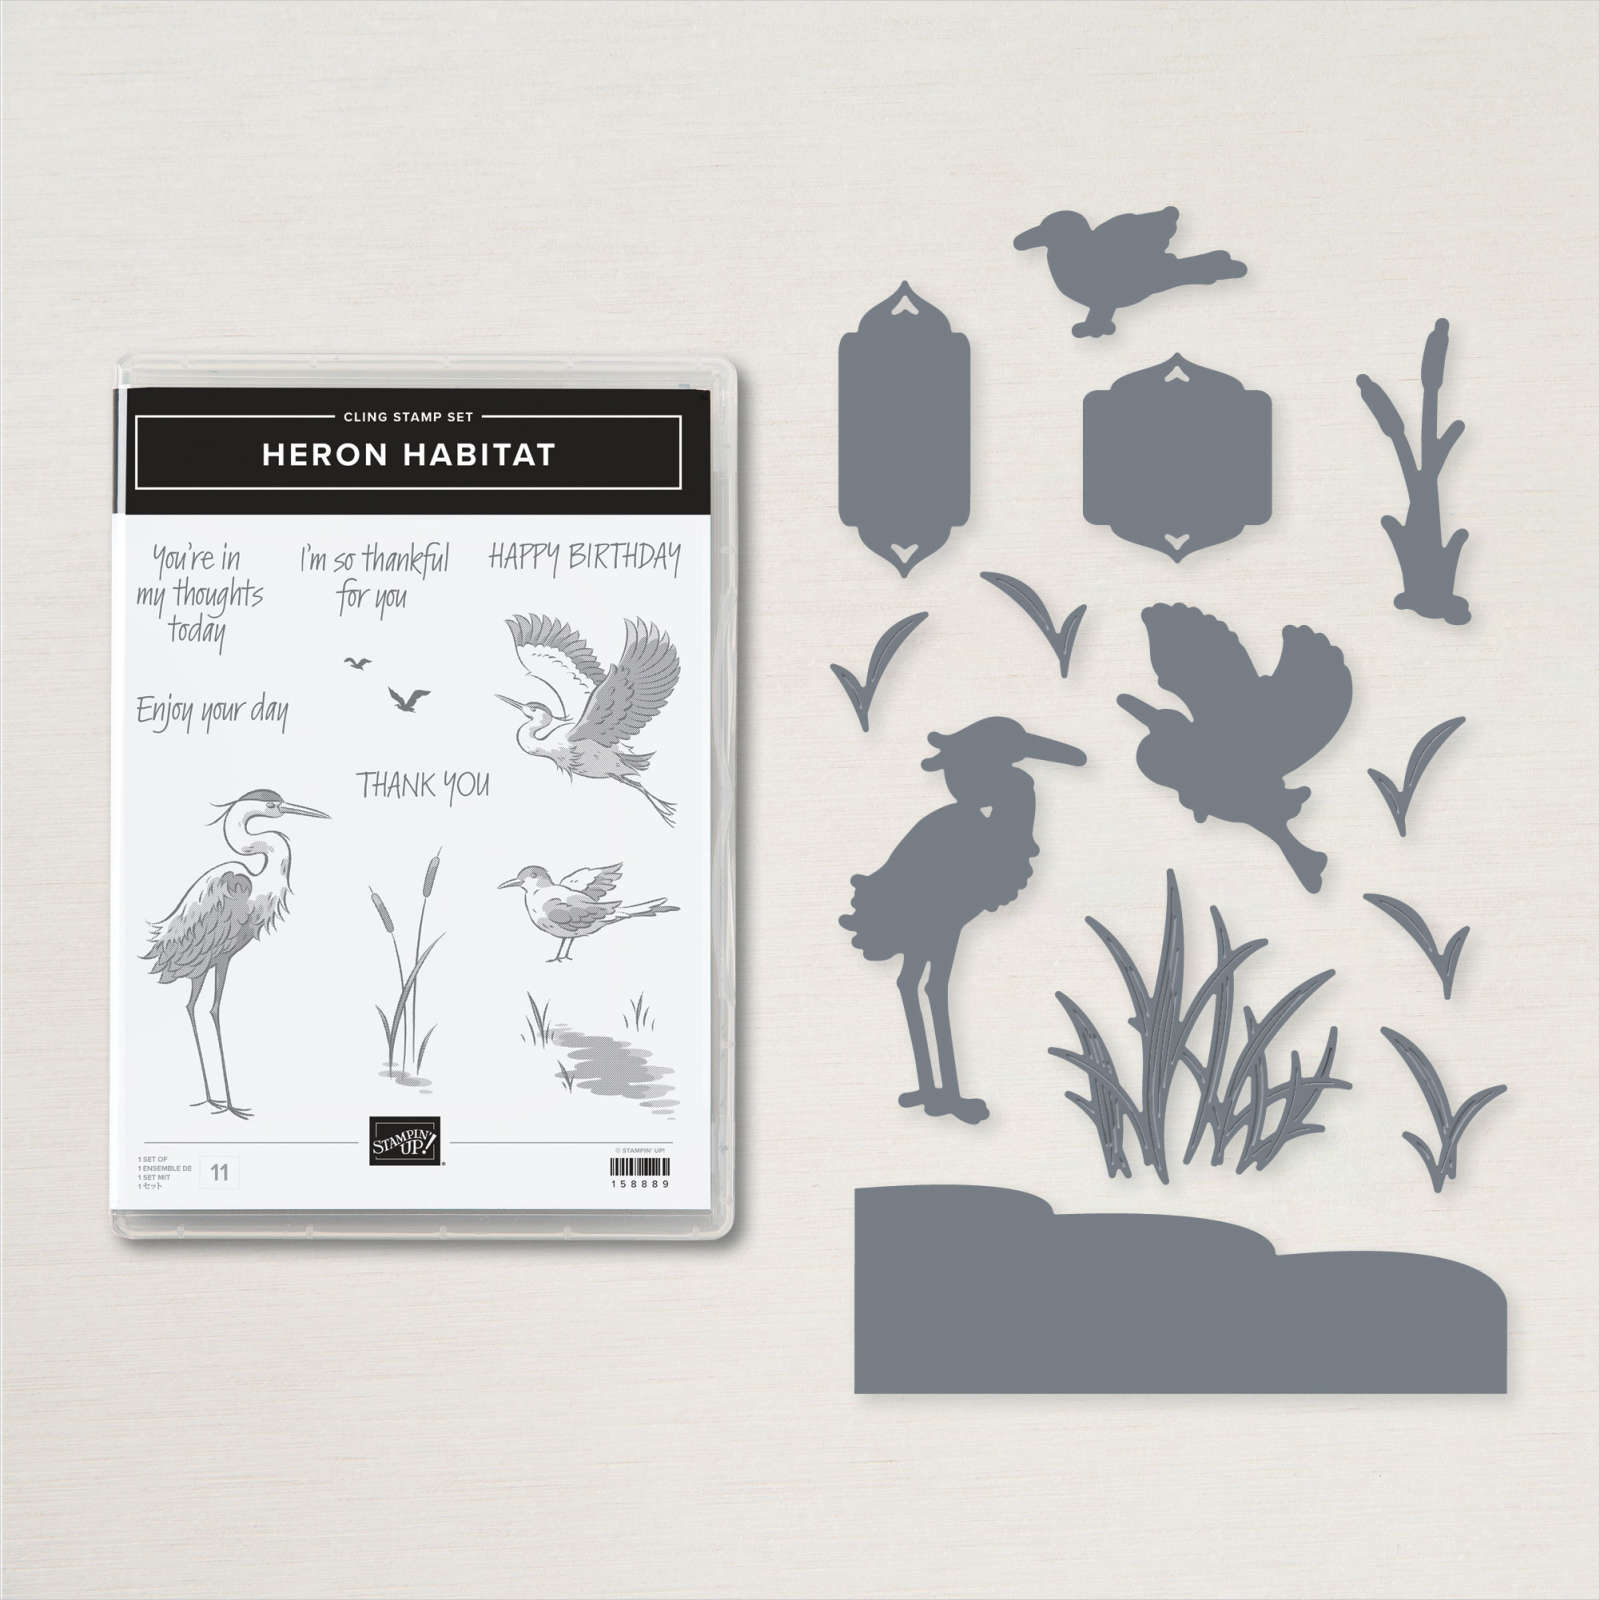
Fun Fold Friday - Heron Habitat Bundle

Wow! It's Friday already! Time flies when you're having fun and fun I have had this week again. :)) Using the Heron Habitat Bundle today I have made a card that I have done several times in the past. I started by taking a whole sheet of A4 card in Polished Pink and scored both pieces at 3.5cm and 5.5cm from each side. Approximately 1,3/8" and 2,1/4". Then using the Layering Diorama Dies, I cut a hole in the centre of one of them. 

I took another piece of DSP from the retired, New Horizons Designer Series Papers and cut it at 14.4cm high by 13.5cm wide. I cut that into 3 pieces. 1.8cm then 9.9cm which left me with another piece of 1.8cm wide. I added the 2 narrow strips to the narrower, outer front edges of the piece which I had die cut. Using low tack tape, I lined the other piece up on the inside of the front and die cut through the aperture. That way, I know that the pattern lines up! I had a piece of the Pink, Supple Shimmer paper in my stash which I added to the centre back piece. I realised after I had used it on the card that it also retired at the end of the last seasonal catalogue! I continued as I had already adhered it. Then lining the diorama shape of DSP through the aperture on the front piece, I adhered it to the Shimmer paper. I then added the rest of the DSP over the front of the card following the shape and pattern. 

I then had some fun with the stamping and die-cutting of the herons, birds and bull-rushes. I used the Stamparatus to get the reverse images on some of the birds. To finish off, I added some more of the shimmer paper to the sides and 2 die-cut pieces from the Delicate Edges dies. A few sentiments for the front and the back finished this card off. 

I am sorry that I have used a few pieces of retired DSP this week. Some of it had to be used as it coordinated with the projects so well this week.


HERON HABITAT BUNDLE (ENGLISH)

That's it from me for another week, thank you so much for stopping by to see what I have been up to. Cary is in New Orleans this week but has made some gorgeous projects to share with you for next week ahead of time. Please look out for her amazing projects next week.    

Until I return, please keep well, stay safe 

but most of all.....

KEEP ON CRAFTING!!

Love from Gill 

xxx😍😍xxx 

Tuesday, 16 August 2022

Tips tricks and techniques Tuesday Grassy Grove

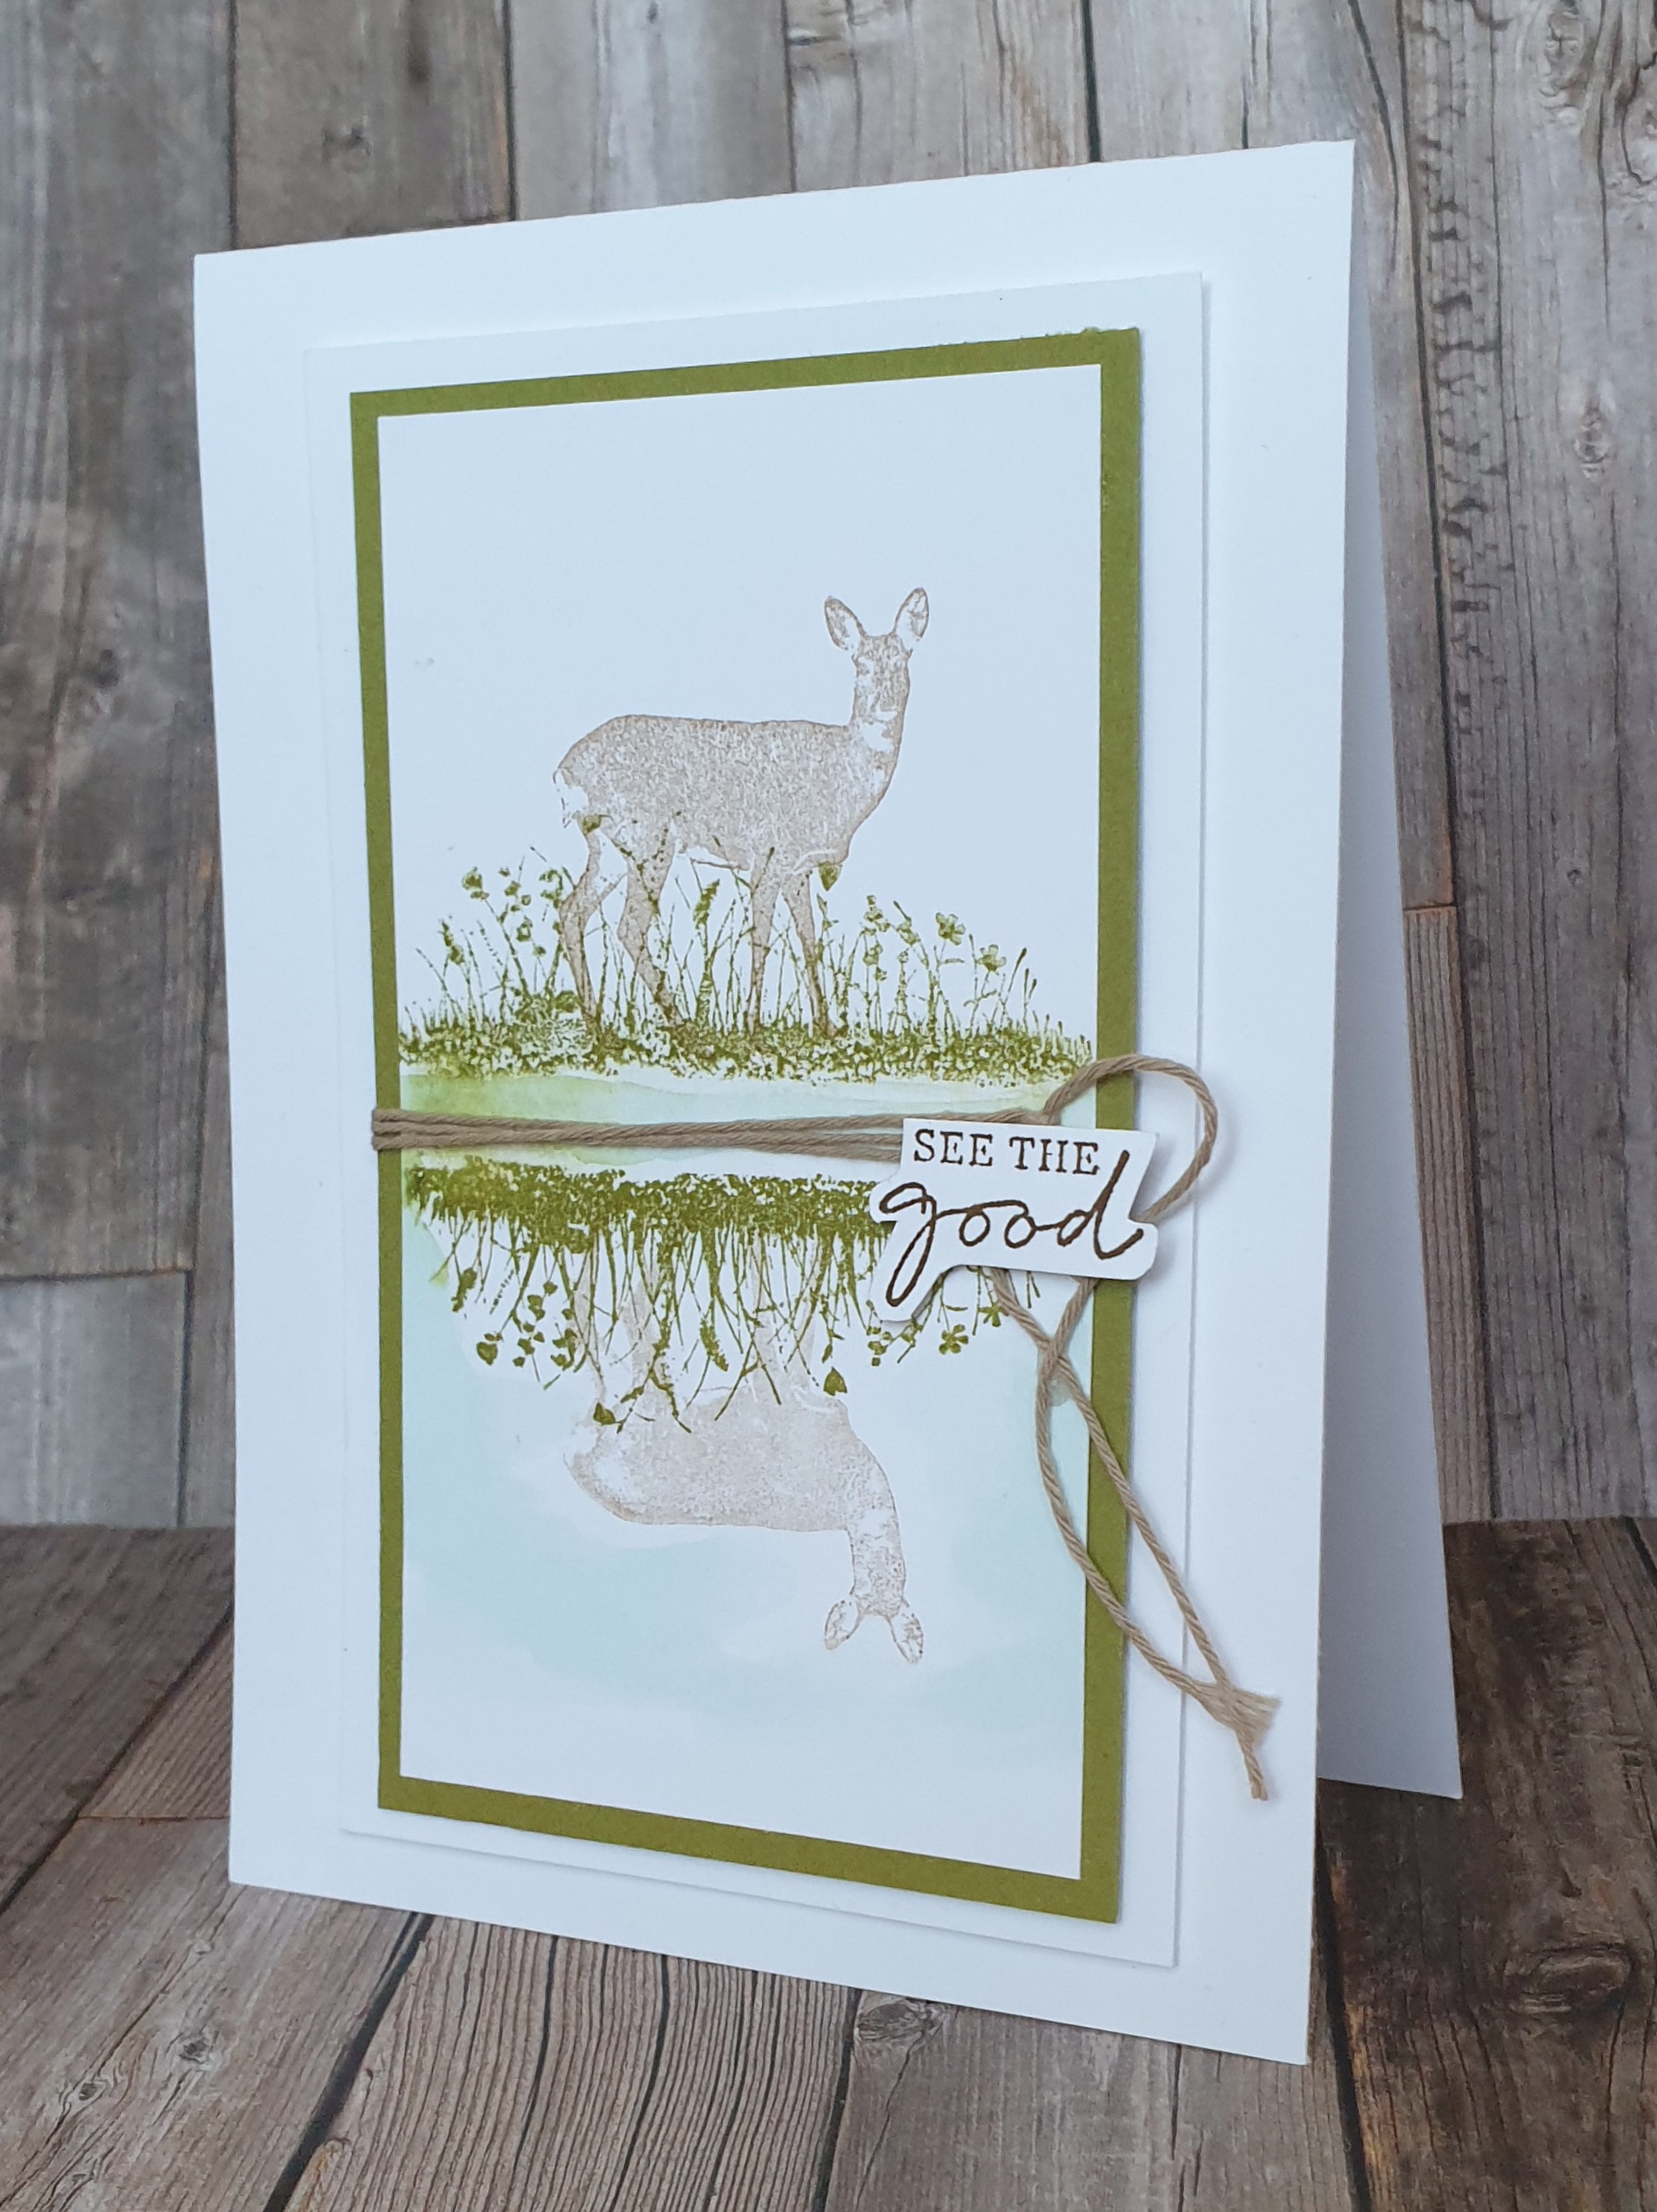
 Today's card is one that came into being during one of my regular Monday Facebook lives. I was showing how to create reflection images using the Grassy Grove ,stamps among others, with the Stamparatus.  The Stamparatus is a fantastic stamp positioning tool that makes the reflection or mirror stamping technique so easy!.

Grassy grove Stamparatus stampin up mirror reflection stamping

 Now rather than try and explain how I did the technique here is a link to my video. The video is warts an all . I don't edit so there are mistakes and you get to see them!!


 The card isn't finished in the video so here's  a closer look at the final sample.

Grassy grove Stamparatus stampin up mirror reflection stamping

 Isnt the deer simply stunning? I love how serene it looks and the simple elegance it gives to the card. 


To emphasis the reflection in the water I used a little blue ink and a waterbrush to create a pool. I also took a length of linen thread and wrapped it around the center to draw the eye to the center point.  A small sentiment and a few simple white layers and my card was complete. 


I love the calm feel of this card with it's nature colour palette and natural texture of the twine.

Friday, 15 July 2022

Fun Fold Friday - Apple Harvest

It's my last day once again for this week and I have made a style of card that I don't often do . In fact I think I have only ever made 2 or 3 like this. It is a very simple fun fold too. Using the Apple Harvest stamp set, I stamped one of each of the apple stamps and one more single apple onto white card. I coloured them in using Blends pens after looking online at the many different types of apples available. I cut a mat of Granny Apple Green card 14.4cm by 10cm, embossed it with the Hive folder and added it to the front of the card base.

I cut another white mat 10cm by 28cm and scored at 7cm,14cm and 21cm. Using the new label punch called the Decorative Label, I placed it half way into the centre fold on the inner white card piece and cut out the aperture. I embossed the white mat from both ends using the Hive folder. 

I used my Stamparatus to stamp the apples out all in one go and removed the extra stamps leaving only the single one in place. Instead of a piece of white card, this time I added my silicone mat onto the platform and inked and stamped the image several times. Once I was happy with the image on the Silicone mat, I placed a scrap of white card carefully over it and stamped the apple again. This resulted in the apple being stamped on both sides of the white card. If I had only wanted 1 double sided image, this would have been perfect but I needed to adhere some ribbon or thread in the centre of 2 apple images. Before adding the ribbon, I coloured both sides using my Blends pens. Then, I cut a short length of the Simply Elegant Trim in Silver and taped it into the centre so that it would suspend from where it was placed. I added Tombow multipurpose glue to the whole apple and adhered the other side of the apple to the first one. They were then taped to the centre fold of the white inner mat and suspended within the centre of the aperture.

I cut some Granny Apple Green panels for the outer mats to make the images pop and then a further one for the centre of the aperture. My measurements for the green panels were 2 pieces 7.5cm by 10.3cm and one piece 14cm by 10.3cm. The latter of which was embossed once again with the Hive folder. I added the centre panel first and then adhered the 2 green panels to the outer edges of the long white mat then adhered those 2 green mats to the inside of the card.

I finished off by adding the other apples and a sentiment from a Saleabration stamp set called Hippest Hippos. I'm sure you have seen the gorgeous cards that Cary has made using them. 


 Well, that's it from me this very hot week. Thank you so very much for stopping by to see what I had made. Please take care and make some cards yourself to give and or send to some loved ones. I love to receive hand crafted cards, they really do cheer me every time I get one. I hope that mine cheer others up too. 

Cary will be back next week with some of her creations so please stop by to see.
Until I return the following week, please take care, stay safe and well but most of all, 

KEEP ON CRAFTING!  

😍 xxx Gill xxx 😍


Friday, 31 December 2021

Fun Fold Friday - Elegantly Said

Today's card is another throw-back to earlier this year. This is a pinwheel card. A pinwheel card can be made with as many or as few leaves as you like providing a...You use an even number of pieces and b... You have an envelope big enough! The last one sounds crazy but trust me...I once made one so big that I had to make a new envelope as I had nothing in the correct size! Silly me!! Anyway, for my last day this week, using the Elegantly Said stamps, I used the sentiments in the form of Thank You. I decorated the pinwheel card with images from the stamp set and some gold leaves from the Expressions In Ink Ephemera Pack and the matching double sided paper. I also used Smoky Slate Ink pad for the images along with strips of DSP from the Simply Elegant Speciality Designer Series Paper. I still have a gold ink pad which retired some years ago and using a dry very fine brush, I lightly painted some of the images. I like the way it highlights them. I punched the sentiments out with the Elegant Tab Punch and trimmed them down a little to show some of the gold foil from behind. 

My pinwheel is a hexagonal or 6 sided one. I used 6 pieces of Basic White card 14.85cm by 8cm and scored each of them 2cm in so that the image mat is left with 6cm. This way the whole card isn't too big and will fit into a 15cm or 6" square envelope. 


That's it from me for another week. Once again, I am sorry that I missed Monday and Tuesday but hope you have found something that you like to get you crafting again before this year is out.

Today is New Year's Eve and both Cary and I sincerely wish you all a fantastic Happy New Year. May all of your dreams become a reality in 2022.

Cary will be back on Monday with her creations so please stop by and see what she has been making. Until I return be healthy, stay safe and well but most of all ....

 😍😍KEEP ON CRAFTING INTO 2022 😍😍 

HAPPY NEW YEAR


Wednesday, 29 December 2021

Wednesday - Not Watercolour - Elegantly Said

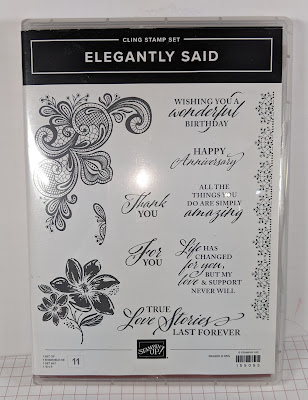
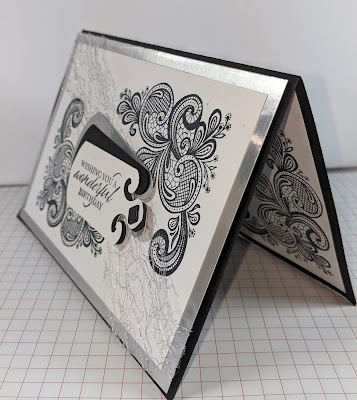
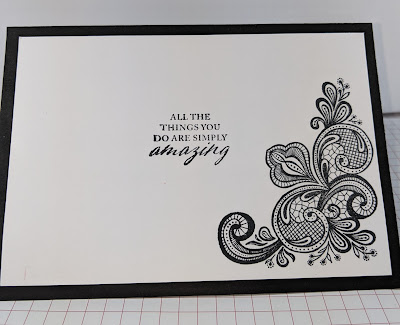
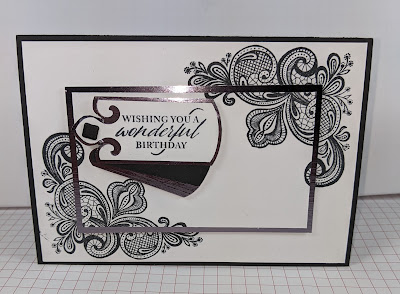
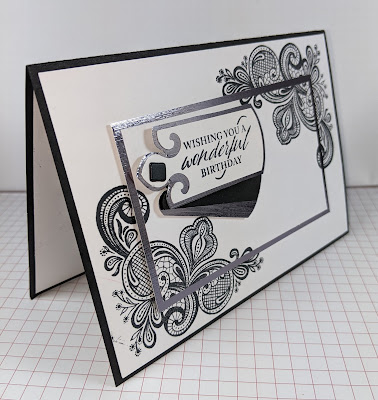
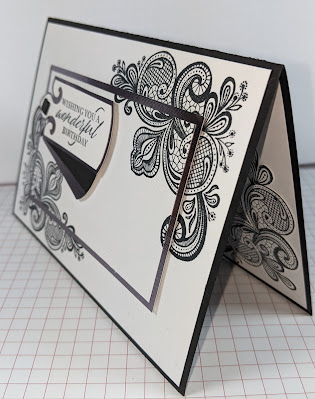
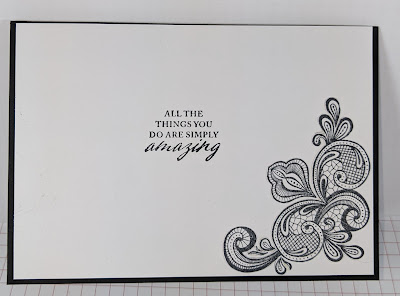
 Hello and welcome back. I do hope that those of you who celebrate Christmas had a very peaceful time. Apologies for not posting before today, life has got in the way I'm afraid as it often does at this time of year. This week I have been playing with a stamp set that I fell in love with as soon as I saw it, Elegantly Said. I love the corner decoration and the font and..... well all of it really! As I now have to write several thank you and Birthday cards, I thought I had better get started now while I can. I started with a Birthday duo as I have 2 cards to send out for the beginning of January. 

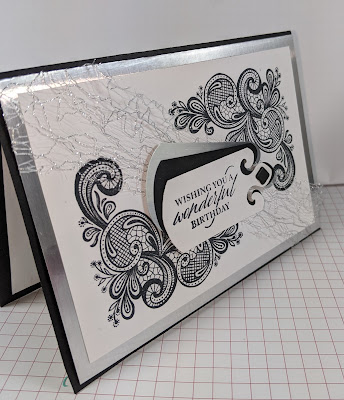
I have made only monochrome cards today. Very simple black and white cards. The first one I raised the whole of the front using foam shapes (dimensionals) and added the gorgeous Silver Metallic Mesh Ribbon. The second is where I cut out the centre and raised it onto a piece of the darker of the silver foils collection and the second I used the darker silver for. I have used the matching Elegant Tag punch. I love the fancy top of this punch which you can see on the message mats on the front. As I wanted the stamped images to be very crisp and sharp, I used the Stamparatus (Stampin' tool) so that I can re-ink the stamp and not have the images move. What an amazing tool that is!!


 Here is the second Birthday card.


Friday, 7 May 2021

Fun Fold Friday - Butterfly Brilliance

Hello. For my last card this week I have of course made a folded card. Not just a fun fold but a box fold or Diorama (I think that's how it's spelled). This isn't my fold it's one that I saw on another site made by Julie DiMateo. It is her template that I am using today.  I have made box cards before and thoroughly enjoyed making them but it was quite a long time ago now I think of it! I am obviously using Butterfly Brilliance Stamp for this project with Whisper White and Calypso Coral card stock for the box to deliver or post it in. 

For more information on the stamp set or any other products, please click HERE and it will take you to our shop. It will open up in a new page so that you don't lose your place here.

I started with a 21.5 cm squared piece of White card and scored it all around at 1.3 cm, 2.6 cm, 3.9 cm and 5.2cm. Julie uses Imperial measurements so follow her instructions if you prefer to as they are include here too. Once you have scored all 4 lines on each of the 4 sides you will need to score on opposite sides down to the 2nd horizontal line @ 6.4 cm and 15.2 cm. For Imperial measurements, you will need to follow the cutting instructions on the chart. Basically trim off the greyed out areas on each of the corners in Julie's diagram. Trim a little notch on each of the corners that will be folded to join the corners together. Then fold and burnish all of the score lines, tape or wet glue the little tabs and feed them into the hollow ends. Decorate as you wish. I chose the large Swallowtail butterfly from the set in the end. It was too hard to decide! 

I stamped the whole set of 6 butterflies using my Stamparatus. I have arthritus and cannot hold the very large blocks in my hands so I find the Stamparatus the most fantastic tool ever! Once stamped, I die cut them all out using the single die, oh that is so very clever! Then using Blends alcohol marker pens, I coloured several of them in and decided which one I wanted to use.

I took some DSP (double sided paper or in Stampin'  Up! terms, Designer Series Paper. It is exactly both in fact) and cut a square 11.5 cm squared then cut out or gutted the centre at 1.1 cm all around. That gave me a perfect frame to add to the front of my box. The piece from the inside was trimmed down a little to fit into the centre of the box. The rest is purely decoration. I finished the front by adding a vellum butterfly too. 

Julie has added a kick stand to hers, I added a card base. I cut a piece of card 23 cm by 11.5 cm and scored along the long edge at 11.5 cm. A mat in Calypso Coral of 10.8 cm squared, a message and another small butterfly to complete. It stands really well with the card base too.

stampin up 2 big girls crafting butterfly brilliance brilliant wings calypso coral stamparatus box card frame card shadowbox template


Here are Julie's instructions in inches

Below is the measurements for the box and lid that I made to hold it. The box is 16 cm squared and scored at 2cm on each of the 4 sides. I made little notches in the corners to join them together so make the notches and tabs as shown..

The lid is similar to the box only 0.5 cm bigger at 16.5 cm. Again score at 2 cm on all 4 corners and make the notches and tabs as shown.

Below is the completed box. I will add a gift tag when I get around to sending it.


Thank you so much for joining me this week, please stop by next week to see Cary's creations. 

Until then, please stay safe, keep well and Carry On Crafting. 

xxxxx Gill xxxxx