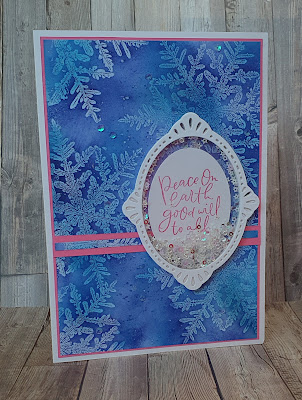
By the time this post goes live we'll be on our way to Vienna 😃 exciting times ahead. Neither Gill nore I have ever been so we're both super excited!! I'm looking forward to seeing the blue Danube , the river that the city sits beside, especially 💙 So in honour of that today's inspiration using the Framed Florets bundle will be all in shades of blue.. with a little pop of pink just for fun 😉
The card uses an updated version of a favourite technique of mine. Called Joseph's Coat the technique is full of colour as the name implies . You start by blending colours all over a piece of basic white cardstock. As I said I'm using blues so I blended a bright turquoise called tahitian tide and a bright blue called pacific point. ( I've just realised they're both very water based in name 🤣)
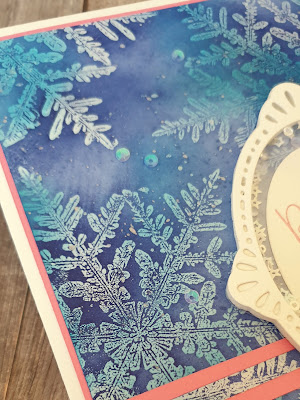
The blending doesn't have to be perfect but you do want to cover the entire area. I then chose a stamp. Now I chose to use a stamp called Snow Crystal. This stamp is a large single stamp.
But any stamp will work for this technique. I then made sure that the blended background was dry, this is important, before stamping all over the piece with versamark ink. Next I used clear embossing powder and heat set the images.
The final step is a but messy so have your work area protected with scrap paper and a soft cloth or kitchen roll to hand. This is where the technique is slightly updated. Take a dark coloured ink and a blending tool, I like to use a blending brush but spong or dauber or brayer works too, and blend the colour all over the piece.
I recomend that you gently buff the clear embossed areas as you go. You can use a dry or barely damp soft cloth or piece of kitchen roll. You can make it as dark as you like but stip when the colours beneath the clear embossed images pop out at you. Now set the piece to one side to dry. All those layers of ink might take a while but it's worth it 👌
The final effect is simply stunning so I needed a simple but equally stunning element to add to the front of the finished card. The dies that coordinate with the Framed Florets stamps were the answer.
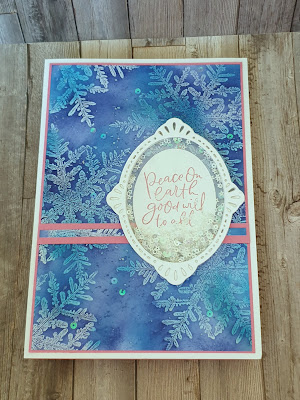
I die cut the larges ornate frame from white cardstock and used it to create a simple shaker element. Then filled it with sequins and added a sentiment from the Framed &Festive stamp set. I am loving shaker elements at the moment 😉
So once the element was completed I mat the background onto a piece of bright pink cardstock to coordinate with the ink I'd used for the sentiment. Called polished pink it's a fantastic colour.
This cards is actually a larger than usual size for me. It's an A5 size so it takes advantage of the beautiful background and has a lot of impact!


No comments:
Post a Comment