Showing posts with label #richrazzleberrycard. Show all posts

Friday, 13 January 2023

Fun Fold Friday - Dainty Delight

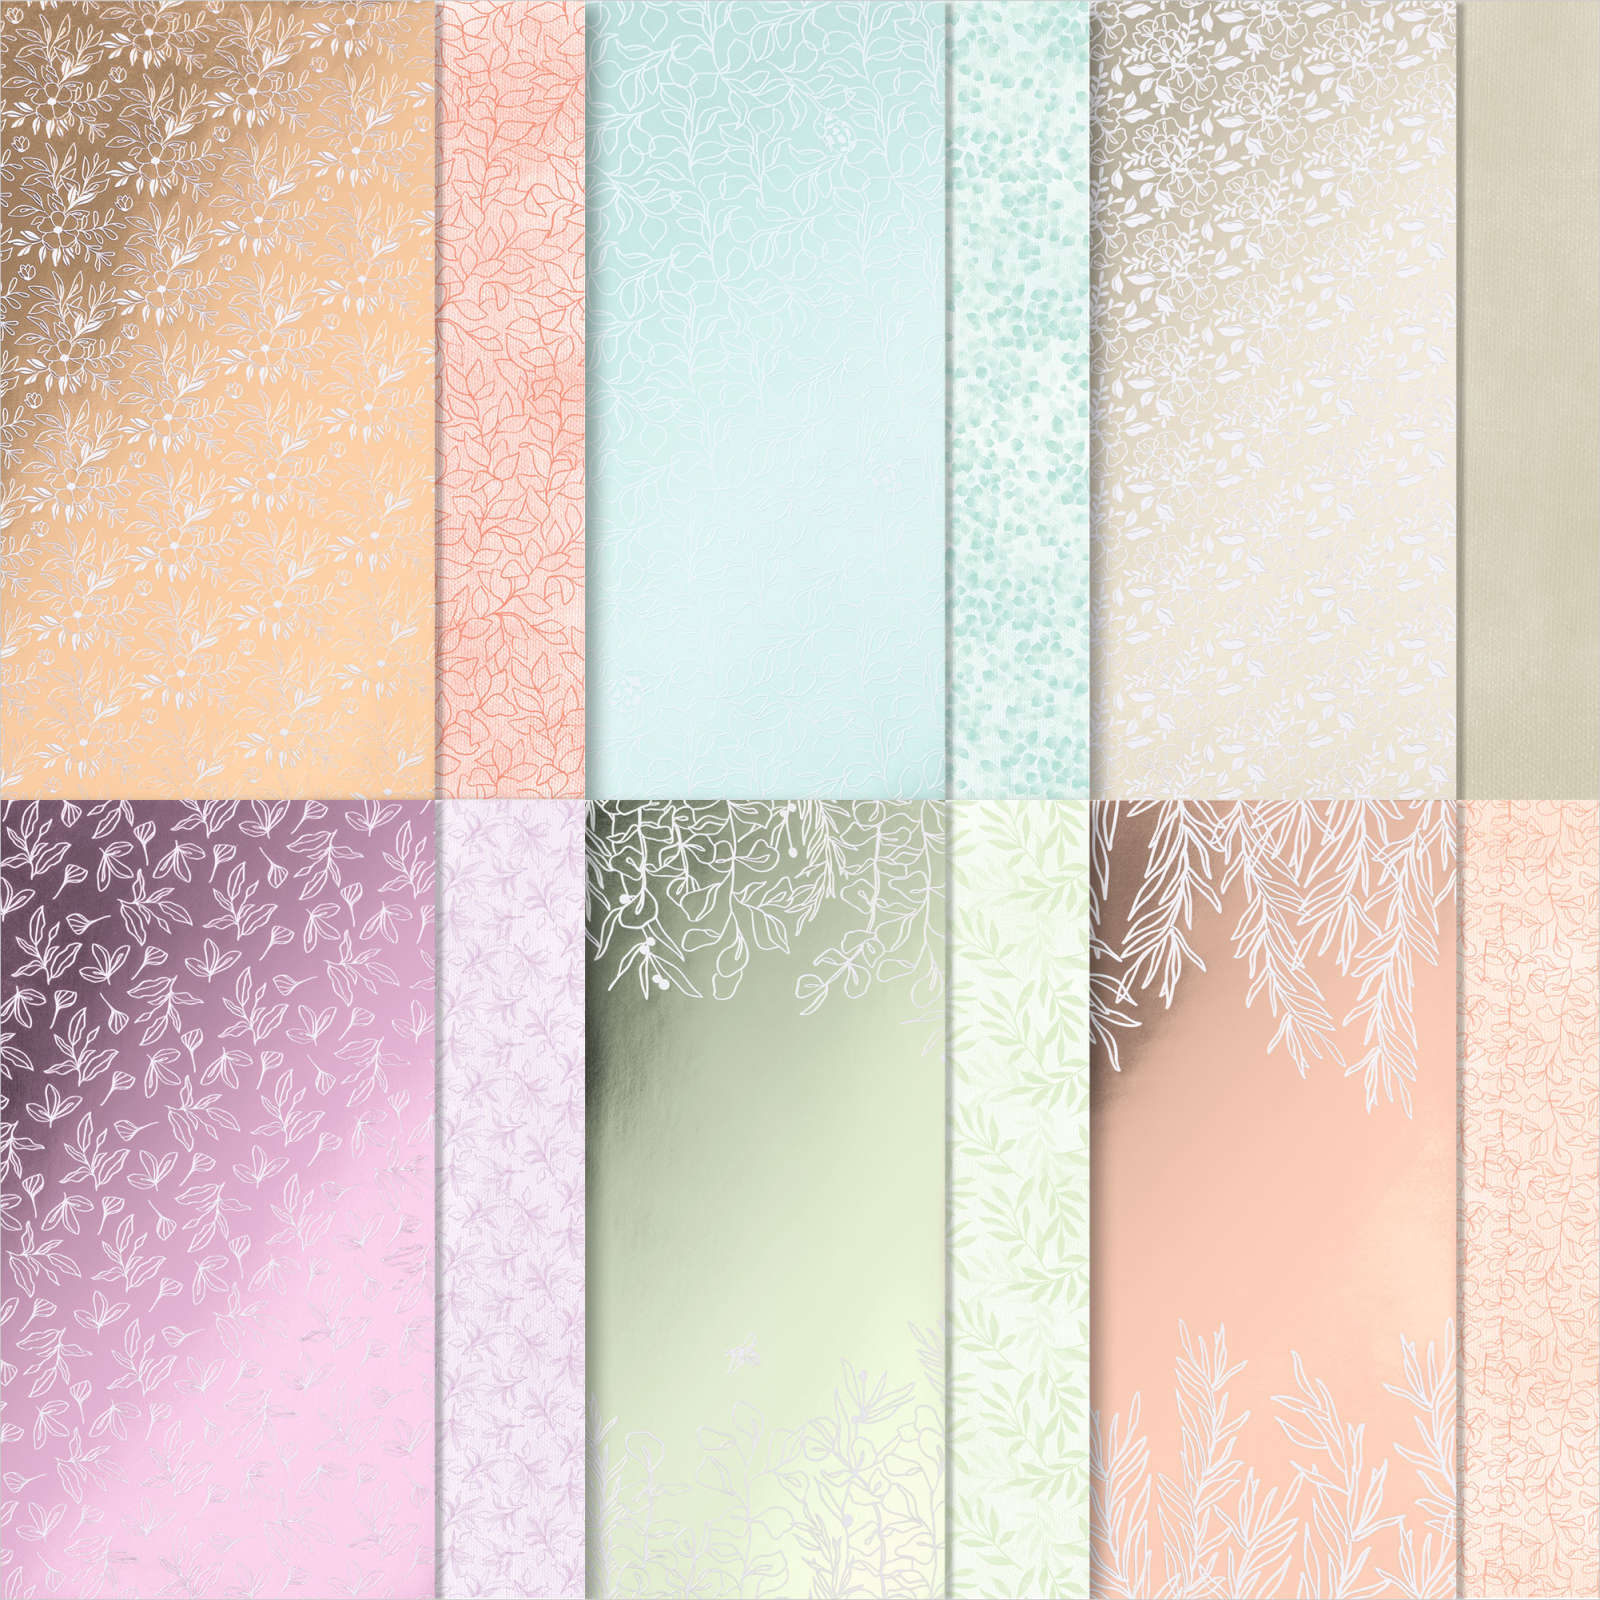
 Hello, today being my last day this week, I have made a folded card that I recently made for a class. Using the Dainty Delight stamp set and the Dainty Flowers DSP I matched the card of Blushing Bride and Rich Razzleberry. The main card is in Rich Razzleberry card, 14.85cm high by 15cm wide and scored at 10.5cm. The smaller card in Blushing Bride is 18.6cm wide by 10.5cm high. 

I cut a piece of Basic white card 20cm wide by 14.4cm high and scored it at 10cm. This I adhered to the back of the card base only. I then cut 2 more pieces of basic white card 10cm by 9cm wide. I embossed these with the Fern Embossing Folder and adhered them to the inside of the small card.

I cut a piece of DSP for the front of the small card 10cm high by 9cm wide and adhered it to the front of the card. I then cut a further piece for the front of the base card 4.6cm wide by 14.4cm high. This was adhered to the narrow panel on the base card. I then added the small cards centrally over the DSP panel on the base card. I used the Handmade Tag punch for the main sentiment on the front of the card and stamped several flowers and other sentiments throughout the inside of the card too. 

A little colouring and the card was completed.


Thank you for stopping by this week. Cary will return on Monday to share some of her creations. 

Until I return, please take care, stay safe and

KEEP ON CRAFTING. 

lots of love,  Gill
 

Thursday, 12 January 2023

This or That Thursday - Dainty Delight

 Hello. I started with a simple card today that can be easily copied and reproduced. Using the Dainty Delight stamp set, I stamped the largest image and coloured it in using my Stampin' Blends, alchocol Marker pens. I picked a piece of the Silver foiled papers and embossed it using the Twigs and Sprigs gorgeous embossing folder. The detail is stunning! I adhered that to a piece of the Granny Apple Green mat and then to a White Card base. The stamped image was then cut down and adhered to another piece of the green and mounted onto the card using Dimensionals, 3D foam shapes. A simple message and the 2 mats on the inisde and this one was finished. 

As it's this and that Thursday today, I made a similar one this time using the Dainty Flowers Designer Series Paper (DSP) for the background. The papers are stunning and I couldn't decide which to use. So I made 2 more! Made in the same way but without foil this time. 

Please can you let me know which of the 3 cards you prefer?

Card 1
  
      Card 2    
 
                                                                               Card 3


Friday, 9 September 2022

Fun Fold Friday - Family & Friends

 Hello again. For my last day this week using the Family & Friends stamp set, I have made one of my favourite folds. It's very easy and quick to do too. 

I started with a piece of Rich Razzleberry card 16.5cm wide by 14.85cm high or 6,1/2" by 6" high. I scored this at 10.5cm or 3" to make the card base. I cut another piece of the red card at 10cm by 11.5cm or 4" by 4,1/2" wide. This was scored at 9cm or 3,1/2"  I added adhesive to the narrowest part of this piece and added it to the main card back on the inside. I took some of the beautiful foiled papers of Splendid Day DSP and cut 2 pieces. One was 5.7cm by 14cm or 2,1/4" by 5,1/2". I added this to some scraps of white card and trimmed the edges so that there was a very small border around it. On the right hand side of the card, the piece I added on, I cut another piece of the foil 8.7cm by 9.7cm or 3,3/8" by 3,7/8" Once again, I adhered this to another piece of white card and before I added them both to the relevant sides, I attached a magnet to both left and right hand side to enable a closure for the card. I then added the DSP covered mats to the sides.

I cut a white mat 10cm by 14.4cm or 4" by 5,3/4" this was for the inside mat which I stamped my sentiment and decorated. 

SPLENDID DAY 12" X 12" (30.5 X 30.5 CM) SPECIALTY DESIGNER SERIES PAPER 

Splendid Day DSP above

I then stamped the image for the front and coloured them in using my Stampin' Blends pens. I completed the card then added the sentiment. I cut the image down and added it to some more Rich Razzleberry card and then a white mat as before.


That's it from me once again this week. Thank you so much for joining me once again. I am sure that Cary will have recovered from her amazing trip to New Orleans and will be back to show you her cards next week.

Until I return the following week, Please take care, stay well and as always,

 😍😍KEEP ON CRAFTING! 😍😍 

xxx Gill xxx

Friday, 8 April 2022

Fun Fold Friday - Love of Leaves

Well here we are on Friday's post already! Normally, I make the cards and post them on a daily basis. This week I am so ahead of myself for a change. I made this card last Thursday! Strangely enough, last night Cary and I were teaching a class and I showed her what I was making. She said look at Friday's post. So I did. I have made this Friday's card very similar to the one she made and showed last week! What are the odds on that happening? I know that we have similar ideas and often know what the other is thinking but this was weird! Anyway, for my last card for this week, I have made a gatefold card with a twist. Using most of the leaves from the Love of Leaves stamp set, I cut half a piece of A4 card and stamped it onto the ink pad and then kissed another colour on the edges to give different tones to them. 

The colours I used are extremely unlike me. I don't mix colours in this way as a rule but for some reason on this one, I did. I used Shaded Spruce and Old Olive on their own and then used Granny Apple Green with Crushed Curry on the edges and then Pear Pizazz with Rich Razzleberry. I am really pleased with the way they have all turned out. 

I cut a piece of Rich Razzleberry 29.7cm by 14.85cm or half a sheet of A4 lengthwise. I scored this at 9.9 cm from each end before scoring them again this time at 4.95 cm from each end. On the 9.9cm score lines, using a pencil, I marked 5cm down from each long edge. Then across the centre panel on the top and bottom edges I marked the centre point of 4.95 cm. From there, using my trimmer, I scored between the 4.95 cm and the 5cm pencil mark on the scored lines on either sides of the 5cm marks. This was repeated on the top and bottom of the card. Now I have 2 large V's folded at the top and bottom edges.


From that point I cut mats out of the paper that I stamped the leaves onto and cut it into 4 pieces of 4.5 cm by 14.4 cm. I added 1 each to the right and left front panels. Using a pencil and laying the other 2 mats onto the card, I marked where the triangular cuts needed to be for each side then adhered them too. I cut a white mat 9.5 cm by 14.4 cm and laid that on top of the centre panel and I marked where the triangular cuts will be. I added a little detail of the long leaf along the edges of the white mat before adhering it to the card base. The triangles that I cut from the card mats were re-used on the opposing triangles. I added a number of the leaves to the front and added a sentiment which was punched out from the Label Me Lovely Punch. The white label was added back into the punch and punched again to make it smaller.  

Once the main card was completed, I added a square of Rich Razzleberry card 14.85 cm by 14.85 cm. I cut a white mat 14.4 cm by 14.4 cm and embossed that with the Parisian Flourish Embossing Folder before adhering the 2 mats together. I pencil marked the centre to and bottom then using Stampin' Up! Tear and Tape added it to the square. I made a belly-band in Rich Razzleberry and embossed white card. Then I added a few more plain white leaves to the centre front.


 Well, I hope that you have managed to follow the cards that I have made this week. Thank you for   stopping by and taking a look. I hope that one way or another, I have given you some ideas to make your own projects. 

Cary will return next week to share some of her projects which I'm sure you'll love. 

Until I return the following week, 

please STAY SAFE, KEEP WELL but most of all, 

KEEP ON CRAFTING!  

Thank you so much, 

xxx Gill xxx


Thursday, 13 January 2022

Throwback Thursday - Encircled In Friendship

Today's card is one that I often like to make. Using the Encircled In Friendship stamp set and the matching dies, Encircled In Beauty I made the following card. I love this style of card as it's very straight forward and very easily replicated. The dies as you can see are some fancy delicately cut patterns on them.  The white mat on the front of the Rich Razzleberry card base was first embossed with the gorgeous embossing folder called Ornate Floral. I love the little delicate flowers spread across the folder and to me, it looked like the edges of the circles. 

I stamped the main image from the stamp set onto the top white die cut and coloured in using Highland Heather and Rich Razzleberry Blends Pens. Sadly, the Rich Razzleberry pens have been retired but I still have them as do many of you. 

One of the bonuses for buying a stamp set and the matching dies is that ther is a discount on buying them as a Bundle together. You save 10% each time you buy a Bundle. That's a bargain every time!