Showing posts with label #versamark. Show all posts

Wednesday, 12 June 2024

Watercolour Wednesday - Legendary Ride

 Hello. Today's watercolour was a simple one as I heat embossed the centres of the pink mats with White embossing powder and then using a spritzer, a wide paint brush and the ink pad and lots of water... I managed to cover the whole mat. The pink was my third attempt! I tried with Daffodil Delight, (a lovely strong yellow), then Melon Mambo, (a very bright pink) which obviously turned everything very orange. I haven't thrown it away as you may end up seeing it on Thursday! Anyway, I started by using Versamark ink pad for the image from the large motorbike from Legendary Ride stamp set. I then added the white embossing powder and heat set it with the heat gun. Well pleased with the result! 

I started to add ink by brushing the ink pad across the white stamped mat but...a, the colour was wrong and b, It really wasn't the look that I was going for. I then repeated the process onto white card this time but I stamped the image in the soft pink instead of heat embossing. The pink is called Bubble Bath and is so cute. I layered this onto a white square card base approximately 6" by 6" and I added a piece of DSP from the Flowering Zinnias papers. It is the perfect bright pink of Melon Mambo. I also added a silver foiled card mat which I embossed with the retired embossing folder called Metal Plate.

Motorbike riders are not all men and this one is for my best friend for her birthday in September. She is very tiny but still loves to ride powerful engines such as tractors and the like, huge horses and of course her motorbikes! I know that I'm early but I'll know that it's done. 


Thursday, 24 August 2023

This or That Thursday - Backgrounds - It's In The Stars

 Hello, thank you for stopping by. Today for my first card, I stamped the image from It's in the Stars using Versamark Ink pad onto a piece of A5 white card. Once done, I turned the card around and then repeated it across the other side of the card. I poured White Embossing Powder across the whole sheet and then heat set it. Using a Blending Brush I coloured the white card using Starry Sky ink. I didn't want it too dark so was very careful how I applied it. Once complete, I used a tissue to rub over the stars well to make them shine. Using the In The Moment stamp set, I stamped one of the images and coloured it using my blends pens. Then I did as I always like to do and fussy cut it all out. I stamped and added some sentiments and completed the THIS card. 

THIS AND THAT


THAT

My next card is using the other half of the blue sky and stars. This time I have die cut some of the Cheerful Daisies and pieced them altogether. I added a few of the fine leaves behind them, some sentiments later and the THAT card is complete too.


Tuesday, 10 January 2023

Technique Tuesday - Dainty Delight

 Hello and thank you for stopping by. I have changed tack on what I was using for this week as I had forgotten that Cary used the Beautifully Happy stamp set a few weeks ago. I really paid attention didn't I Anyway I am now for the rest of this week, going to use the gorgeous Dainty Delight stamp set.

 Today's card is lovely and bright then cut into 4 pieces. I stamped several of the flowers from the stamp set using Versamark and added them to a white mat. I used White embossing powder and heat set them before I started to blend several different colours across the sheet. I cut it into 2 strips then each one into 2 more pieces. That was it. From there I added the pieces to another mat in a different order to before and then adhered them onto a Granny Apple Green card base. 


Friday, 3 June 2022

Fun Fold Friday - Wisteria Wishes

For the last card this week, I have made a very special one. This is for a very dear friends birthday next week. Using Wisteria Wishes stamp set I stamped the sentiment onto a white mat. The rest that I used was DSP, (Designer Series Paper) and the Wisteria Dies. I have made a gatefold which has another gatefold over the top edge. 

I used Basic white thick A4 card and cut it lengthwise at 14.85cm by 29.7cm so a long rectangle. I scored at 4.95cm and 9.9cm from each side. I prefer to do that than measure along the whole length of the card. Holding the 2 centre panels together, I creased and burnished the folds well. From left to right of the card you should have a mountain fold, valley fold, valley fold and lastly another mountain fold.


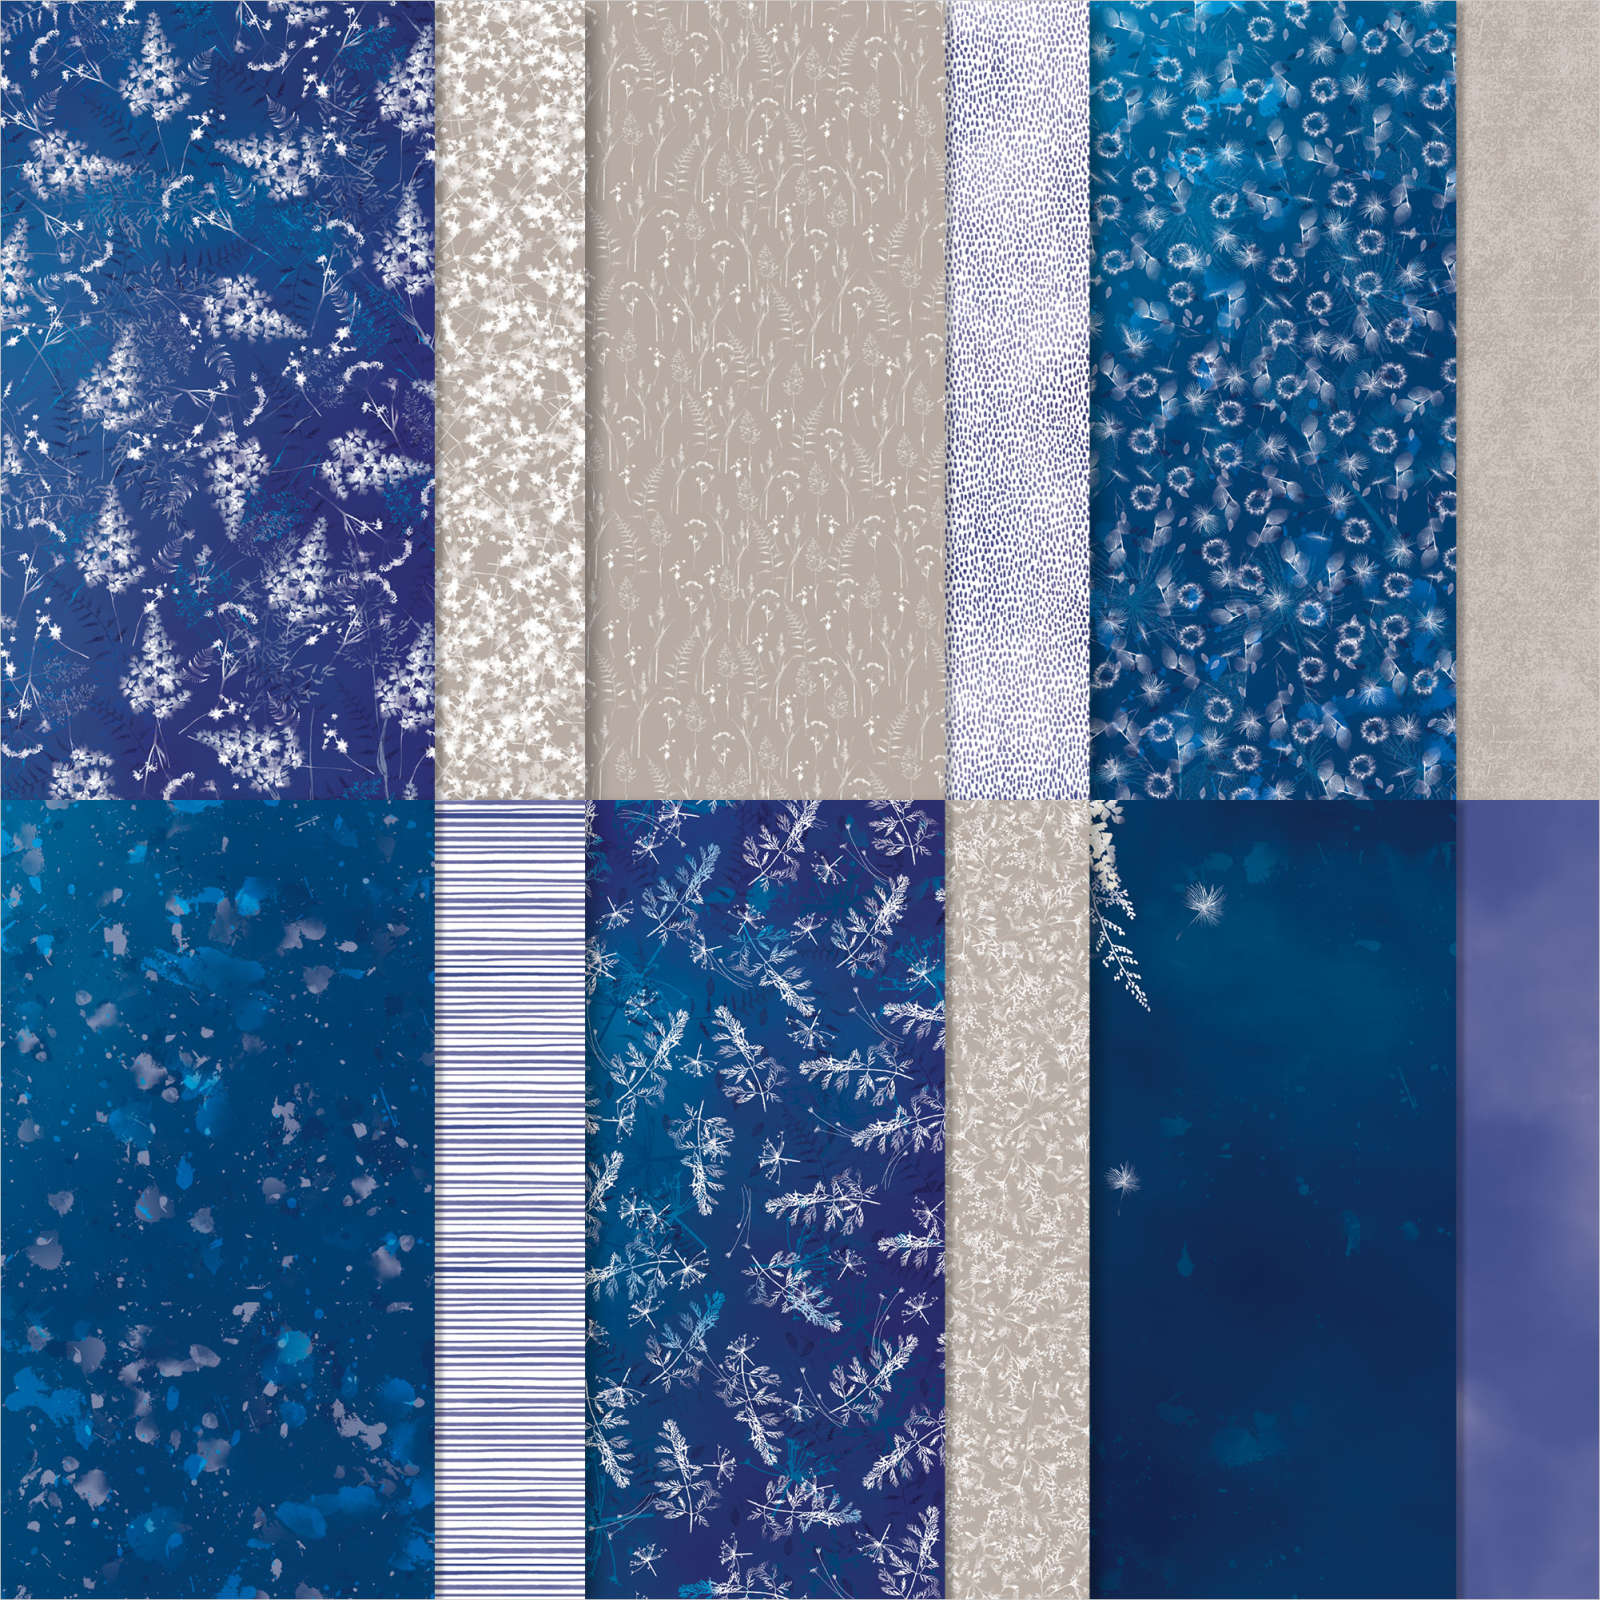
The piece of card that is cut from the original piece of A4 you will need to score and fold with the same measurements. I chose to die cut my border with the Basic Borders dies. There is a cloud edging die which I love. From there, I started to cover the card in DSP. My choice was the beautiful pack of Sun Prints DSP.

I chose a dark blue on the bottom right of the picture below which just has some white images along the bottom and part of 1 edge. The 2 panels for the very front were 14.4cm by 4.75cm, I repeated the measurements for the inner 2 pieces and used the reverse of the same patterned paper. The centre panel was part of the remaining plain, dark blue from above the white pattern.  

SUN PRINTS 12” X 12” (30.5 X 30.5 CM) DESIGNER SERIES PAPER

Once the DSP was added to the card base, I added the white border across the top and reversed the folds to be valley fold, mountain fold, mountain fold and valley fold. Once that was secured I added the Granny Apple Green leaves across it using Tombow Multipurpose Glue. I pieced the Wisteria pieces together using Dimensionals, foam shapes to give some more dimension.


I stamped Happy Birthday from the Go To Greetings stamp set in Versamark ink and poured white embossing powder across it before heat setting.

You can now see the shape of the card when the top panel is reversed. 

That's it once again from me for another week. Cary will be back next week to share her creations. 
 
Until I get back, please take care, stay safe and well. 
 
As always though... KEEP ON CRAFTING!!

Thank you so much for stopping by,
 
xxx Gill xxx


Wednesday, 6 October 2021

Watercolour Wednesday - Peaceful Deer

 Today's card is one that I had great fun making. a little fiddly but it was great fun to make. I started with a piece of White card and took a large acrylic block and stamped it onto the soft blue of Balmy Blue. This enabled me to get lots of ink onto the block. Using the large waterbrush in the set, I dropped a few drops of water onto the ink on the block....picking up the ink with the brush I literally spread it from the outside of the white card mat to the centre from left to right and repeated it until I had the colour that I was happy with. Yes, I could have used a piece of Balmy Blue card, but there wasn't any mixed texture showing on the mat which I have now.

For more information on the products that I used on this card, please click on the link HERE and it will open a new page for you. 


I took a piece of the Stampin' Up! white velvet paper and cut to half a C6 mat then ripped the edges of it to soften it and make it into the background. Stamping the deer and trees onto scrap white card then using Stampin' Blends, I coloured them in. 


Yes, it had to be done. I fussy cut the trees and deer. I then fixed them onto the card using dimensionals to add more texture. A piece of the cotton ribbon and a message inside and out completes this card.


Wednesday, 19 May 2021

Watercolour Wednesday - Art Gallery

Hello again, I know I keep going on about the weather here but it is so up and down eveery day but today was an up day. The sun was shining and it was lovely and warm...until the thunderstorm! Thankfully, only a short hail storm. After that it's been lovely just crafting. Once again I am using the Art Gallery stamp set from Stampin' Up! and today's card I had some really good fun! Using a piece of water colour paper, I stamped the main flower in Versamark ink, then poured white embossing powder before heat setting it. Then I went mad with the colours and my waterbrush! I started with the soft shade of lilac using Fresh Freesia ink pad. I soaked the paper and generously brushed across the lilac. I didn't let it stay for long as I soaked it up using kitchen roll throughout. Then the lovely soft green of Soft Succulent ink. I only used a little of this keeping most of the green close to the edges of the flowers. Then finally, the gorgeous pink of Polished Pink ink pad. I started with a large brush and spread the colour across then added more detail within the flowers using a fine brush. I constantly dried the colour up as I went as I didn't want it to be too strong. 


 I wanted the paper to stand out so I matted it onto a piece of the Evening Evergreen card. The green is a really gorgeous dark alpine green and I think I succeeded in making it pop and stand out.

A strip of the gorgeous In Colour Ribbon in the Polished Pink and a bow, I think highlight the colours on the card.


A simple message for the front and inside completes this one.  What's the chance of my enjoying the rest of the sunny day? NIL! The tree surgeons turned up to attend to the trees in the meadow at the back of our garden. Fascinating watching them though!