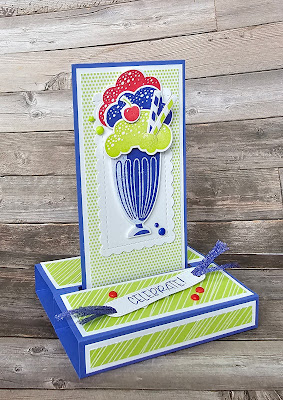
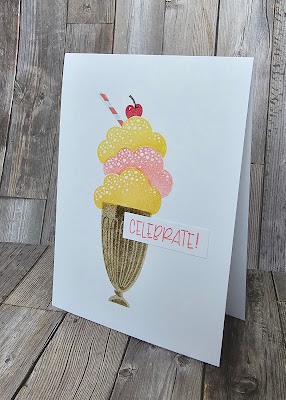
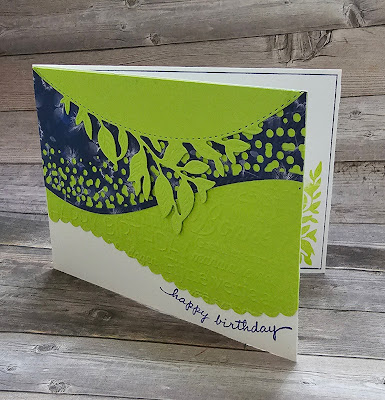
This week I'm sharing a fun fold card for my final card that I first made way back at the start of my papercrafting journey. I call it a freestanding pop up card. It seems the perfect choice for the Share a Milkshake stamps and dies.
Friday 31 March 2023
Fun fold Friday Share a Milkshake
Thursday 30 March 2023
This or That Thursday Share a Milkshake
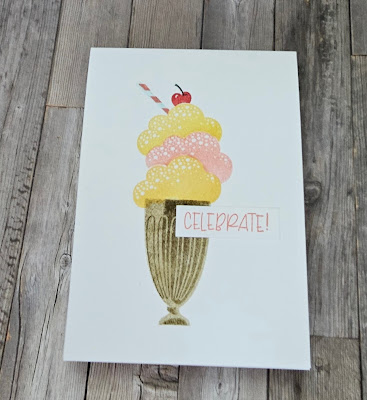
On Monday we held our monthly Card and a Cuppa get together. This session is always full of laughter and great fun. So I thought I'd create a card that used the fun Share a Milkshake bundle.
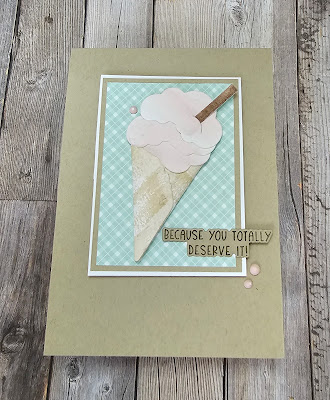
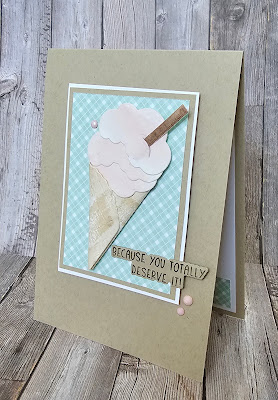
I loved the way the card turned out so much so that I made another version 🤣 so which do you like best This? The landscape version....
Wednesday 29 March 2023
Watercolour Wednesday Share a Milkshake
Here in the UK a pretty universal mainstay of a trip to the seaside in the summer is a "99". Now for those of you who don't have this yummy treat in your lives it's a swirl or scope of soft ice cream in a cone with a chocolate flake pushed in the top 😋 So with that in mind I just had to create one using the Share a Milkshake bundle!
Tuesday 28 March 2023
Tips tricks and techniques Tuesday Share a Milkshake
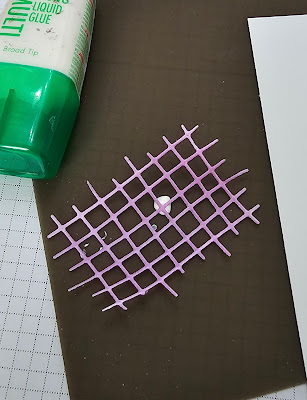
Today's card features a simple technique using the dies that are a part of the Share a Milkshake bundle.
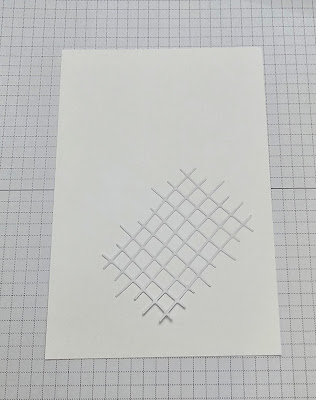
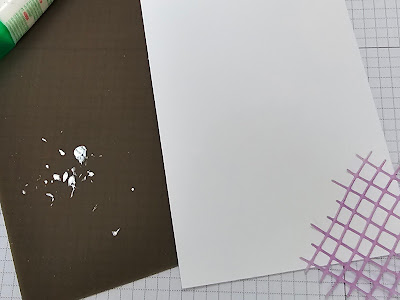
I used the die for the lattice to create a mask using masking paper. Which I placed on the bottom right hand side of a white mat.
Top tip here save the mask it might prove useful 😉
Next I decided to die cut the little dish and spoon in silver foil. Do they remind you of the stainless steel coupe dishes that were all the rage in the 70's and 80's? They sure do me!!
I then trimmed the excess off.. but kept it and adhered it onto the card base before adhering the mat to the inside of the card base.
The other little touch to my card that doesn't really show in the photo's is that the cherry ontop is shiny.
This was achieved by stamping the cherry then when it's dry stamping over the top with versamark . Then used clear embossing powder to give it that sheen. This was easy to do as the stamps are photopolymer.
Monday 27 March 2023
Make it simple Monday Share a Milkshake
Happy Monday 😊 This week I'm sharing project's using a fun stamp set called Share a Milkshake. I chose this set to play with simply because it reminded me of 1950's diners etc 😅 what does it bring to your mind?
As it's #makeitsimplemonday I decided to keep it simple with just stamps, ink and paper. But I had to use my favourite sticky notes!
I needed them to create a tower of yummy goodness in a glass! I used a colour palette inspired by my 50's ideas.
Friday 24 March 2023
Fun Fold Friday - Irresistible Blooms
Hello again and thank you for stopping by. Today's post using the Irresistible Blooms stamp set and matching dies I have made a really fun fold. Now it looks very difficult and that's the response that I got from everyone in a class a few weeks ago. They were so surprised how quickly they made it and accepted that it was so much easier than they first thought!
Using a piece of A4 card, I cut it at 14.85cm in portrait so, once cut, that made it 14.85cm high by 29.7cm wide. I turned it to the landscape position and scored it from each end at 9.9cm. Now you have a piece of card that has 3 equal sized panels side by side. Using the piece of card that I removed, I cut it into 2 long strips each approximately 3cm wide. These 2 pieces were then cut into 4 lengths of 10.5cm. I scored each of those 0.5cm from each end and in half too. These centre of the 4 pieces were placed over the right hand fold and the 0.5cm folds at each end I added adhesive tape and sealed them to the card base. I placed the top and bottom pieces first and then laying the other 2 in the gap, I spaced them out and then adhered them too. That was the basic cutting and scoring of the card.
Now to decorate. I used some of the beautiful papers that coordinate with the stamp set and dies called Hello Irresistible papers. I know that I say this every-time but they honestly are! I cut a piece of DSP 10cm by 14.4cm for the front and 2 strips for the inside 4.8cm by 14.4cm. I did add some DSP strips behind this one as I rather like the papers showing in the background. I added some fussy cut flowers and leaves from another piece of the DSP and I stamped a few sentiments and adhered them to the card base to complete it. I added a Petal Pink mat to the back of the card for writing on and used Memento ink pad for the stamping.
I hasten to add that the card was not my design, I found it on Pinterest. It was made by thestampinninja.com by Melissa Seplowitz. It is beautiful design so I must say a huge thank you to Melissa for her beautiful design. The card that I made for the class a few weeks ago is below.
KEEP ON CRAFTING!!
Thursday 23 March 2023
This or That Thursday - Irrestible Blooms
Hello and thank you for stopping by this week but an even bigger thank you to Cary who has been posting for me. I am now almost back to myself and back crafting again thankfully, albeit slowly! This week I started to make some cards using the gorgeous new stamp set and dies etc called Irresistible Blooms. The images are beautiful and added to the dies too, they just go so much further.
For my 2 cards today. I started by making THIS... an all white based card and added a white mat with a piece of DSP from the Fitting Florets papers. Just this simple strip of DSP adds a lovely hue through the card. I used one of the dies from the set which literally die cut the stripe going through the card. What a difference!
I repeated most of the steps from the first card onto the THAT card. I made it in Balmy Blue card this time no mats other than the flowers. The patterned DSP was added to the inside of the card itself so you get to see the reverse of the paper. I used one of the new embossing folders from the Basic 3D embossing folders
Wednesday 22 March 2023
Watercolour Wednesday
Poor Gill is still poorly 😢 and hasn't been able to create anything to share with us I'm afraid. So please send her healing vibes.
So for today I thought I'd ask of you know about the exciting new online exclusive items from Stampin' Up! ? There is a fabulous selection of stamps, dies , punches and pattern paper and more! These are all in addition to the amazing kits collection.
If you'd like to explore these products you can do so in our shop click either
Gill's shop
https://www.stampinup.uk?demoid=5001103
Or Cary's
https://www.stampinup.uk?demoid=5001701
Tuesday 21 March 2023
Tips, tricks and techniques Tuesday
Gill is still poorly so I thought I would share the swap I recieved from her at our retreat. Swaps are a great way to share inspiration with fellow crafter. So I thought I'd share Gill's inspiration.

