Friday 28 February 2020

Fun fold friday...

It's that Friday feeling again...time to kick back and look forward to a few days Crafting time, if you're lucky ๐Ÿ˜‰๐Ÿ˜‰๐Ÿ˜‰
With a restful time in mind I'm sharing another very simple fun fold...so simple you don't need any measurements!!
First take a piece of cardstock, mine measures 17 cm x 29.7cm ( standard A4 length). Now fold it in half. Next fold each half in half to create 4 panels! Use a good bone folder to reinforce theae folds.
Now the "tricky" part  take a punch, I've used the everyday lable punch from Stampin Up, and with the first panel folded over the second one. Put the punch about a third of the way up and punch through both layers. Now open the card up and fold in half so that the punched out area are visible and uae them as a guide to punch the remaining 2 panels. ( see the photos)
And that is the basic screen or panel fold card.....sooo easy!!!
To decorate I've used the My Meadow stamp set to create a scene. I did this befor cutting my panels so that it was a continuous image. Now if you look at the photo's you'll see that I stamped it one way and stuck it down in another order!!! It was a happy accident ๐Ÿ˜‚๐Ÿ˜‚ so pay attention with yours!!!
Any way thats it for me this week. Please joun me next week when Gill will be providing the inspiration.
Have fun
Cary xx


Thursday 27 February 2020

Throwback Thursday...

For this week's throwback Thursday I've chosen to case a Christmas card from 2017
I've created my own pattern paper using the wheelbarrow from the My Meadow stamp set. As it's a 2 step stamping set I was able to give my wheelbarrow a lovely red barrow to recreate the colour way of the original card. Keeping colour ways simple when creating quite a busy background makes life much simpler for the stamper.
For the center I used a lovely bright blue called Blueberry Bushel  to add a pop of colour and interest.


Wednesday 26 February 2020

Watercolour Wednesday...

When is  watercolour not watercolour?  When you stamp it of couse!!!
I used the largest stamp in the My Meadow stamp set, I've marked it on the photo, to create a wash effect background.
The colours are a kind of mellow rainbow.
The flowers are punched with the small flower punch that is an exclusive Free product from Stampin Up in vellum.
I coloured the rhinestones with my Stampin Blends.
Now I'm  not sure if I like this card or not but decided to share it anyway so please be honest and let me know what you think.


Tuesday 25 February 2020

Tips tricks and techniques Tuesday...

Today I'm sharing a  technique that is an oldie but goodie! I've  updated it a little with a quick trick . The technique is called triple stamping.
You start with a piece of card and stamp all over it in what ever way you like. Then you cut 2 progressively smaller sections out of it to create 3 pieces.  Whilst it's easy enough to do with trimmer or a knife and cutting blade I have discovered it's  sooooo much quicker when you use nested dies!! Just place them where you want both at the same time and crank the handle and voilรก all sorted!!! Far less fiddly and less stressful!! ๐Ÿ˜‰
I then matted each piece with narrow borders to give the layers some definition and stuck them onto the card base.
I hope the photos help explain what I'm talking about better than my words and that you'll  give this little trick a go sometime and share your creations with us. ๐Ÿ˜


Monday 24 February 2020

Make it Simple Monday

Gill and I are lucky enough to be able to attend events hosted by Stampin' Up! At these event we often recieve freebies...well this weeks inspiration is featuring one of these freebies we recieved at Center Stage in Dortmund in November last year.
The freebie was a stamp set. Now this set is not one that I would have brought nor is it one that instantly inspired me. The style of the set is sooo out of my comfort zone that I look at it then think another time!!
Well the time has come, so this week I am going to be sharing projects using the My Meadow set!! Its a watercolour scene building set that just confounds me!! Lol
So for today's Make it Simple Monday I have just used the stamps to create a very simple scene! #simplestamping is very easy with this type of stamps!!


Friday 21 February 2020

Fun Fold Friday  

Yesterday was my son Jonathan's 40th birthday! Wow! Where has the time gone? It only seems a few years ago that I was changing his nappy (daiper), now I'm changing his baby boy's nappy!
Anyway, the card for today is his birthday card.
The card is made up with 2 pieces of A4 card, one in Blackberry Bliss and the other is Whisper White Thick card.

Jonathan's card


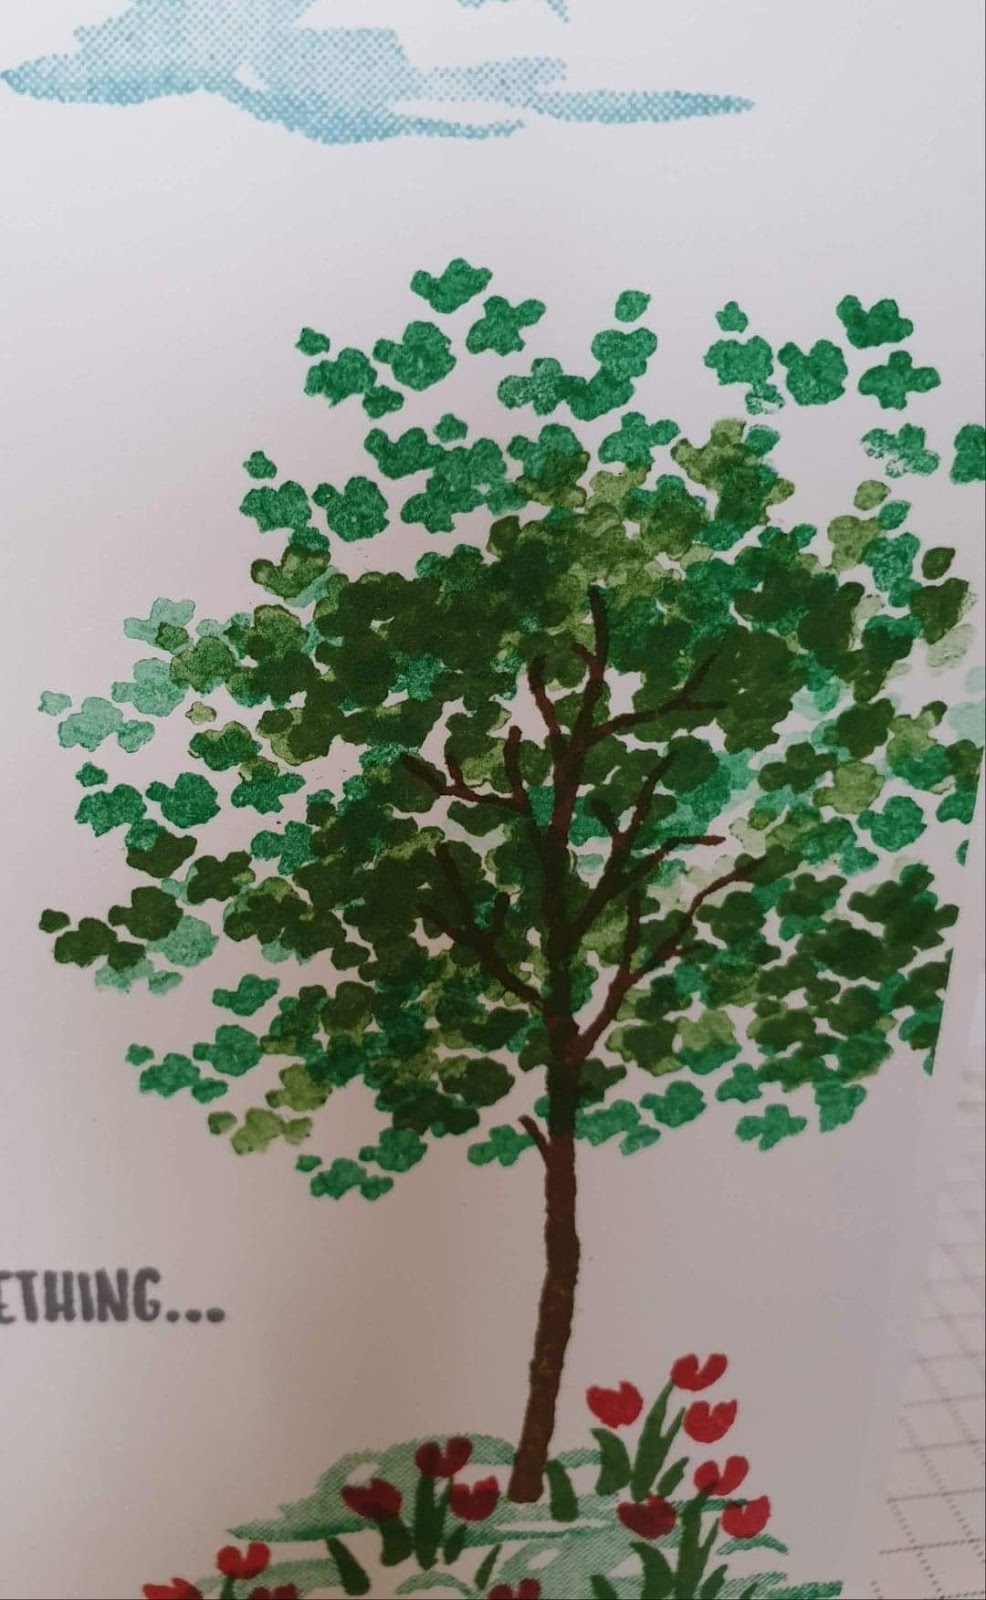
As you can see, I use lots of messages from several different stamp sets. They were...Birthday Goodness, HERE. Young At Heart, HERE Timeless Tropical, HERE . Layered with Kindness, HERE. Thanks For The Laughs, HERE and lastly, So Sentimental. HERE
Phew! Just a few!


 C6 Card instructions

I have changed the measurements to make a C6 card. If you would like the same for an A5 card, please message me. So cut 2 pieces of A4 in half, put away the other half. As I used Whisper White I have trimmed 5mm or 1/4" from 1 long and 1 short edge.

    
 Score or fold each piece in half and laying each piece on a trimmer, score 1 side of each colour diagonally. That is, from the top centre to the bottom outside edge diagonally.
 
 On the trimmer, scored and ready for the next one.
                   3                                         Use your bone folder or tool to thoroughly crispen each fold in both directions. 
     It doesn't matter which way as plain card can be reversed to get the opposite direction.
4
4 Add the trimmed down piece into the centre of the other, allowing a small border to be shown. 
5  
Somehow, my camera has reversed the picture! The white should be on the right of the card!!!
6 
 At this point you can see that the side overlaps the edge of the card.
 7 
 Once folded back, I cut off the card that was overlapping each side.  It doesn't matter which way as plain card can be reversed to get the opposite direction.
Your card will now look like the one below.
  
Choose some designer series paper to go with your project. Cut 2 pieces the size of a C6 card mat. 
In the UK, that is 10cm by 14.4cm or 4" by 5 and 1/2". 
Cut these both diagonally. Note which side you want each piece before cutting as one will need to be cut in 1 direction and the other, the opposite direction.
 I used 2 pieces from the same design which made mine easier. 
I have used See A Silhouette Designer Series Paper, from Stampin' Up! of course.
10 
Lay the lower half of each piece onto your card base.

11                           12
                                                            
You will once again have to trim the excess off as you  did with the card bases. You can chose to discard or save these pieces.
13                                                                                                               14
The other half of the DSP is used for the front flaps. Mark with a pencil as I have so you know where to cut. I used these pieces on the opposite sides to before.

Pic 15
Looking from the back of the card, after trimming off and fixing the papers to the card. All you need to do now is decorate to your own taste.
That's it from me for this week. Thank you so much in joining me. I hope you've been given some ideas on making your own cards. Please share them with us if you do,
Cary will be back next week with some more of her amazing creations.
Have a fun week and Happy Crafting.
Gill :)