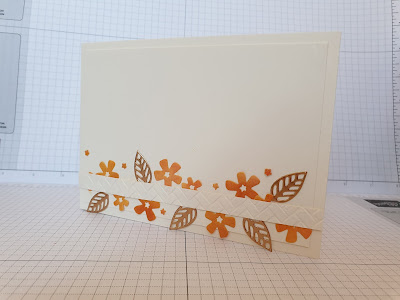
Gill calls me a sponge.....no she's not being rude! She means that I take in lots of information from all around!
Which is true!
Thats how I was inspired to create the background that I stamped the hibiscus flowers from for today's card. I saw a card on a Stampin Up demo Facebook page where she kindly shared how she'd created the background. Sadly I can't find the post and can't remember the demo's name😔. Please if you know who it was please message so that I can give her credit 😊
Right now lets get on with the fun part.
The technique is to add layers of colour onto a coloured card base. Usually I do this technique onto white card .
The difference in using a coloured card is quite marked .
For this card I started with a piece of Pineapple Punch card stock.
I then applied random patches of Pumpkin Pie, Melon Mambo and Grapefruit Grove ink with sponge duabers. I layered the colours and blended them to create the background.
I then heat embossed the hibiscus flower with copper powder and die cut them out.
Not wanting to waste the background I die cut some small flowers to use on the inside of my card.
My tip for this is to make sure that you allow the card to dry before doing the heat embossing as the powder will stick to the damp card. I used my heat tool to make sure it was dry.
I am really please with how it turned out 😊 but I couldn't decide if it needed the copper ttim under the sentiment or not.
What do you think?


No comments:
Post a Comment