Tuesday 26 December 2017

Weekly Inspiration - Day 2

Soft Sayings Card Kit 

Today's cards were from the lovely Soft Saying Card Kit.
This kit has 20 cards and envelopes as well as die cut flowers and leaves in gold foil and cardstock. Baker's Twine in Lemon Lime Twist and Washi Tape in Tranquil Tide stripe.


It even has an instruction leaflet just to show the possibilities.


Here are 2 of the cards that I made with the kit.


The pink one above, I used the white die cut and just by adding the leaf die cuts, I think it adds another
lovely splash of colour.


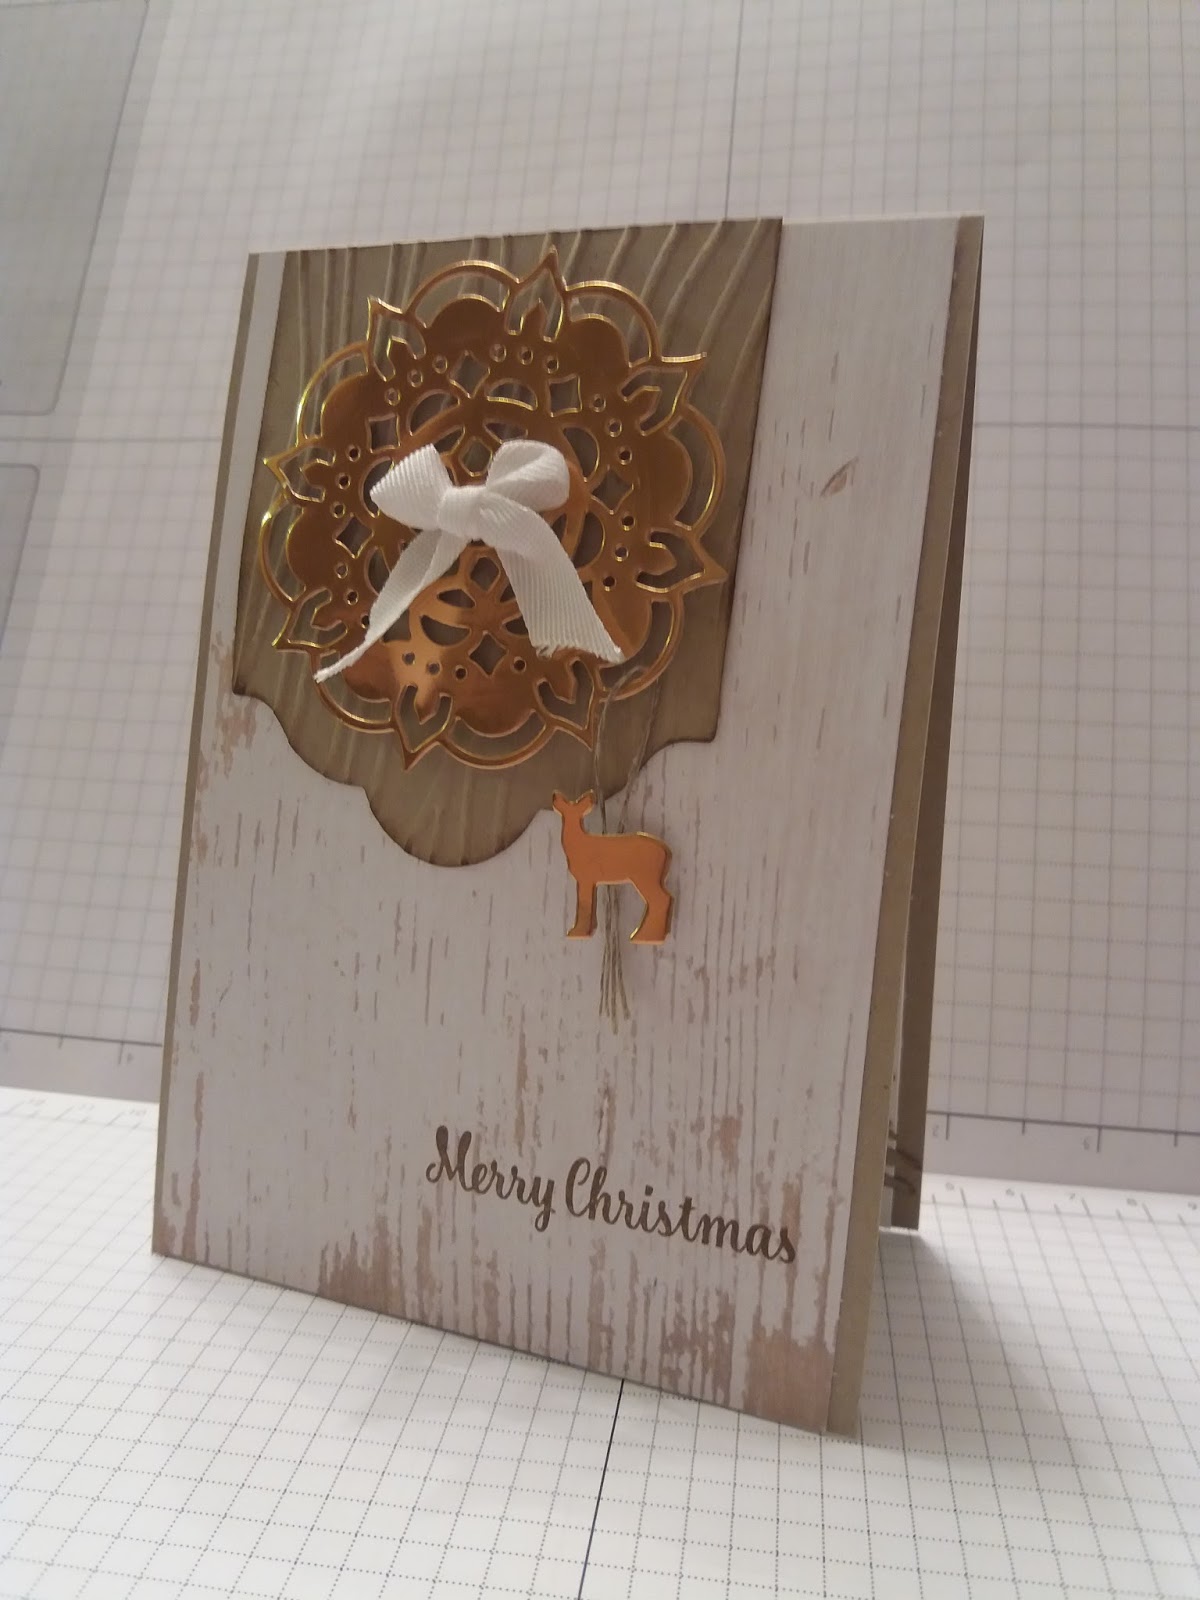
 This card below is even simpler. I've already said that I like simple cards haven't I?
This one is just that. Only a few die cuts and another simple message to make this one.


Here is some of the items that are included in the kit.
This kit also has a refill set too. More cards, die cuts etc to make even more lovely cards.


This whole kit is only £31. 50. Very well worth it I think.

Monday 25 December 2017

Weekly Inspiration - Kits


Happy Christmas to those of you who celebrate this time of year.

Stampin' Up! Kits

Firstly, I must say a big thank you to Cary for last weeks projects. 
Very inspiring Cary, well done.
 The last project turned out to be my Christmas card from her. So thank you again.


This week I aim to show you some of the gorgeous Card Kits 
that Stampin' Up! have designed.
Today, I have played with a few cards from the LOTS OF HAPPY, boxed card kit.
An added bonus with this kit is that there is a REFILL kit too! 
So lots more cards, envelopes, and much more.
Brilliant!


This kit includes 4 different sized cards and coordinating envelopes which are patterned on the flap.

 
Some of the contents shown here, Watercolour pencils in Lemon Lime Twist, Flirty Flamingo,  Old Olive and Rich Razzleberry. Stampin' Spot Ink Pad in Basic Black, an stamp block AND a set of stamps.
 

Stampin' Dimensionals, Ombre Ribbon in Lemon Lime Twist, Gold Foil Cardstock, 
Vellum die cuts and Die cut images too.


The card Bases are in Sahara Sand on one side and White on the other.
It also has an instruction sheet to help inspire you, which you can see on the last picture.


My 2 cards that I made, I gently did a light scribble across one of them and drew 
stripes which were coloured in on the other card. I used a damp water brush to wipe the colour across.


Friday 22 December 2017

Ice ice baby...

Well I hope you've enjoyed this week's samples and will have look at sketches and play with them soon.
Here's the sketch ...


...and here's my sample.


Have a good weekend
Have fun
Cary xx

Thursday 21 December 2017

Softly softly...

Today's colour combination is inspired by the uber talented Kim Fee from simplyfairies.  Do you find yourself inspired by other crafters colour combination ? Talking about inspiration here's today's sketch
So here's my card I hope you like it Kim 😊


Wednesday 20 December 2017

For your furry friends...

Now I'm all about the Christmas traditions and I must admit I love a  bit of contemporary style but sometimes you just have to go fun and cute!! And today's car is just that 😄
Here's the sketch which I've pretty much stuck to ....


....but as you can see I've stepped it up a little 😉


Tuesday 19 December 2017

Clean and simple..

For today's sketch I decided to search for a clean and simple one and this is what I found
I have turned the sketch upside down . I've kept it clean and simple with the crisp real red colour and the lovely gingham style pattern paper. Now I could have just used white card stock to die cut out my stars but......its Christmas!! 😉


Monday 18 December 2017

Quick quick....

As it's getting so close to Christmas I suddenly realised that I need some quick card's. If you know me you'll not be surprised by this 😅
But what do you do when you're all out of mojo???...
Well one thing that I do is make use of the internet to search for card "sketches" . A card sketch is a card layout. They are great because you can start from the basic and develop the idea's from there. A sketch is an inspiration not a struck set of rules.  You can turn them , rotate them, change shapes etc.
So this week I'll be sharing 5 cards I've made and the sketches that inspired them. 
Today's  sketch
 And here is the card I created from it😊


Sunday 17 December 2017

TUTORIAL

Tutorial for Double Fold Card

Hello and thank you for the requests for this card.
Here is the original one that I made.
tutorial.htm h


Cut a piece of card 14.85 cm by 29.7 cmI used Lemon Lime Twist cardstock for this sample.
Score at 4.9 cm, 9.9 cm, from each side or 19.8 cm and 24.8 cm from one end.


    Cut another piece of matching card at 9.9 cm by 14.85 cm
Stick this onto the first of the narrow panels only so that when the card is all folded in,  
the panel will cover the front of the card. 
You can see in the above photo how the extra panel will look once stuck together.
Cover this panel with DSP 9.5 cm by 14.4 cm.


Cover the right hand small panel with DSP measuring 4.7 cm by 14.4 cm. 
From the photo below, you can see what your card will look like from above when put together.


I used Fresh Florals DSP for my card with the Tranquil Tide papers.


I know these are not Christmas Papers but I have a certain person in mind who will 
appreciate the card with flowers on.


I used Carols of Christmas for the message and Silver Mini Sequin Trim.


I added small strips of White cardstock to add some interest to the plain panels.


I pulled a few of the sequins off the trim and added them randomly across the DSP
If you make a card following on from this, please, please, please send us a copy of your card. 
We won't post it unless you give us permission to. 
I hope you are able to understand my instructions. Please don't hesitate to contact us should you need some help.
Thank you, Gill