Tuesday 31 May 2022

Technique Tuesday - Wisteria Wishes

Here we are on a Tuesday already, where does the time go? Well, today's card is another style that I like to make but this time using the Wisteria Wishes stamp set, I stamped the stalks and leaves a few times randomly over the white mat using the gorgeous green of Pear Pizazz ink pad and then went in with the pale purple of Highland Heather for the beautiful fronds of the flowers themselves. I added an extra layer of the flowers with the darker purple of Gorgeous Grape. Then, I chopped it all up into rectangles! It was that simple. Each of the rectangles were then adhered onto the Pear Pizazz card to show the definition between the layers. A few sentiments later and it's all complete. I hope you like it.


Monday 30 May 2022

Make It Simple Monday- #simplestamping - Wisteria Wishes

Hello and welcome back on this #simplestamping Monday. All of this week I will be making some card to show you using the gorgeous stamp set called Wisteria Wishes. Today's card is literally a very simple one too. I used only 2 colours, a gorgeous purple and my old time favourite green.


Friday 27 May 2022

Fun fold Friday Sending Smiles

 Happy Friday 😃 I hope you've had a good week and have a great weekend planned. We have a full on weekend planned with a great virtual catalogue launch as well as a team gathering that is both in-person and virtual at the same time!!! As I've go so much on that I wanted a quick and easy fun fold to finish of the my week of inspiration using the Sending Smiles bundle

Sending Smiles stampin up fun fold card

The card base is a piece of cardstock measuring 14.85cm x 21cm scored at 10.5cm. I then marked 8cm in from the top right-hand corner and 8cm down from the tip right-hand corner of the card front.

I  then scored diagonally from each mark. I burnished the fold with the corner coming onto the card front.

I cut a piece of pattern paper measuring 10cm x 14.4cm and marked it the same as above but instead of scoring I cut the corner off.

As the paper I used is double sided I could use the triangle piece using the opposite side. I adhered the paper to the card front them cut a piece of pattern paper also measuring 10cm x 14.4cm and adhered this to the inside of the card.

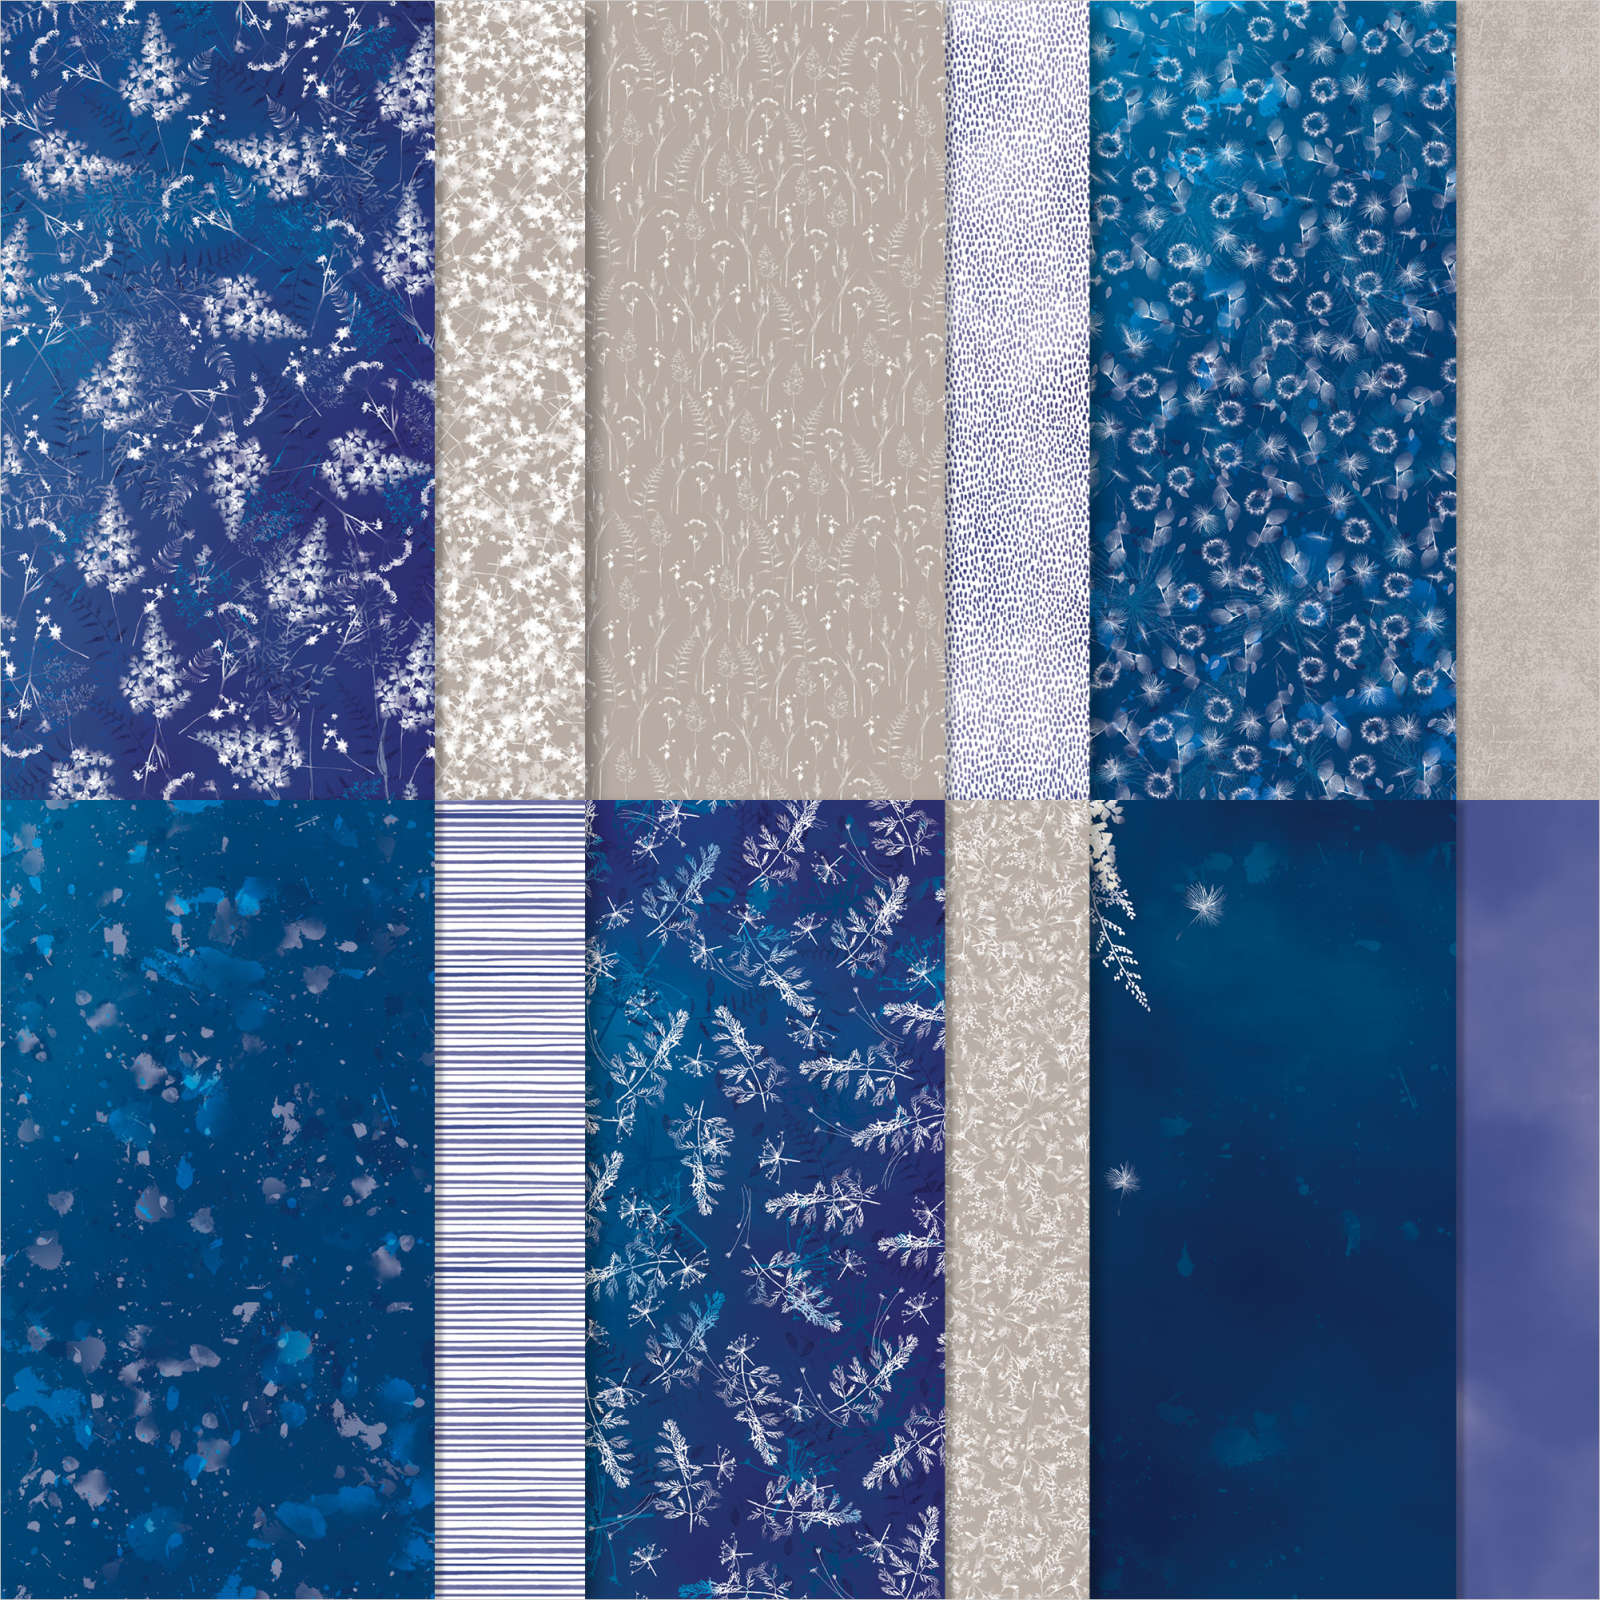
The papers I chose to use are the fantastic 2022-24 In-Color paper stack

2022 2024 in color dsp fun fold card

I just love these colours 😍 The colour I chose to use for the pattern paper was the orchid oasis,  the lilac shade.

To decorate the card I cut 2 white squares of cardstock.  1 measuring 7cm x 7cm and the other 6.5cm x 6.5cm. I mounted these squares onto the folded corner.

I then stamped some flowers and leaves and die cut them out. I used these to decorate the front of the card.

Sending Smiles stampin up simple fun fold

To decorate the inside I die cut the word sending and it's shadow from cardstock. And then stamped a sentiment and die cut that too.

Sending Smiles stampin up fun fold card

I love the way this simple fold has such impact with very little effort!!

Sending Smiles stampin up simple fun fold card

Sending Smiles stampin up simple fun fold card

Sending Smiles stampin up simple fun fold card

Well that's it for this week's inspiration from me. If you've seen anything you like in my posts this week the materials that I've used are all available in our online store if you're in the UK.

Please join me here next week where Gill will be sharing her inspiration with us.

Have fun

Cary xx

Ps If you like the 2022-24 In-Colors as much as I do and would like to become a member of our stamping community there is a fantastic joining offer available till the 31st of May 2022 that might be just up your street for more details click Here to find out more 😁


Thursday 26 May 2022

Throwback Thursday Sending Smiles

 So far this week I've  shared projects with  bright bold colour palettes. Which is very much in my wheelhouse 😉 But for today's inspiration using the delightful Sending Smiles stamps and coordinating dies I wanted to push myself out of my comfort zone.

So how did I do that? By using a softer gentler colour palette!. I decided that for today's card I'd use a soft green, a gentle gray, a deep yellow and a darker shade of purple. 

Whilst discovering the colour combo I decided that the perfect sentiment for my card would be the comfort and strength one. I wanted the sentiment to be part of the background rather than up front and center.

I love to create blended backgrounds so I blended a swathe of the green across the mat and the card base it's self. I then splattered the same green across as well.

I decided to stamp the sentiment using along the blended area in grey.  I stamped in a staggered way to cover the mat.

Next I stamped and die cut some flowers and leaf . I used them to create a posy and added it over the blended and stamped area.

Sending Smiles stampin up subtle colour palette card

I have to say that this card has a very soft and gentle feel to it that I find very appealing.  

Sending Smiles stampin up gentle subtle soft card

I think this would make the perfect card for that most hardest of occasions. It also proves how versatile the Sending Smiles bundle can be.

Sending Smiles stampin up soft subtle card


Wednesday 25 May 2022

Watercolour Wednesday Sending Smiles

 I don't oftern use watercolour paper for my watercolour projects. Why I'm not to sure but for whatever reason I did reach for it for today's card! I am using the gorgeous Sending Smiles bundle all week and had no idea how to incorporate watercolour in my inspiration.  So I started with a simple watercolour wash in pale blue.

I used the flatter side of the watercolour paper because I suddenly had an idea to use some of the fab sentiments in the stamp set as the stems for flowers. 

The stamp set is a photopolymer  so manipulating the stamps to create curves was easy! Once the background was perfectly dry I used an anti static bag before stamping the sentiments in versamark.  I then heat embossed them with black powder.

Putting that piece to one side I went to work on the flowers. I created a watercolour background using pink, yellow  and lilac ink.

Next I decided to heat emboss the flowers in clear embossing powder so the colour show through.  I  then die cut several. 

Sending Smiles stampin up watercolour backgrounds

Here is a close up how the embossing adds a subtle shine to the finished flowers.

Sending Smiles stampin up watercolour card

 The all that was left was to pop the card together add a few iridescent rhinestones for a little extra sparkle.

Sending Smiles stampin up watercolour card

I  think this card turned out really well. I love the way that the sentiments become part of the image .

Sending Smiles stampin up watercolour bright bold card

The colours make me smile and the sentiments from this stamp set are just so versatile. 

Sending Smiles stampin up watercolour card

All in all a happy card that's sure to make the recipient smile 😃 

Tuesday 24 May 2022

Tips tricks and techniques Tuesday Sending Smiles

 Hello and welcome to our blog 😃 if it's your first time we post 5 days a week with inspiration using Stampin' Up! Products. We share lots of tips, techniques old and new and lots of how to's. Today I'm sharing a technique for  fun backgrounds. I have used the a stamp set and coordinating dies called Sending Smiles.  

The technique is to take a commonly found household item and use it with ink to cardstock to create beautiful unique backgrounds. The cards started life once I had held my regular #makeitsimplemonday Facebook live. I loved what I did so much I had to make more!!


The technique is called bubble wrap printing. All you need is ink, cardstock and a piece of bubble wrap!

For my cards that I'm sharing today I played with gorgeous bright colours and had great fun!.

The first card is in shades of blues and lilac from the 2022-24 In-Colors.  Called Starry sky, orchid oasis and Tahitian tide.

Sending Smiles stampin up fun bubble wrap printing technique for bright cards

The second card is also using the 2022-24 In-Colors but this time I've introduced my absolute favourite parakeet party with the orchid oasis and Tahitian tide colours.

Sending Smiles stampin up simple bubble wrap printing technique bright cards

For my third and final card I decided to go with one of my all time favourite colour combinations. Bright pink, sunny orange and bold purple. The colours have great names melon mambo (pink) , mango melody (orange) and gorgeous grape ( purple)!!

Sending Smiles stampin up simple fun backgrounds bubble wrap printing technique

To complete the cards all I used were the die cuts and sentiments from the Sending Smiles bundle and some of my oh so much loved iridescent rhinestones!!

These cards came together quickly and with no fuss and lots of smiles from me!

I do think that who ever receives one of these cards would be smiling when the open the envelope too!!!

Sending Smiles stampin up simple fun bubble wrap printing technique


Monday 23 May 2022

Make it simple Monday Sending Smiles

 Happy Monday 😊 This week I'm going to be sharing inspiration using a lovely new stamp set called Sending Smiles.

Sending Smiles stampin up simple stamping easy clean card making

 The set is available from the new annual catalogue from Stampin' Up! I sent a whole pile of them out this last weekend!! If you're in the UK, don't have a demonstrator already and would like a copy please send an email to Cary@2biggirlscrafting.co.uk and we'll get one sent out 😊

Any way back to the important stuff ..  the card! I particularly love the sentiments in this great set and wanted to make them key to the card.

I also wanted to keep the colours bright and sunny 🌞 because it is summer here after all 😉.

As it's #makeitsimplemonday the inspiration is of course stamps, ink and paper.  I enjoy creating these projects even though they can prove to be tricky when you usually create with lots of elements!!!

Sending Smiles stampin up simple stamping easy clean card making

I really like the way the card is one layer yet because of the stamping has a layered look.

The layered look was easy to achieve as the stamps are made from photopolymer. This means that they are easy to see where your placing them.

Sending Smiles stampin up simple stamping easy card making

The flower parts and stems are all seperate stamps so the photopolymer is fab! There is one issue though.... here's my first card....

Sending Smiles stampin up simple stamping easy card making

Can you spot the mistake? 😅 It wasn't until I showed it to my partner that I realised what I'd done wrong 🤣🤣🤣

Who knows maybe it's not so bad flowers come in all shapes and sizes after all.

Well if you'd like to see how easily the stamps layer then why not drop over to our Facebook page for my live this afternoon at 4pm BST.  

Here's the link to the recording of my live and a super fun way to use a common household item to create a fun background. 


Sending Smiles stampin up simple stamping easy clean card making


Friday 20 May 2022

Fun Fold Friday - Nature's Prints

For my last card this week I have made a card like one that I made for our retreat back in March this year. Unfortunately, it went home with one of the attendees! I decided to make another this time using the Nature's Prints stamps and Sun Prints DSP. I believe it is called a floating panel card but I wouldn't swear to it. It's actually easier than it looks. I cut 2 pieces of card 10cm by 14.85cm and scored each in half at 5cm. A piece 19cm by 10.5cm which was scored at 1.5cm, 5.5cm from both sides. This is to be the floating mechanism. On top of that I added another piece of card which is 9cm by 12cm. I decorated each of the front facing mats and the rear facing mats too as I was originally going to add a message panel on the reverse and decorate the centre panel to the hilt but I changed my mind. 

I have been desperately trying to find out where I found this design from but apologies to the designer I cannot find their name! If anyone knows please let me know or let them know that I am very grateful for the design. 


 That's all from me for another week so thank you for stopping by. Cary will be back on Monday with some more of her creations, so please join her too. 
 
Until I return, please stay safe, keep well bu of course...
KEEP ON CRAFTING. 
😍 xx Gill xx 😍


Thursday 19 May 2022

Throwback Thursday - Nature's Prints

Today's card using the Natures Prints stamp set was inspired by one that I made a few years ago using Geared Up Garage. I love these papers so much that I had to do the starburst effect across a card. I cut a C6 mat in white card and all of the papers in the pack. That gave me a whole 12 designs to choose from! 😁 With each of the pieces of DSP I place the top left corner on 4cm on the trimmer and the bottom edge on the 0 to give myself triangles. Once they were all cut, I started to lay them out in the pattern I wanted. I started with the centre pieces, I had marked the centre with a pencil mark. Then I continues along both sides using all of the pieces. I'm pleased that on this one, I used all 12 pieces of paper which gave the lines much finer and you can see all of the gorgeous designs on them. A few more of the ferns were stamped and a sentiment was stamped and die-cut. Once the sentiment label was die cut, I placed it back into the machine and exerted enough pressure on it to cut just the edge off of each end. I added a strip of the white crinkled seam binding and on top a strip of the Starry Sky Metallic Woven Ribbon. A sentiment and decoration inside completed this one.

 
Above is the Geared Up Garage card that inspired me to make the card below.


Wednesday 18 May 2022

Watercolour Wednesday - Nature's Prints

Today's card is another simple but fun card for me. I used a scrap of Watercolour Paper and thoroughly soaked it with water. I inked across the Fern embossing folder using Pear Pizazz ink pad and placed the wet watercolour paper inside and embossed it. While I left it to dry, I stamped and die cut some of the ferns and grasses from Nature's Prints in Pear Pizazz and Evening Evergreen ink. The dies are from the Natural Prints set that coordinate with the stamp set. Once dry, I mounted it onto a piece of Pear Pizazz card and then laid a strip of Tear 'n tape across the mat. I added the grasses direct to the paper and placed a strip of the lovely white ribbon from last year's Flowers for Every Season ribbon combo across the front. I added a small flower in So Saffron to the top along with a sentiment and decorated on the inside completed this one.  


Tuesday 17 May 2022

Technique Tuesday - Nature's Prints

 Today I have made my all time favourite in a technique and it is made all the much better because of the Designer Series Paper. I used the Nature's Prints stamp set along with the beautiful papers called Sun Prints. The papers are in many shades of blue and greys, they really are gorgeous. Anyway, I have made a standard C6 card in Basic White and added one of the pieces of DSP to the front. I stamped a few of the fern images, a flower and a sentiment which was die-cut from one of the coordinating dies for the set called Natural Prints. Adding a piece of Designer Series Paper is the quickest way to enhance a card that you can send to anyone. 


Here are the papers that I have fallen in love with!

 SUN PRINTS 12” X 12” (30.5 X 30.5 CM) DESIGNER SERIES PAPER