Showing posts with label #easy card. Show all posts

Monday, 7 December 2020

Make It Simple Monday - Ornate Garden Suite

Hello and welcome back to another week of me hoping to inspire you with some ideas for your cards. Well, I'm sure many of you have made enough Christmas cards for this year so this is now December and we are all about the rest of the year. Cary and I have had a crazy week, we have had so many events this year online that we now have to send out our annual gifts and thank you's. In addition to preparing for the new catalogue which has arrived with us but will arrive with you by the beginning of the New Year. If you would like a catalogue from us, please drop us a line for your complementary copy. Don't forget too that if you live in the UK, and Europe (at the moment) you can shop with Stampin' Up! through us. Follow this link and it will take you to the 2 Big Girls Crafting Catalogues. No, you'll not see the new products there yet but it will be very soon. Please click HERE. The link will want you to open up a new window so that you don't loose your place on here. 

We will have first of all Thank you cards to write, then birthday, weddings, anniversaries, birth and of course sadly, loss of loved ones. I've gone into full thank you mode this week as the children and grandchildren are going to be asking for lots of thank you cards to send to friends and family this year as they'll obviously be unable to thank them face to face. What a year!! It has certainly has been a very unique one that hopefully will never be repeated. 

As I mentioned above in the title I am using the lovely Ornate Garden Suite this week for mainly thank you cards. More information on the suite, please click HERE 

My first card is of course a very simple one. I have stamped the images onto a white mat using the gorgeous bluey-green of Coastal Cabana ink and card base. I have actually made 3 different versions this week to show that with a few extras, you can change your card up very quickly and simply.

 
Here is the very simple card and using a few blends and some Frosted gems added it brightens the card immediately.

This next version I have stamped another flower and fussy cut it out and raised it using the foam shapes and the added gems.

As I said before, just by adding a few little touches I have managed to liven the card a little more. What will tomorrow bring I wonder?


Monday, 9 November 2020

Make It Monday - Snowflake Wishes

 I hope things are good where you are at the moment, it's cold and wet here for a change, Not! Once again we are now in Lockdown so I am going to make the best of it and keep crafting. On Thursday, Cary and I and the rest of our team all sat and watched our annual get together online. It lasted for 2,1/2 days! We were shattered after all that but really excited as we got to see some of the gorgeous new products that will be coming to everyone in January. Including the brilliant Saleabration! YES!!

This week I have decided to work with the lovely Snowflake Wishes. Click HERE to have a good look and for more information on this amazing set which also has dies, an embossing folder, ribbons, gems and more! This lovely stamp set is just literally full of different shaped and sizes of snowflakes and some messages. Perfect! Today's card is a very simple one, #simplestamping is our motto and this one is definitely simple. 

It was so simple, I made 2!

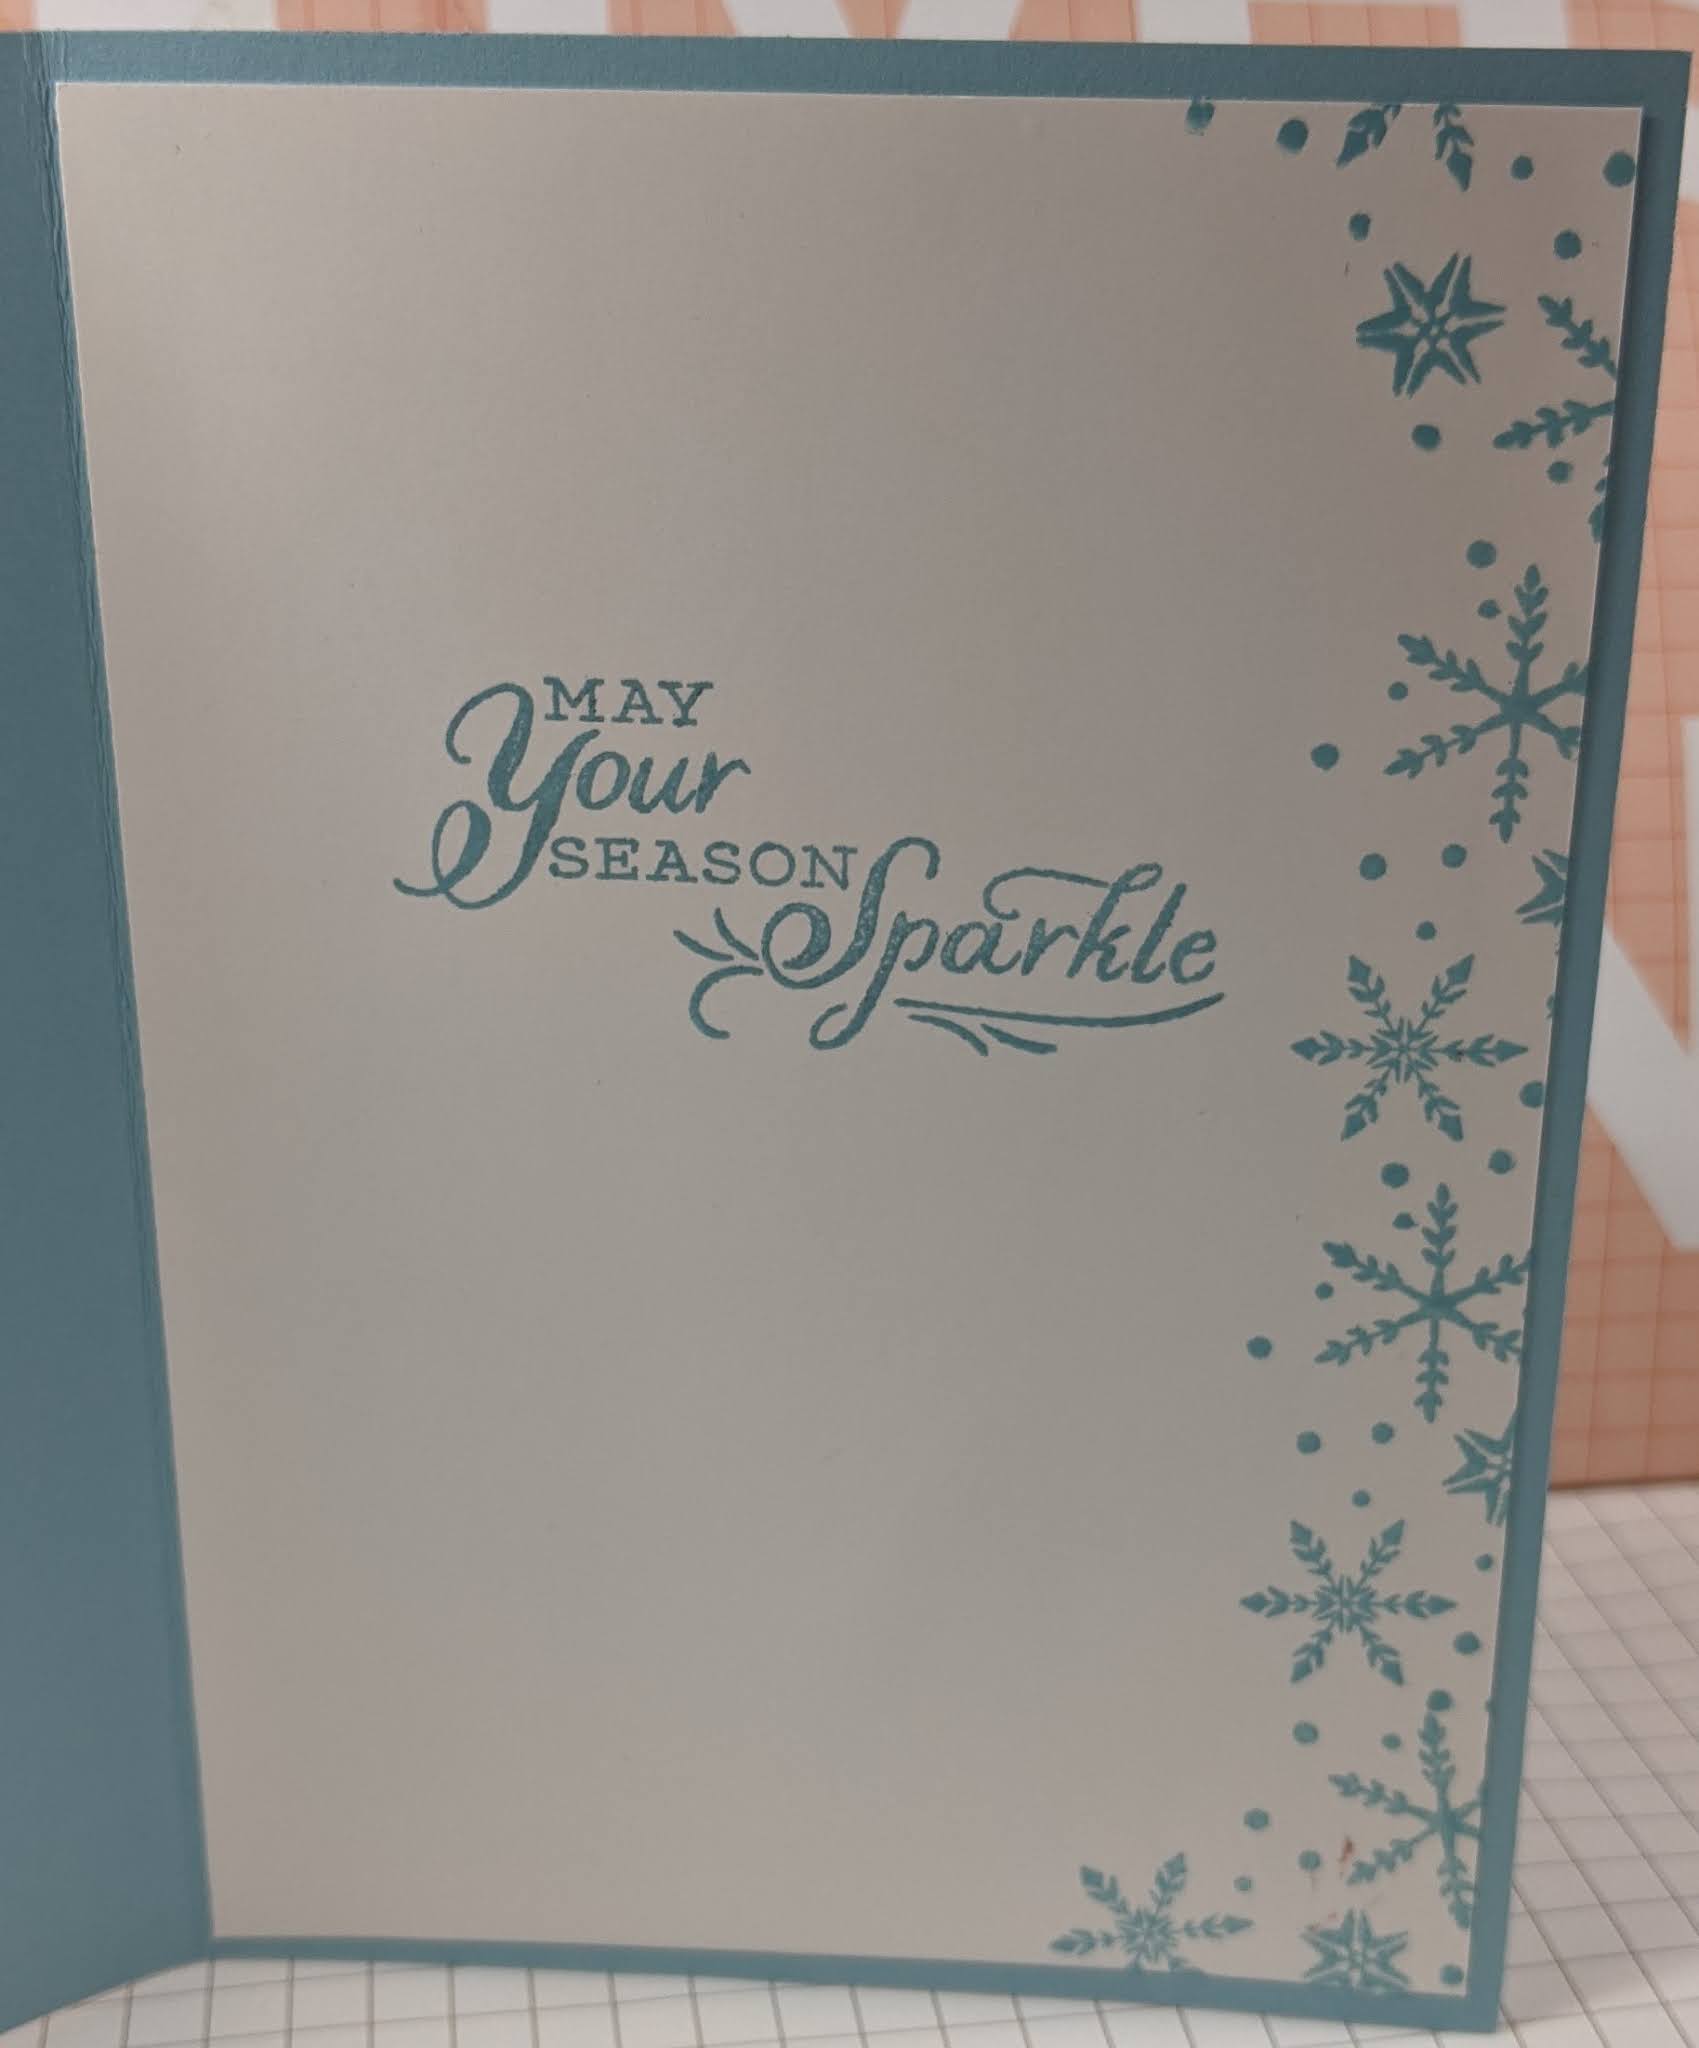
The first is on the left in the picture, I cut pieces of double sided paper to match both colours of card, in this case a Pool Party (pale green) mat on a white card base and the other on the right is on a Balmy Blue, (a pale blue) card base. The papers are both from the matching suite as the snowflakes and they are called Snowflake Splendour. These papers are in beautiful shades of light and dark blues, pale and darker greens and a lovely shade of lilac and purple through to pink tones. Gorgeous!

I added the paper then using a sticky note, I placed it on the edge of the paper and stamped randomly over the top part of the card using the same colour ink pad as each of the cards. I then added the message which I stamped in Memento black ink pad. Where I trimmed the card down a little, I used a strip and added it to the card as an underline.

The second card on the right was made in very much the same way only this time only 1 image stamped in the centre. The scrap of paper I used was left over from a watercolour card mat that I made a few weeks ago. I tend to keep a large cup which holds lots of strips of coloured card in all colours and angles. I like the way that the scrap shows all of the colours as in the papers.

On both cards, I added a little decoration to the inside and messages to complete them. I haven't added any bling as I generally add them when I have decided who to send them to. Until then, they will remain devoid of sparkle but trust me that I will add some lovely sparkle very soon.


Wednesday, 30 September 2020

Throwback Thursday - Most Wonderful Time

 Oh my goodness! Have you ever had one of those days when everything you touch goes wrong? Well I have almost every day for the last 2 weeks! It's just been crazy! I will get out of whatever it is stopping me from progressing and getting on with some kind of normality!

Meanwhile this last few weeks I've been trying to work with the lovely stamp set and papers from last year which I am so pleased to say has returned this winter season too. There are some lovely patterned papers which have Gold within the print on one side but not on the other side. They really are beautiful papers. It also has Die cut sticky shapes, stick on stars, pre printed card fronts with gold patterns on, gold and white tinsel trim, 6 piece set of dies and the included stamp set too! Then, once you have the kit, you can buy a refil kit which has more of the papers, stars, trim etc. Perfect.

I made this card last week using a C6 card base but I cut off 5cm from each of the sides only on the front of the card. I added patterned paper and a white message mat and made the 2 easel cards very easily. 

I know, I said it again. Another very simple card but it actually was. I kept the 2 pieces that I cut off and used 1 for the centre to support the mat of gold foil and patterned paper. I used one of the sheets of deers and added it to some more gold, fussy cut around it and added that to the centre panel too. The main message was added and raised onto foam adhesive to give the easel space to stand.


I used the stamp set Wrapped in Christmas for the messages on this one but the messages in the stamp set are equally as good.