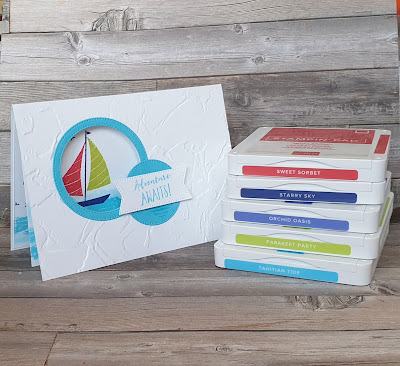
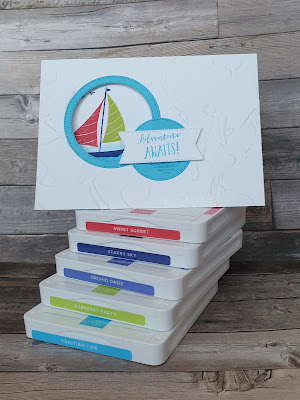
I love sharing tips, tricks and techniques any day but especially on a Tuesday 😁 For my card today using the Let's Set Sail stamps and the 2022-24 In-Colors I've a new twist, well new to me 😉, on a favourite style of card.
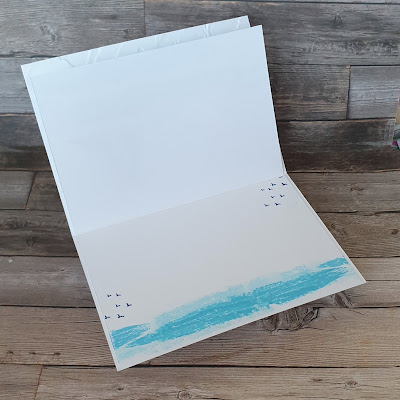
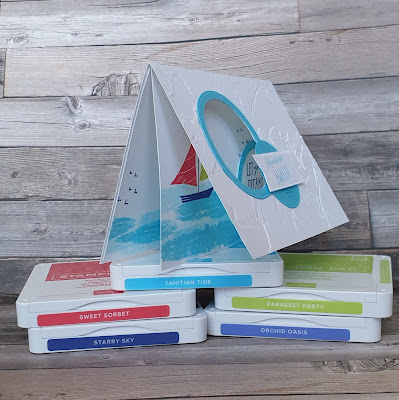
Called a window card it's where the inside peeps out through an appature in the card front. Usually I would stamp or decorate the inside of the card and either write amidst the pretty part or on the reverse of the card.
My new take on the window card is a very simple trick. What I did was cut a piece of cardstock to 10cm x 14.9cm . I then scored at 0.5cm along the 14.9cm edge.
Taking the piece of cardstock I stamped my scene. I used the tequnique of generational stamping to create the sea . I inked up the large water stamp then stamped it. Then I stamped again but instead of inking again I "huffed" over the stamp to reactivate the ink left on the stamp. The effect is that you get shades or tones of the same colour.
I then took a piece of cardstock measuring 14.85cm x 21cm and scored it at 10.5cm. I then took a circle die from a set called Stylish Shapes dies. This a fab set of stiched circles, squares and banners. I then placed my chosen die onto the card front and cut it out.
Next I used an embossing folder to add texture to the whole of the card front. A tip here is that when you make your sandwich for embossing only place the top plate up to the score line. This means that the back of the card will be flat and unmarked.
I then placed adhesive along the narrow strip on the stamped/ decorated layer. Place the side with the adhesive onto the inside of the card base lining the scored line next to the score line in the cards base. The panel will be slightly smaller than the card base.
I then took another mat of cardstock measuring 10cm x 14.4cm and adhered it to the card base. This is the area that I will write my message on. I did a little generational stamping on this piece just because I could 😄
Finally I decorated the front of the card. I die cut a circular frame from a piece of the gorgeous tahitian tide cardstock. I adhered the frame around the appature.
I then used the circles from the die cuts to create the sentiments along with a banner die cut.
I love the way this card turned out . It's fun and yet clean and simple. Even though it does have layers they are seperate. All in all I this fun card came together quickly and without any drama... always a good thing in my book 😀


No comments:
Post a Comment