Wow that week went by in a flash ! So here I am on the final post of my week using the amazing Merry and Bright stamps and all the coordinating goodies in the Merry Bold & Bright suite. I have to say I've had a whole lot of fun playing with these items. They have really sparked my creativity.
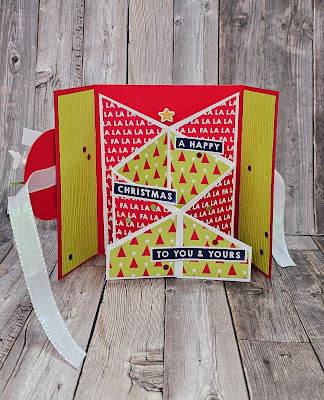
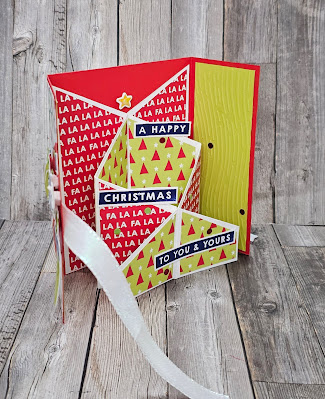
So as always the final sample of the week is a fun fold one . I've chosen to create a modified cascade card. I chose this as there's lot's of space to show off the amazing papers from the suite.
Now there are plenty of tutorials around for this style of card in imperial measurements. But metric measurements I couldn't find to fit a standard C6 envelope. So I had to play papercrafting engineer and create my own.
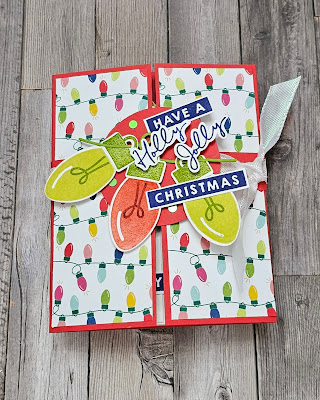
Here is my version of the card. It all starts with 2 pieces of cardstock that measure 14.85cm x 21cm. The first piece will become the card base. It's a gatefold card so you score the cardstock at 5.25cm in from each end of the long side.
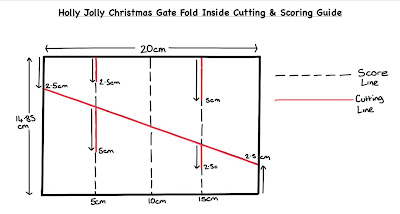
Next take the second piece of cardstock and score at 5cm, 10cm and 15cm. Then mark at 2.5cm down from the top left-hand corner and up from the bottom right-hand corner. Now cut between these to marks. This creates the 2 parts for the cascade section of the card. Finally find and mark the center of the 1st and 3rd scorlines.
On one piece you will cut up from the bottom along the scorelines to the marks. On the other you need to cut down from the top on the scoreline to the mark. These cuts allow th pieces to be slotted together.
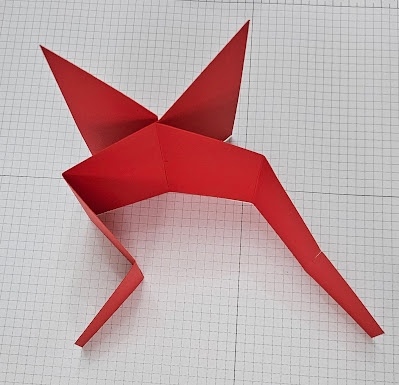
Now to slot the 2 pieces together. Slot the 2 largest panels together ..
It will stand all by itself and pop open and colsed with ease.
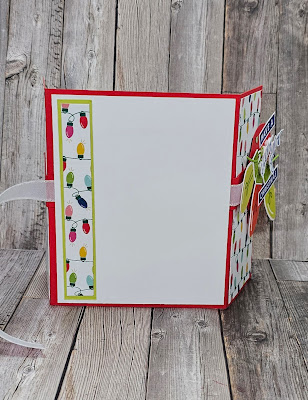
Now the fun of decorating begins ☺️ Of course I have used the gorgeous Merry Bold and Bright pattern papers.


No comments:
Post a Comment