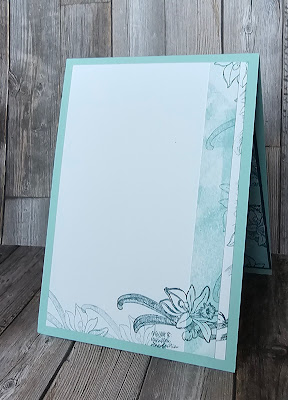
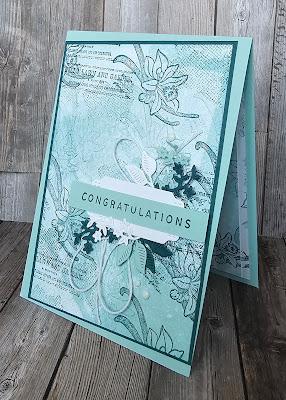
And now for something completely different from yesterday's #makeitsimplemonday card! I think this style is called collage 🤔 but I'm not sure. What would you call it ? The stamps used to create the look are from the Lovely and Sweet stamp set which is soo beautiful.
The card started life as a piece of basic white cardstock and the idea to use a tool that has been reintroduced to the mini catalogue from Stampin'Up! a brayer. Now this tool was one that has a multitude of uses from giving even pressure when stamping a large stamp to applying ink to stamps to direct to paper techniques and more!
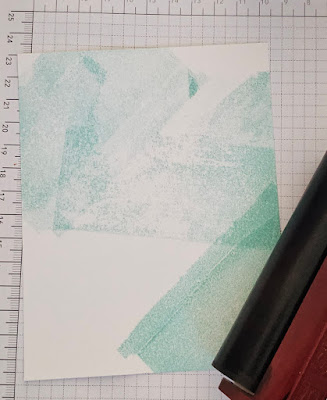
When you first ink your brayer up a top tip is to only roll the brayer over the ink pad in one direction. You want the ink to be all around the cylinder not just in one place on it. The technique used for this card is a simple random direct to paper one.
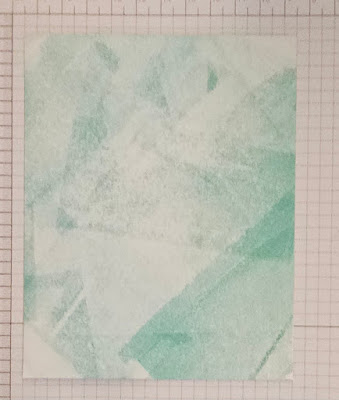
Start by chosing your ink colour and loading up your brayer. Then run the brayer across the cardstock in random directions with random pressure... have fun with it! This is one technique where there is no right or wrong. Each piece will be different and unique so I suggest using a larger piece of cardstock than you might need . This can then be cut up to create multiple backgrounds to use at a later date 😉
One final top tip for when using a brayer make sure to clean it properly before putting it away! You don't want cross contamination on your ink pads. One way to clean the brayer is to roll it off on scrap paper but that seems a little wasteful. So I suggest you keep creating until there is no colour coming of and place that piece in your to be continued pile. Then run the brayer under clean running water, using a little washing up liquid if so desired, until it is completely clean. Now make sure that the brayer is completely dry before packing away. Taken care of your brayer should last you years and years of happy creating.
So what did I do with my panel? Well I took the beautiful Lovely and Sweet stamps and used them to add more depth and texturee to the brayered piece. I used tone on tone inking as well as generational stamping with the same ink as the background. I also used a darker shade of ink that has the same tones.
Next I die cut some sprigs and bits from the coordinating dies in the Lovely and Sweet bundle. I kept the colour palette to the same 2 shades of blue green and white.


No comments:
Post a Comment