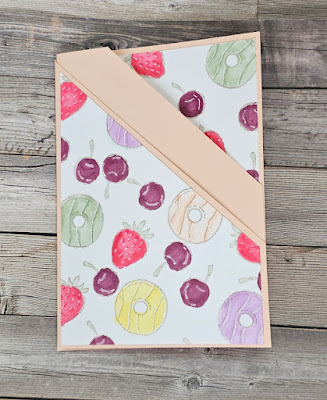
Yay it's fun fold Friday 😀 and I have a goodbone to share with you today called a pocket card. The card does of course feature the amazing Ice Cream Swirl bundle of stamps and dies that have been at the heart of all my posts this past week .
So how do you make a pocket card? Well its really rather easy. Below are diagrams with the measurements and scoring and cutting lines.
Next cut a piece of patterned paper as per the diagram above
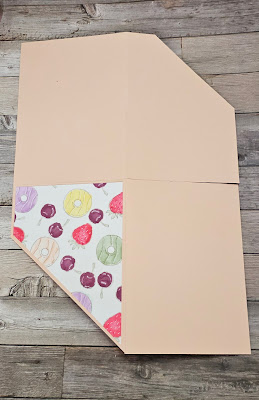
Once cut and scored your cardstock adhere your pattern paper of choice. The largest panel of paper is adhered as per the picture. Please make sure you have the card base in the correct orientation. The center cut line must be on the right-hand side.
Next turn the card over this time the cut will be on the left-hand side. Adhere the small pattern paper panel to the top right-hand corner. Then a piece of white cardstock measuring 10cm x 14.4cm in the bottom left-hand corner as shown below.
Next rorate the panel as shown below and place tape as shown below.
Remove the tape cover on panel a and fold over to panel b.
Then remove the tape cover on panel c and fold panel a up to close the card
Fold a over to the right-hand side . Turn your card over and voila it's done .
Now it's time to decorate and add to the pockets. I made my own pattern paper using the cute small images from the ice cream swirl stamps.
The ice cream swirl dies cut out the cone portion into little note cards which were perfect for popping into the pockets.
The front ice cream is adhered with 3d foam to the front of the card. The cone die has a coordinating texture die which you can use at the same time at the outline die which saves on the die cutting time 😉
Well that's all from me for this week I do hope you've found some inspiration from my posts.
Please join me back here next week when Gill will be sharing her creations with us all.
Have a good weekend and make sure to...
Have fun!
Cary xx


No comments:
Post a Comment