Showing posts with label #bubblebathinkpad. Show all posts

Wednesday, 12 June 2024

Watercolour Wednesday - Legendary Ride

 Hello. Today's watercolour was a simple one as I heat embossed the centres of the pink mats with White embossing powder and then using a spritzer, a wide paint brush and the ink pad and lots of water... I managed to cover the whole mat. The pink was my third attempt! I tried with Daffodil Delight, (a lovely strong yellow), then Melon Mambo, (a very bright pink) which obviously turned everything very orange. I haven't thrown it away as you may end up seeing it on Thursday! Anyway, I started by using Versamark ink pad for the image from the large motorbike from Legendary Ride stamp set. I then added the white embossing powder and heat set it with the heat gun. Well pleased with the result! 

I started to add ink by brushing the ink pad across the white stamped mat but...a, the colour was wrong and b, It really wasn't the look that I was going for. I then repeated the process onto white card this time but I stamped the image in the soft pink instead of heat embossing. The pink is called Bubble Bath and is so cute. I layered this onto a white square card base approximately 6" by 6" and I added a piece of DSP from the Flowering Zinnias papers. It is the perfect bright pink of Melon Mambo. I also added a silver foiled card mat which I embossed with the retired embossing folder called Metal Plate.

Motorbike riders are not all men and this one is for my best friend for her birthday in September. She is very tiny but still loves to ride powerful engines such as tractors and the like, huge horses and of course her motorbikes! I know that I'm early but I'll know that it's done. 


Friday, 19 April 2024

Fun Fold Friday - Botanical Layers and Botanical Beauty

 Hello again. As today is my last day for a week, I have gone to town! Using the Botanical Layers stamps, I stamped the four, large floral images several times in; Lemon Lolly, Calypso Coral, Berry Burst, Granny Apple Green and Bubble Bath! It took a LOT of fussy cutting out! I need a break from fussy cutting now!! :) Using the Botanical Beauty stamp, I stamped onto a white mat in a Boho Blue Ink pad. I also cut and embossed a white mat for the centre 2 half panels and the front.. The blue, I cut in half lengthwise and added to the inside of the card on the outer 2 edges and filled in with a piece of the embossed paper in the centres. I took 2 more pieces of Boho Blue card and cut them to 21 cm wide. 1 piece is 6.5 cm high and the other 10 cm high. The latter of which was cut to 10 cm wide. I added an extra 1 cm to each side for the ahesive to go on before cutting. 

Then it was a case of adding the leaves and flowers all over the stands. By making a fold in the centre of each of the stands It will make it stand and fold into the centre easily. Now bear in mind this will not go as standard mail. It will have to large size letter of even hand delivered. Which I always prefer anyway. That was it basically. A simple sentiment on the front and the back completes my cards for this week. 

 
A very plain and simple front opening onto a very busy inside. 


I hope that you have found some ideas to hopefully inspire you to make your own cards this week. Cary will return on Monday with some more of her designs to share with you.

Until the following week when I return again, please take care, stay safe and 

KEEP ON CRAFTING 

xxx 😍😍  Gill  😍😍 xx

Tuesday, 2 April 2024

Tips, Tricks and Techniques Tuesday - Lifetime of Love

 Hello, as soon as I saw this stamp set and dies, I knew that I was going to have fun with it. I really love this one too! Lifetime of Love... it sums it all up really doesn't it? Well! It is nice to dream too! Today's card using the stamp set. I could see as soon as I saw it. Soft fresh colours over white to share and show th love.  I also love my blending brushes! Today's technique is brushes and blending.


Friday, 29 December 2023

Fun Fold Friday - Detailed Dogwood

Hello again and here we are on the 2nd and last day of this week. Once again I am so sorry for the lack of posts this week and I am positive that Cary will be more than efficient than me in making projects for next week, even though it is New Year. My fun fold card for today is again using the Detailed Dogwood and I mixed it this time with the sentiments from the NEW stamp set called Heartfelt Hexagon. Yet another lovely stamp set again!

This one is a triple folded card that I have seen around on different sites by different designers. I started with a piece of Basic white thick card which was 25cm by 10.5cm (9,3/4" by 4,1/4"). Along the long back edge, I scored at 2.5cm, 5cm, 7.5cm and 10cm then using a pencil I scored a line to the first scored line from the left hand edge to 2cm along this first line. 

2cm in from the right hand-edge I scored a short line from the 2nd score line to the 3rd line.  The 3rd score line at 2cm from the right hand edge this time. See the picture below. I then cut a straight line between the pencil mark and the next scored line. I then have 2 short, straight lines that cross the original score lines. Starting at the right hand opening edge this time cut the first straight line as I have done on my card and then diagonally up to the next short straight line. Now cut a straight line then a diagonal line between the final 2 score marks. This will then form the backs for the mats to the fronts of each panel.  Fold the 4 edges in starting with a valley, then mountain, valley and mountain again. Use a bone folder to burnish each of the folds.


Choose the colours of your mats and cut them from back to front at 

10cm by 14.4cm (Back of card) 

12cm by 9cm (inside)

7cm by 10cm (front)

I used Lost Lagoon card and pieces of DSP from the Snowflake Magic 12" x 12" Speciality papers.


The flowers were all from the Detailed Dogwood stamp set and I used Bubble Bath pink, Lost Lagoon. Smoky Slate for the images and Lemon Lolly for the yellow.


Overhead view


That's it for me for this week. Have a truly magical and Happy New Year but as always.....

Take care, Stay safe and obviously 

😍 😍 xx KEEP ON CRAFTING! xx 😍 😍 

Tuesday, 12 December 2023

Technique Tuesday - Everlasting Beauty

 Today was a bit of a challenge but easier after I thought about it. Using the stamp set Everlasting Beauty, I stamped and coloured many, many of the images of this flower. It really wasn't working out as I had hoped until my son and his daughter came home. They fell in love with the colours on this flower here. I started with a simple mat that I stamped the flowers in the gorgeous soft grey of Smoky Slate. Starting in the centre, I stamped the flower randomly over the mat and then using a blending brush, I added some layers of the beautiful soft baby pink of Bubble Bath. It was the green that I had problems with as I hadn,t completely worked it out in my head which colour was correct. After several tries, I fell in love with the gorgeous bluish-green of Lost Lagoon. That was it! That was the one that I needed. I knew instantly I saw it that it was the correct one.


Wednesday, 23 August 2023

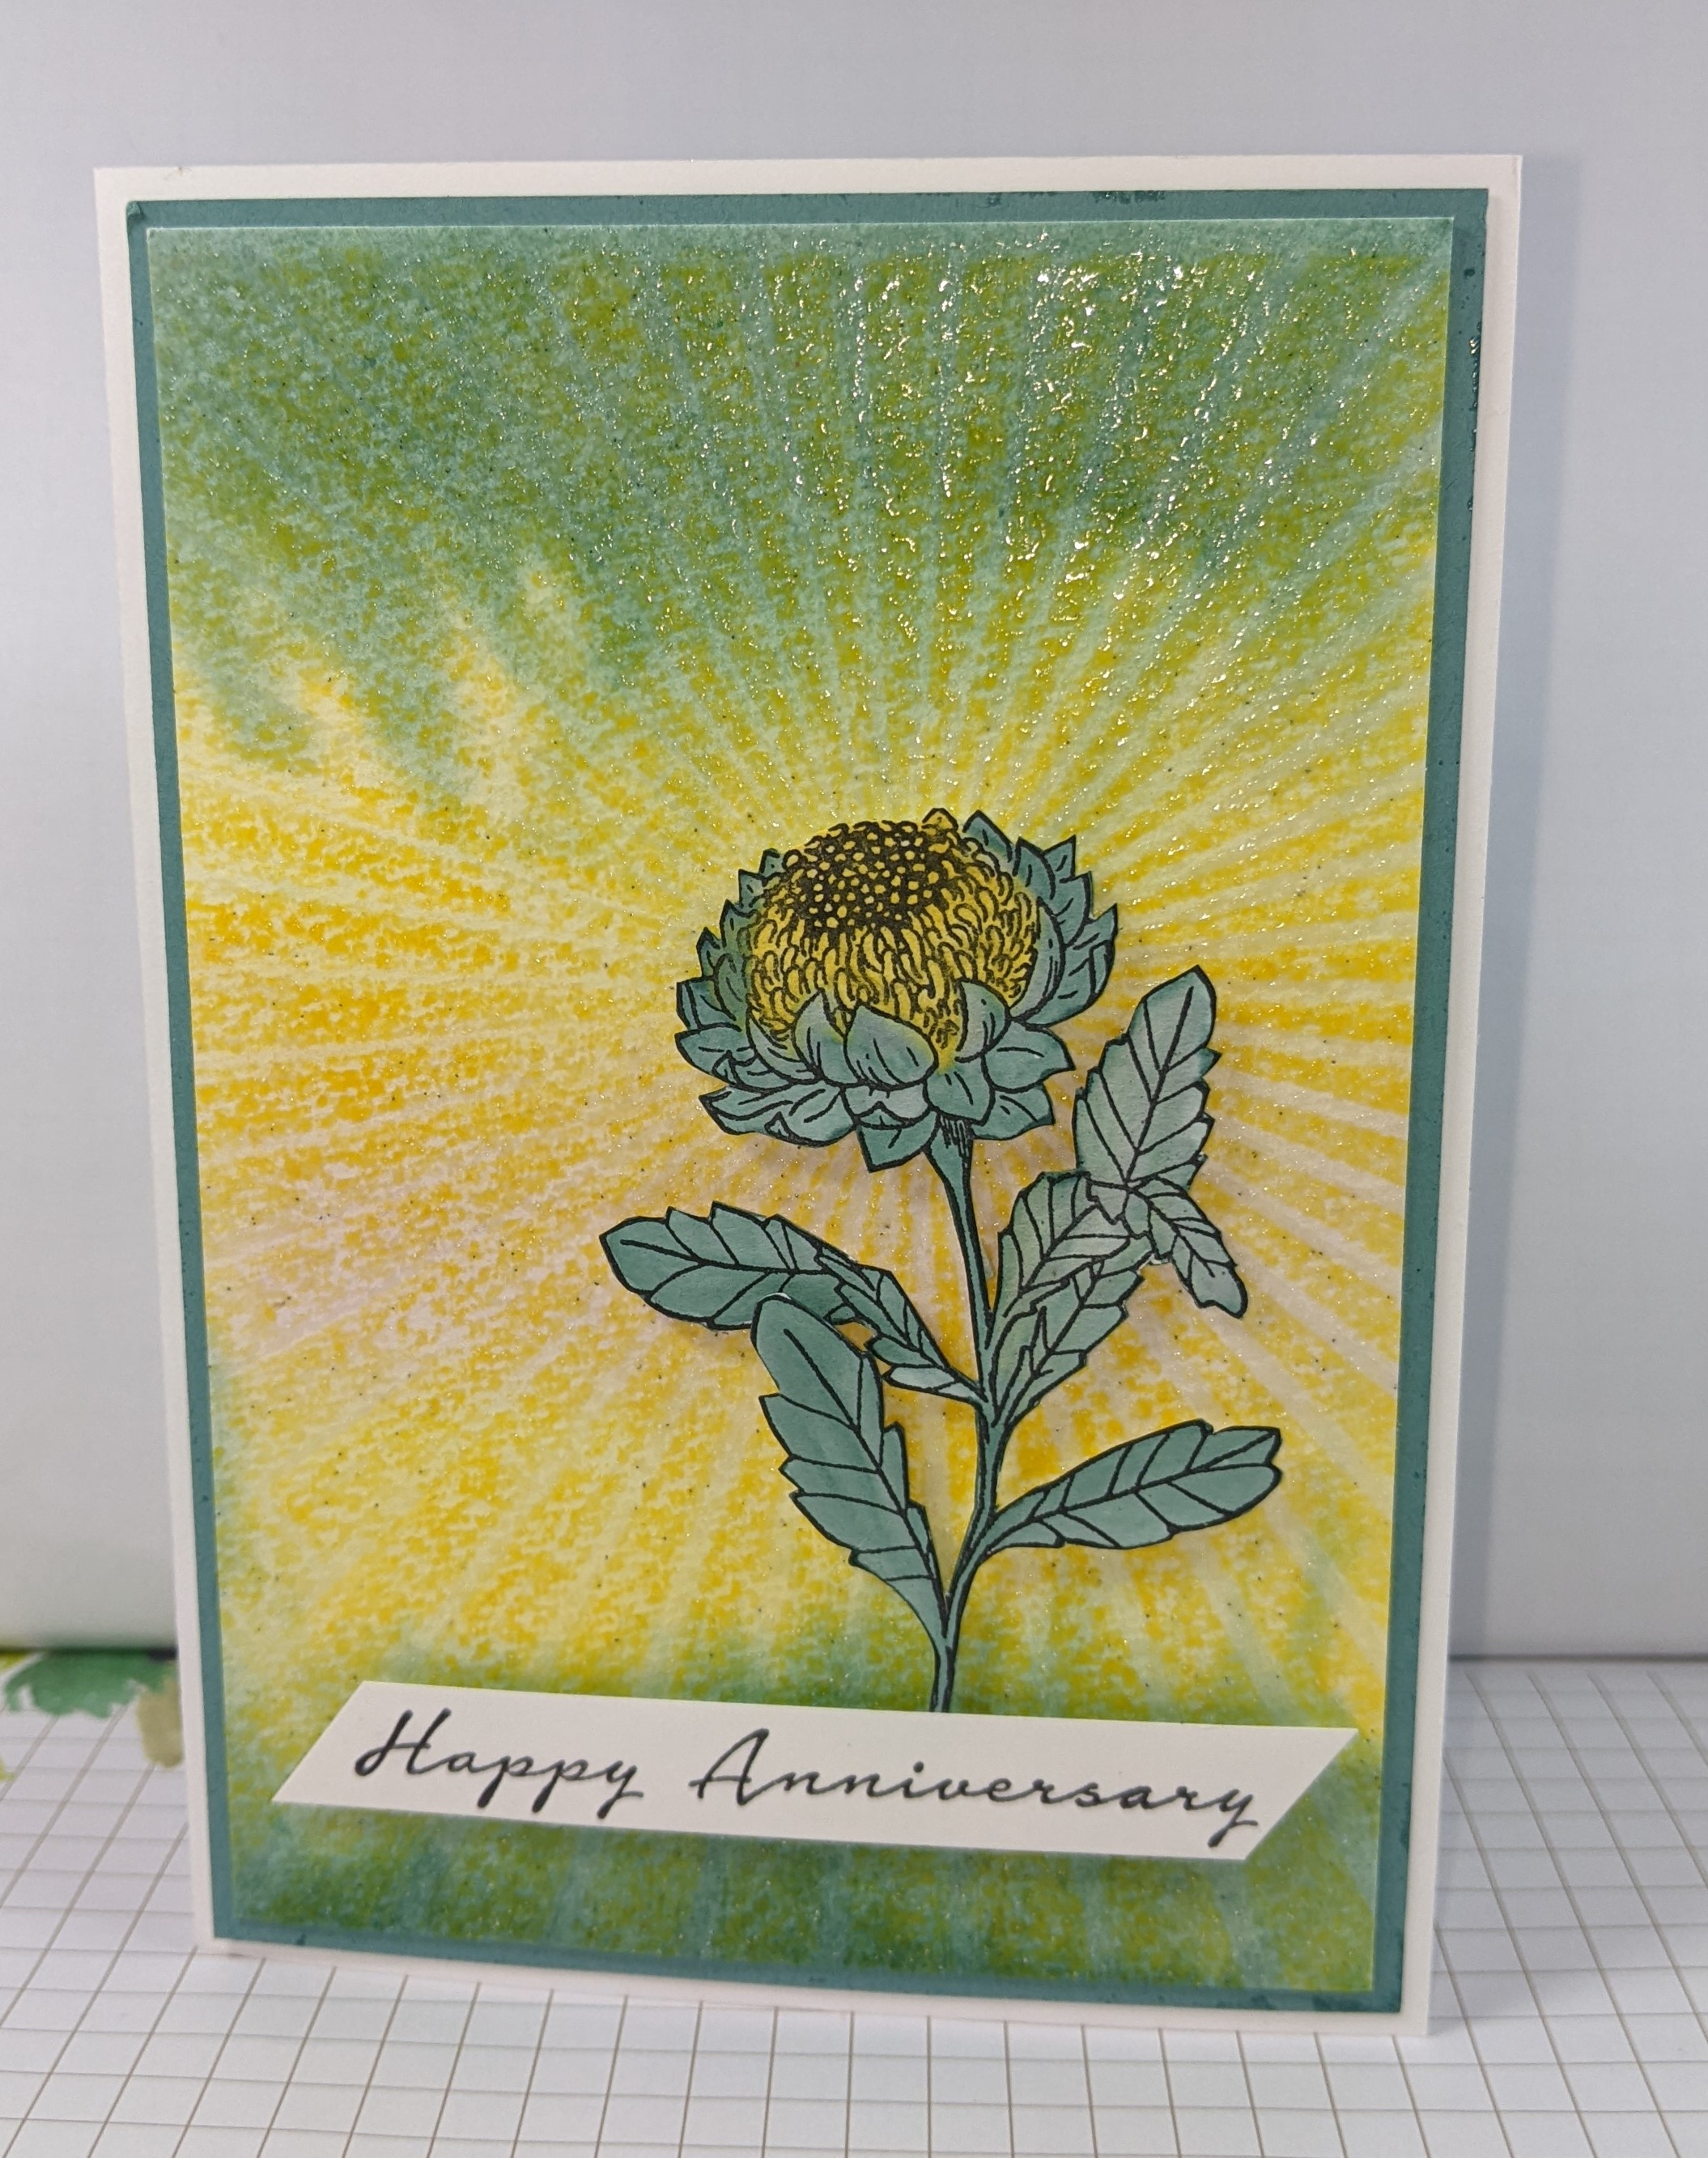
Watercolour Wednesday - Backgrounds - Rays of Light

 Hello again. Firstly, I must apologise for the lack of a project for yesterday. Unfortunately, life just got in the way! I'm very sorry. However, today's project is another background stamp that I have wanted to use for a while but have never gotten around to it. I started by spritzing a piece of Fluid  watercolour paper with lots of water. Using an H block, I inked it up with first of all a beautiful very soft pink called Bubble Bath. I spritzed that with water too and added it across the centre of the piece of watercolour paper. I repeated this process with the fresh lemon of Lemon Lolly, above and below of the pink and then the blueish green of Lost Lagoon above and below of the lemon. I tilted the card quite a bit to blend the colours well and got the lovely misty lines. Then using the Rays of Light stamp, I inked it with Versamark and then some Lemon Lolly and placed it over the now dry mat. 

I heat set it and repeated it with Clear embossing powder as well which was sprinkled over the Versamark and Lemon Lolly. I heat set that and stamped a flower from the Everlasting Beauty stamp set. I watercoloured the flower using ink from a block and a waterbrush. I adhered the watercolour paper to a Lost Lagoon mat and then onto a Basic White card base.


Friday, 2 June 2023

Fun Fold Friday - Memories and More - Bright and Beautiful

Friday is here and it's fun fold day!  As with the rest of this week, I have made 2 cards. The first is very similar to one that Cary made for an event that we recently held using 2 envelopes. Mine, however is slightly different. Using the Memories and More Bright and Beautiful envelopes I removed the edges of the envelopes by a very narrow hair on 3 sides only! I left the flap on at this point and it left only the front of the 2 envelopes for my card front. I then added 1cm of Tear and Tape adhesive across the flap on the first envelope. It needed 2 rows of tape. I attatched the other envelope flap to the first before placing some more tape to the other side. I then removed the remaining part of the envelope flap and added some more tape to the back of this and sealed it across the back of the now card base. I added 2 pieces of white card to the inside both measuring 10cm by 14.4cm. Using the Memories and More Bright and Beautiful cards, I took one of the smaller cards from the pack and as I had already used the Balloon earlier this week, I had the frame left. I added a piece of window Sheet to the back of the card then added foam strips around the balloon shape and the outer edges. I placed some of the self-adhesive balloon die-cuts  to the centre of the card and then some of the small sequins called For Everything Fancy Sequins. Sadly they are retired now and I haven't yet bought anything to replace them! I used a pinch of the 3 different colours to the centre and then placed the small card onto the middle of the card. After adding some sentiments and decorating the inside, I now have a lovely shaker card.


Card 2 

My second card is very different. A friend of ours had showed us how to make the card this week so here is my version of it. For the card base, I used a piece of Bubble Bath, soft pink card and cut a mat                                                                                                                                                              1,  14.85cm by 16cm (5,7/8" by 6,1/4"). This was scored at 1.5cm and 3cm (5/8" by 1,1/8") from each side.                                                                                                                                                                             2, 2 mats also in Bubble Bath card 5cm by 13.8cm, (2" by 4,1/2").  

3, 2 more panels 4cm by 12.8cm (1,1/2" by 5 ,1/16") 

4, 2 further small panels 4.5cm by 12cm (1,3/4" by 4,3/4"). Score both of these 2 pieces at 1.5cm and 3cm. (5/8" and 1,1/8")                                                                                                                                  I managed to get the whole card out of 1 sheet of A4. Back to the card base and the 2 scored mats, I burnished all of the scored lines in both directions to ensure they were crisp folds. I added the largest of the mats to the first of the scored lines on the card base. Add the other 2 scored mats to the outer edge of the previous panels then add the last 2 panels to the the outer edge of the previous panels. This is now the completed card and now to decorate it. 

The only additional piece that you may need is a belly band. Mine is 2cm by 22cm (3/4" by 8,3/4") Once decorated, wrap the belly band around the card with out making it too tight as your card will need to be opened by the person receiving it. 

I cut all of my DSP mats 0.4cm (1/8") smaller than the card mats themselves. 

I believe the card originally was one from Annette Sullivan. I am sorry but I have no idea where she is based but I would like to thank her on her beautiful card.


Thank you for stopping by this week once again. Cary will return on Monday with more of her designs to share with you. 
 
Until I return, please keep well, stay safe but most of all.....

KEEP ON CRAFTING

xx 😍😍 Gill 😍😍 xx
xxx