Showing posts with label #everlastingbeauty. Show all posts

Friday, 15 December 2023

Fun Fold Friday - Everlasting Beauty

 Well here we are once again and it's Friday already! Time flies when you're having fun doesn't it? I have really enjoyed working with this stamp set this week and I really do wish that I had played with it much sooner than now! Anyway, using the Everlasting Beauty stamp set, I've made my final card, a fun fold. I cut a piece of A4 along the length of it at 14.85cm or 5,7/8" and scored it at 10.5cm, 15.5cm and 16.5cm or in Imperial measurements... 4,1/8", 6,1/8" and 6,1/2".  The last piece on the left hand of the card is cut down to measure 10cm high or 4,15/16".

Once that extra piece was removed it's now for a case of DSP and coloured card. I iused the beautiful NEW Softly Stippled DSP. It's part of a really beautiful suite of products which you'll be able to see more of them in just a few weeks. To enhance the beautiful papers, I have layered them onto Pebbled Path card mats. I wasn't sure that it would work but I'm pleased to see that it really does.


Well, thank you once again for stopping by this week and I hope that my cards have inspired you to make some even better than mine. 

Cary will be here next week and I will return on the following week, (Christmas week).

Until then and as always, take care, keep well, stay safe and 

KEEP ON CRAFTING

Thank you, 

xxx😍😍 Gill 😍😍xxx


Thursday, 14 December 2023

This or That Thursday - Everlasting Beauty

 Do you like to save money? We do. Today only Stampin' Up! are giving FREE SHIPPING on any order placed! Go on, spoil yourself!

 Hello. Using the lilac flower from the Everlasting Beauty stamp set, today's 2 cards are both very similar. I stamped 2 of the flowers and coloured them in using my blends alcohol marker pens. 3 simple colours and they were, Fresh Freesia, light and dark, Highland Heather light and dark, Shaded Spruce light and dark. I started just adding little marks with the darker pens and then added the lighter shades afterwards. 

Yes, I did fussy cut them out as always and layered them differently on the 2 card bases.

THIS

The first card is on a White card base and I made a Fresh Freesia mat which I scored at 0.5cm and 1cm al around the edges. The frame is a die cut from the Brilliant Backgrounds dies which I thinks makes a really lovely change to the card.


THAT
My second card or THAT card I have made on 1 of the Brushed Gold Card's and Envelope. These cards are stunning. The front and back of the cards and the envelope flap have a gorgeous gold pattern on. This card I die cut a mount from the Christmas Classics dies in a piece of gold card. I added simple sentiments onto both cards to complete them. I used Go To Greetings stamp set for the card sentiments on the front.


Please let me know which do you prefer?


Wednesday, 13 December 2023

Watercolour Wednesday - Everlasting Beauty

 Hello on this watercolour Wednesday. Today I stamped the floral image which I could just see in the orange of Calypso Coral. Using the stamp from Everlasting Beauty, I coloured little bits of the outer leaves from the flower in the same colour. Using Lost Lagoon ink pad again this week, I washed the rest of the images carefully in the Lost Lagoon. To blend it all together, I made a very weak colour wash of Fresh Freesia and using a small brush I just gently brushed the lilac over it. 

I used some of the Calypso Coral Braided Linen Trim and laid 3 strips across the white mat which I had embossed with the Layered Florals embossing folder. A few sentiments from the stamp set onto the circles completed this card.


Tuesday, 12 December 2023

Technique Tuesday - Everlasting Beauty

 Today was a bit of a challenge but easier after I thought about it. Using the stamp set Everlasting Beauty, I stamped and coloured many, many of the images of this flower. It really wasn't working out as I had hoped until my son and his daughter came home. They fell in love with the colours on this flower here. I started with a simple mat that I stamped the flowers in the gorgeous soft grey of Smoky Slate. Starting in the centre, I stamped the flower randomly over the mat and then using a blending brush, I added some layers of the beautiful soft baby pink of Bubble Bath. It was the green that I had problems with as I hadn,t completely worked it out in my head which colour was correct. After several tries, I fell in love with the gorgeous bluish-green of Lost Lagoon. That was it! That was the one that I needed. I knew instantly I saw it that it was the correct one.


Monday, 11 December 2023

Make It Simple Monday - Everlasting Beauty

 Hello, that week went by so quickly but as always Cary made some beautiful cards to share and hopefully inspire you.  This week I will be using the lovely set called Everlasting Beauty. I've had the stamps et for quite a while but never used it until today. I've made a very simple card with one of the flowers simply stamped across the white mat of the card which was edged with a dark blue ink and it was also stamped in the same ink colour.


Wednesday, 23 August 2023

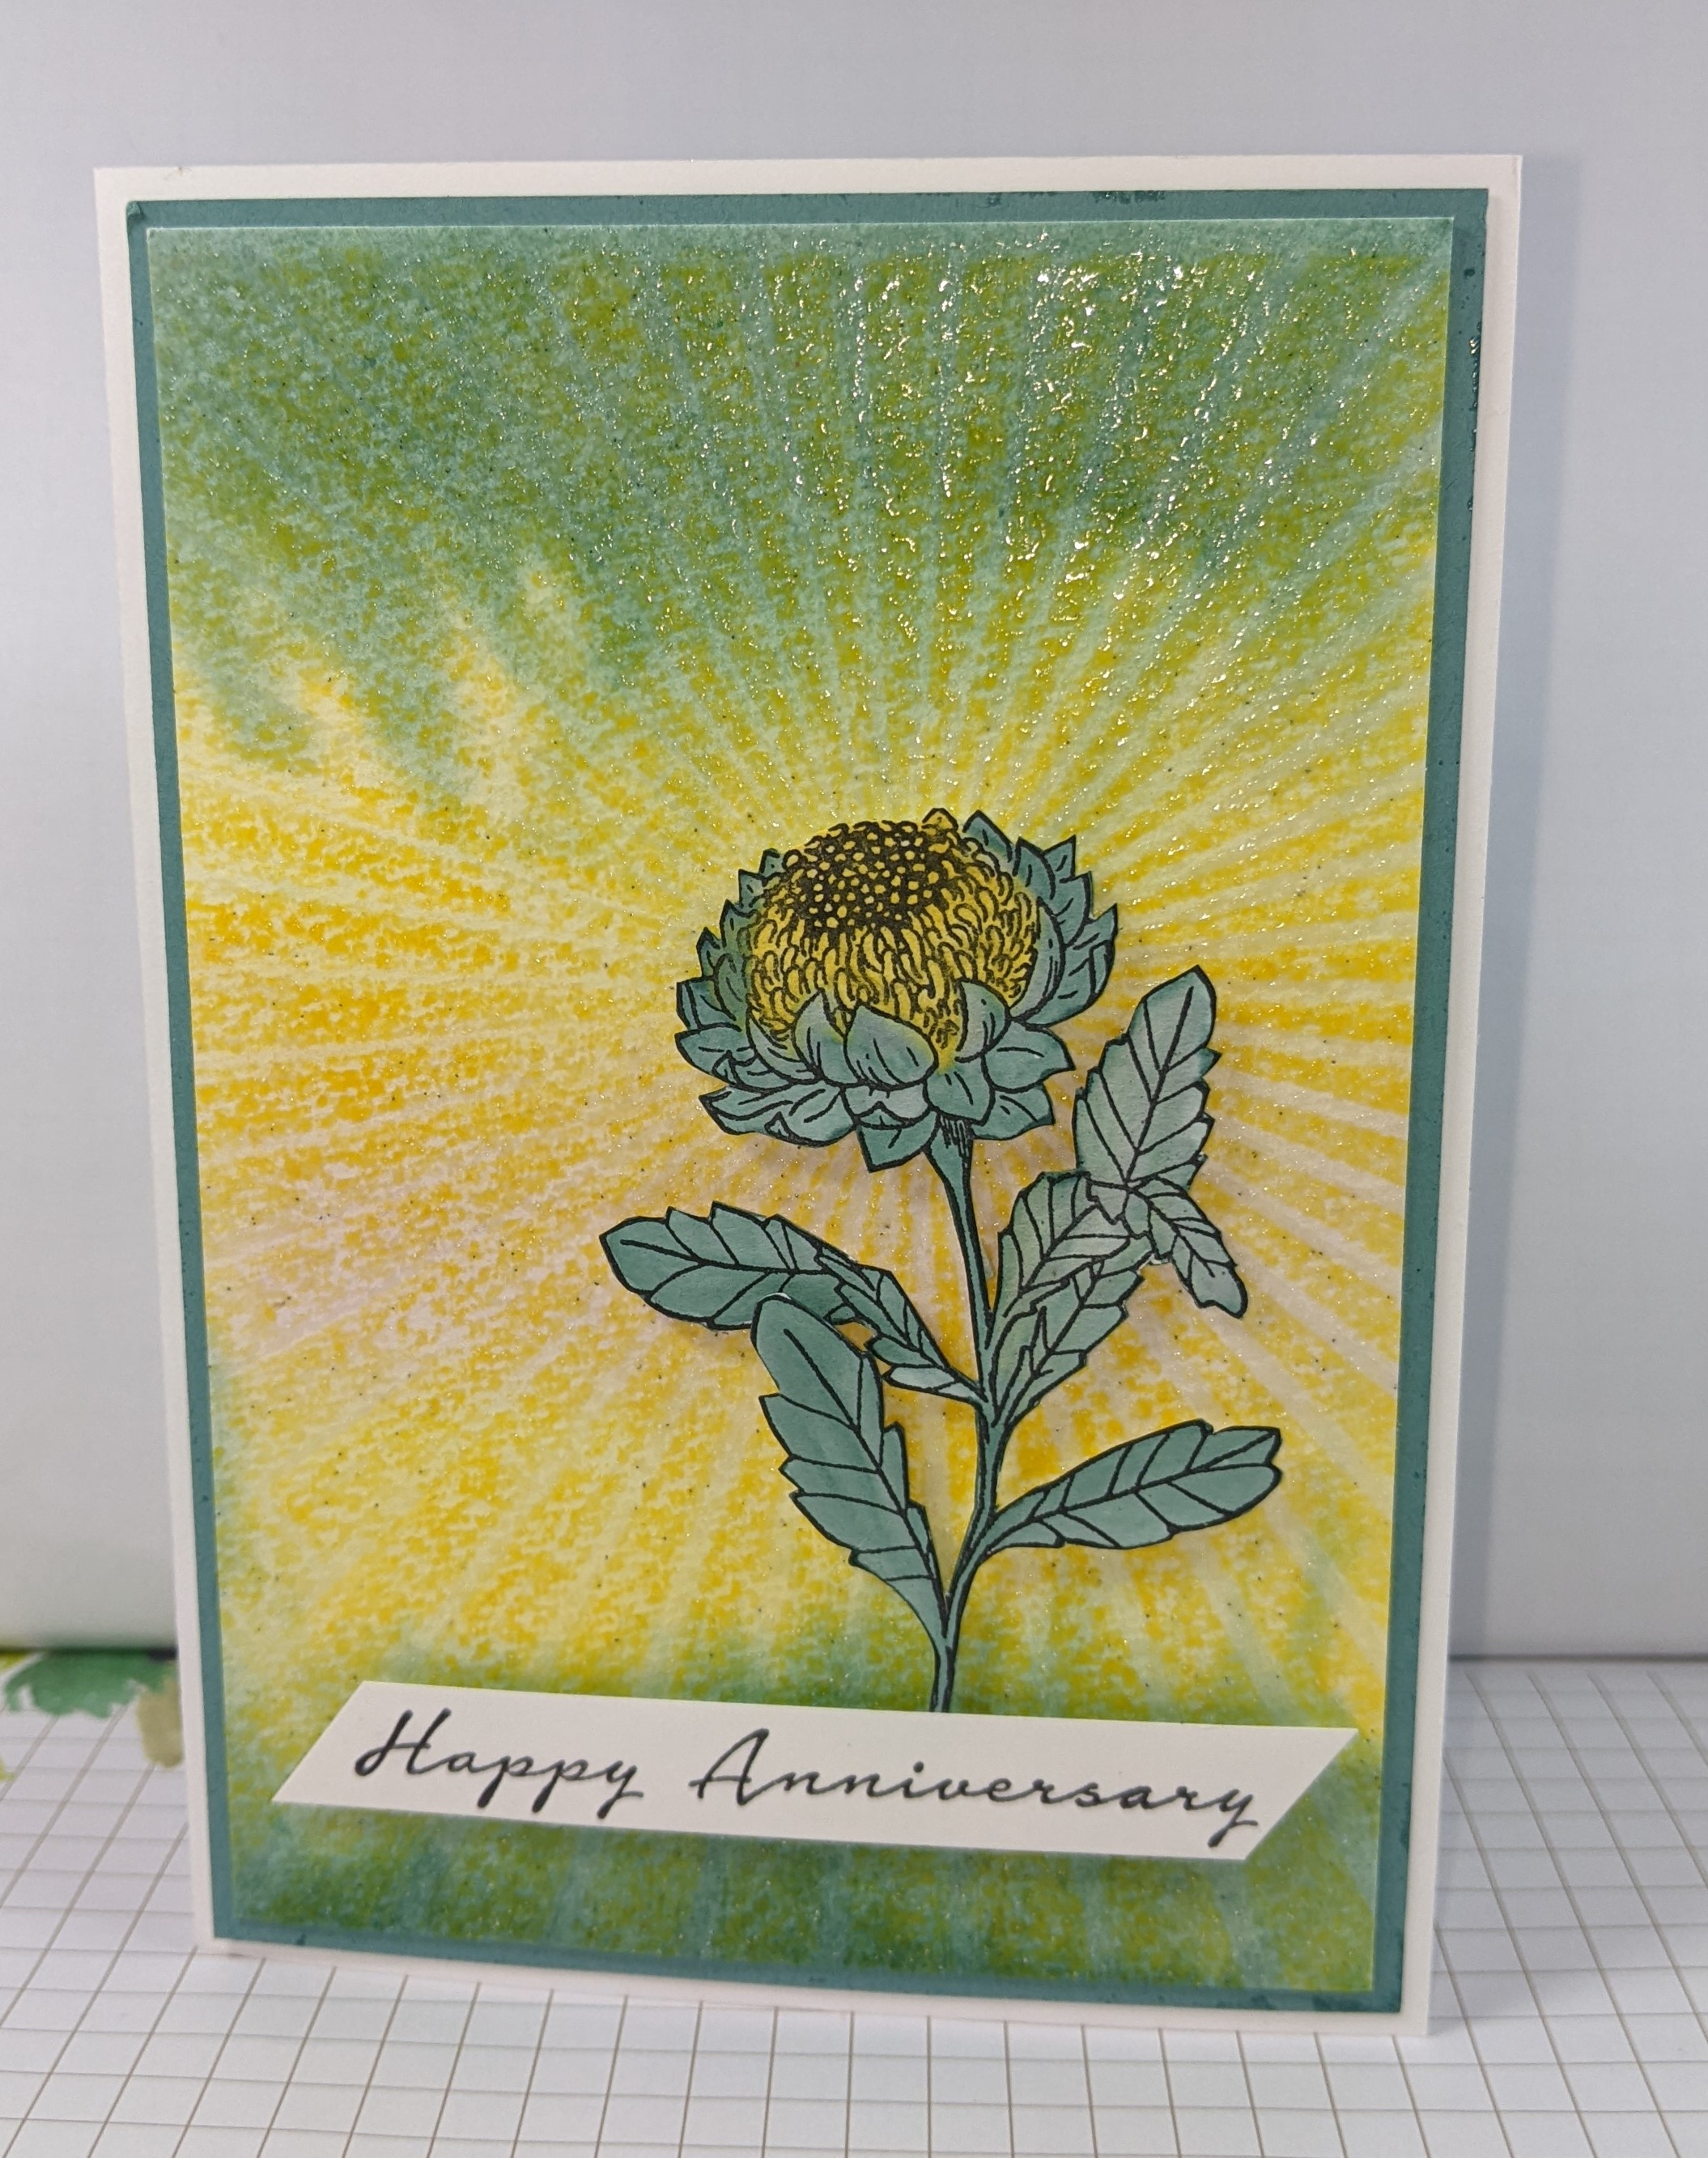
Watercolour Wednesday - Backgrounds - Rays of Light

 Hello again. Firstly, I must apologise for the lack of a project for yesterday. Unfortunately, life just got in the way! I'm very sorry. However, today's project is another background stamp that I have wanted to use for a while but have never gotten around to it. I started by spritzing a piece of Fluid  watercolour paper with lots of water. Using an H block, I inked it up with first of all a beautiful very soft pink called Bubble Bath. I spritzed that with water too and added it across the centre of the piece of watercolour paper. I repeated this process with the fresh lemon of Lemon Lolly, above and below of the pink and then the blueish green of Lost Lagoon above and below of the lemon. I tilted the card quite a bit to blend the colours well and got the lovely misty lines. Then using the Rays of Light stamp, I inked it with Versamark and then some Lemon Lolly and placed it over the now dry mat. 

I heat set it and repeated it with Clear embossing powder as well which was sprinkled over the Versamark and Lemon Lolly. I heat set that and stamped a flower from the Everlasting Beauty stamp set. I watercoloured the flower using ink from a block and a waterbrush. I adhered the watercolour paper to a Lost Lagoon mat and then onto a Basic White card base.