Well, it's Friday again already! Time really does fly when you're having fun doesn't it? Sunday was my oldest son's birthday and we didn't go out for it like we usually do, we went out for an ice cream lunch! Oh my! It was amazing!!! Waffles and ice cream are a match made in heaven. As I had used the Legendary Ride stamp set for Jonathan's birthday that's the reason I have used it all of this week. It's not just a set for the man in your life but as Tuesday showed, it can also be used for ladies too.
My card for him is a Twist and Pop card. He loved it thankfully too!
I started off making an A5 size card rather than the normal A6 sizes. For the A6 size, you need a piece of card, 10.5cm by 29.7cm (the full height and half the width of an A4 piece of card) This was scored in half at 14.85cm. I cut a mat in Granny Apple Green card 10cm by 14.4cm and embossed it using the Metal Plate embossing folder before adding it to the card front. I repeated this for both of the inside panels to add a little more detail. Obviously, this was optional.


Then it was onto the long piece and the mechanism for inside the card. I cut another mat 10cm by 29.7cm and scored it at 7.4cm from each side and 14.85cm for the centre decorative piece. Then another piece which is 20cm by 8cm or 8" by 3,1/4". I then scored along the centre in horizontally and vertically. I marked the panel using a pencil at 6cm or 2,3/8" from each of the 4 corners. I scored between each of the opposite side marks so the piece looked like below.
Now there are 2 crosses in the centre of the mat. On the top right and bottom left, I marked 2.5cm along from the outside edge and removed a triangle of card from this point to the centre of the long, horizontal fold. To fold it, I pushed the 2 long folds togetherand folded one side back and the other side folded forward. This now shows the centre triangles, one on each side. Holding the bottom of this long piece, I pushed the 2 triangles down into the centre of the panel. Then seperated, the 2 sides to show this shape a little like a house. As the embossed piece of card has been added to the card base, the triangle of the piece below is covered in adhesive. Wet glue or tape, it's your choice. Then open the card and place the top of the triangle onto the centre point, just below the score line, on the bottom of the card base. Repeat this with the upper triangle and this time close the card down onto the piece. Here is your mechanism now.
I decorated my panel before adding it to the mechanism. Once it's been added, it will look like this below and when closing the card, it will twist the card arounf to go into the centre and fold away.

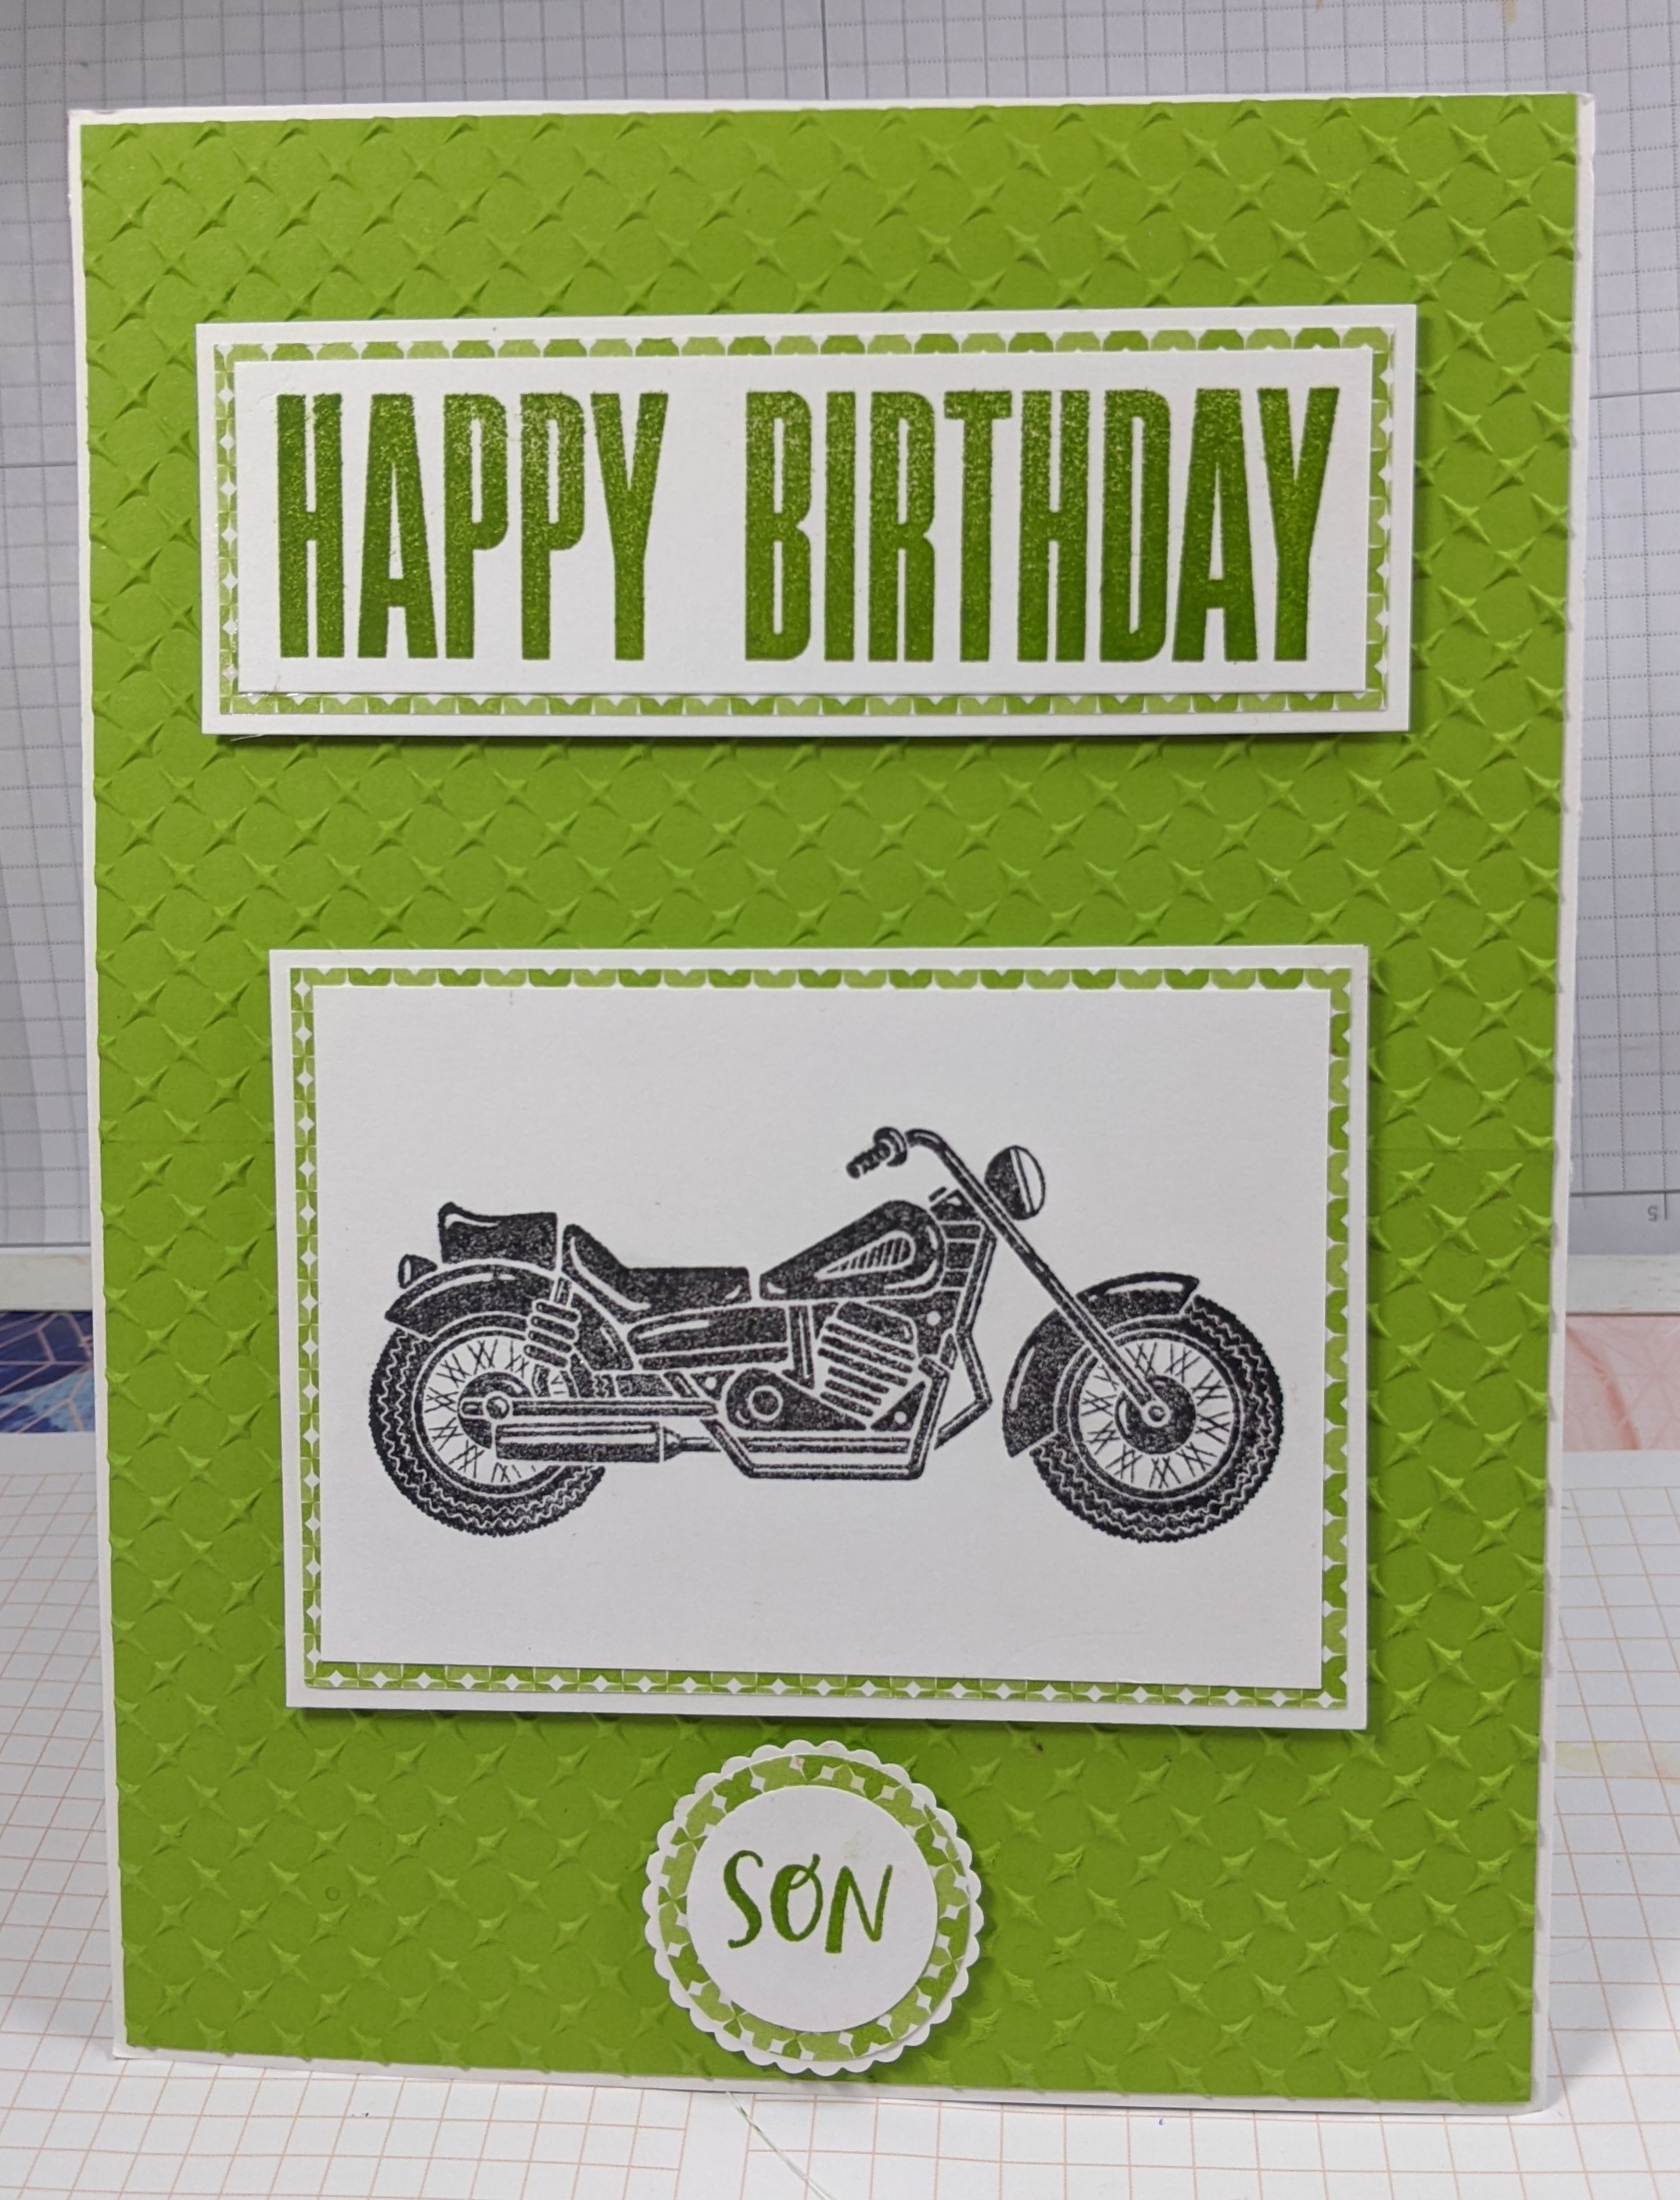
That just left me to add sentimenents and images onto the rest of the card, As my son is into his motorbike, it was an obvious choice for him. I will be using it again later in the year for my best friends birthday as she would love to be able to ride her motorbikes again!
Thank you for joining me again this week. Until I return, take care, stay well but as always
KEEP ON CRAFTING!
Don't forget too, that this is the last few days to get the fantastic offer to join Stampin' Up! as a demonstrator or just because you llove to craft. £99 gets you £170 to spend on yourself from the current catalogues. The £125 you get the same £170 worth of products plus the option to have a Mini Cut 'n Emboss machine in either white or the NEW BOHO BLUE one for half price! It truly is a fantastic offer.
Lots of love
😍😍😍 xxx Gill xxx 😍😍😍


No comments:
Post a Comment