
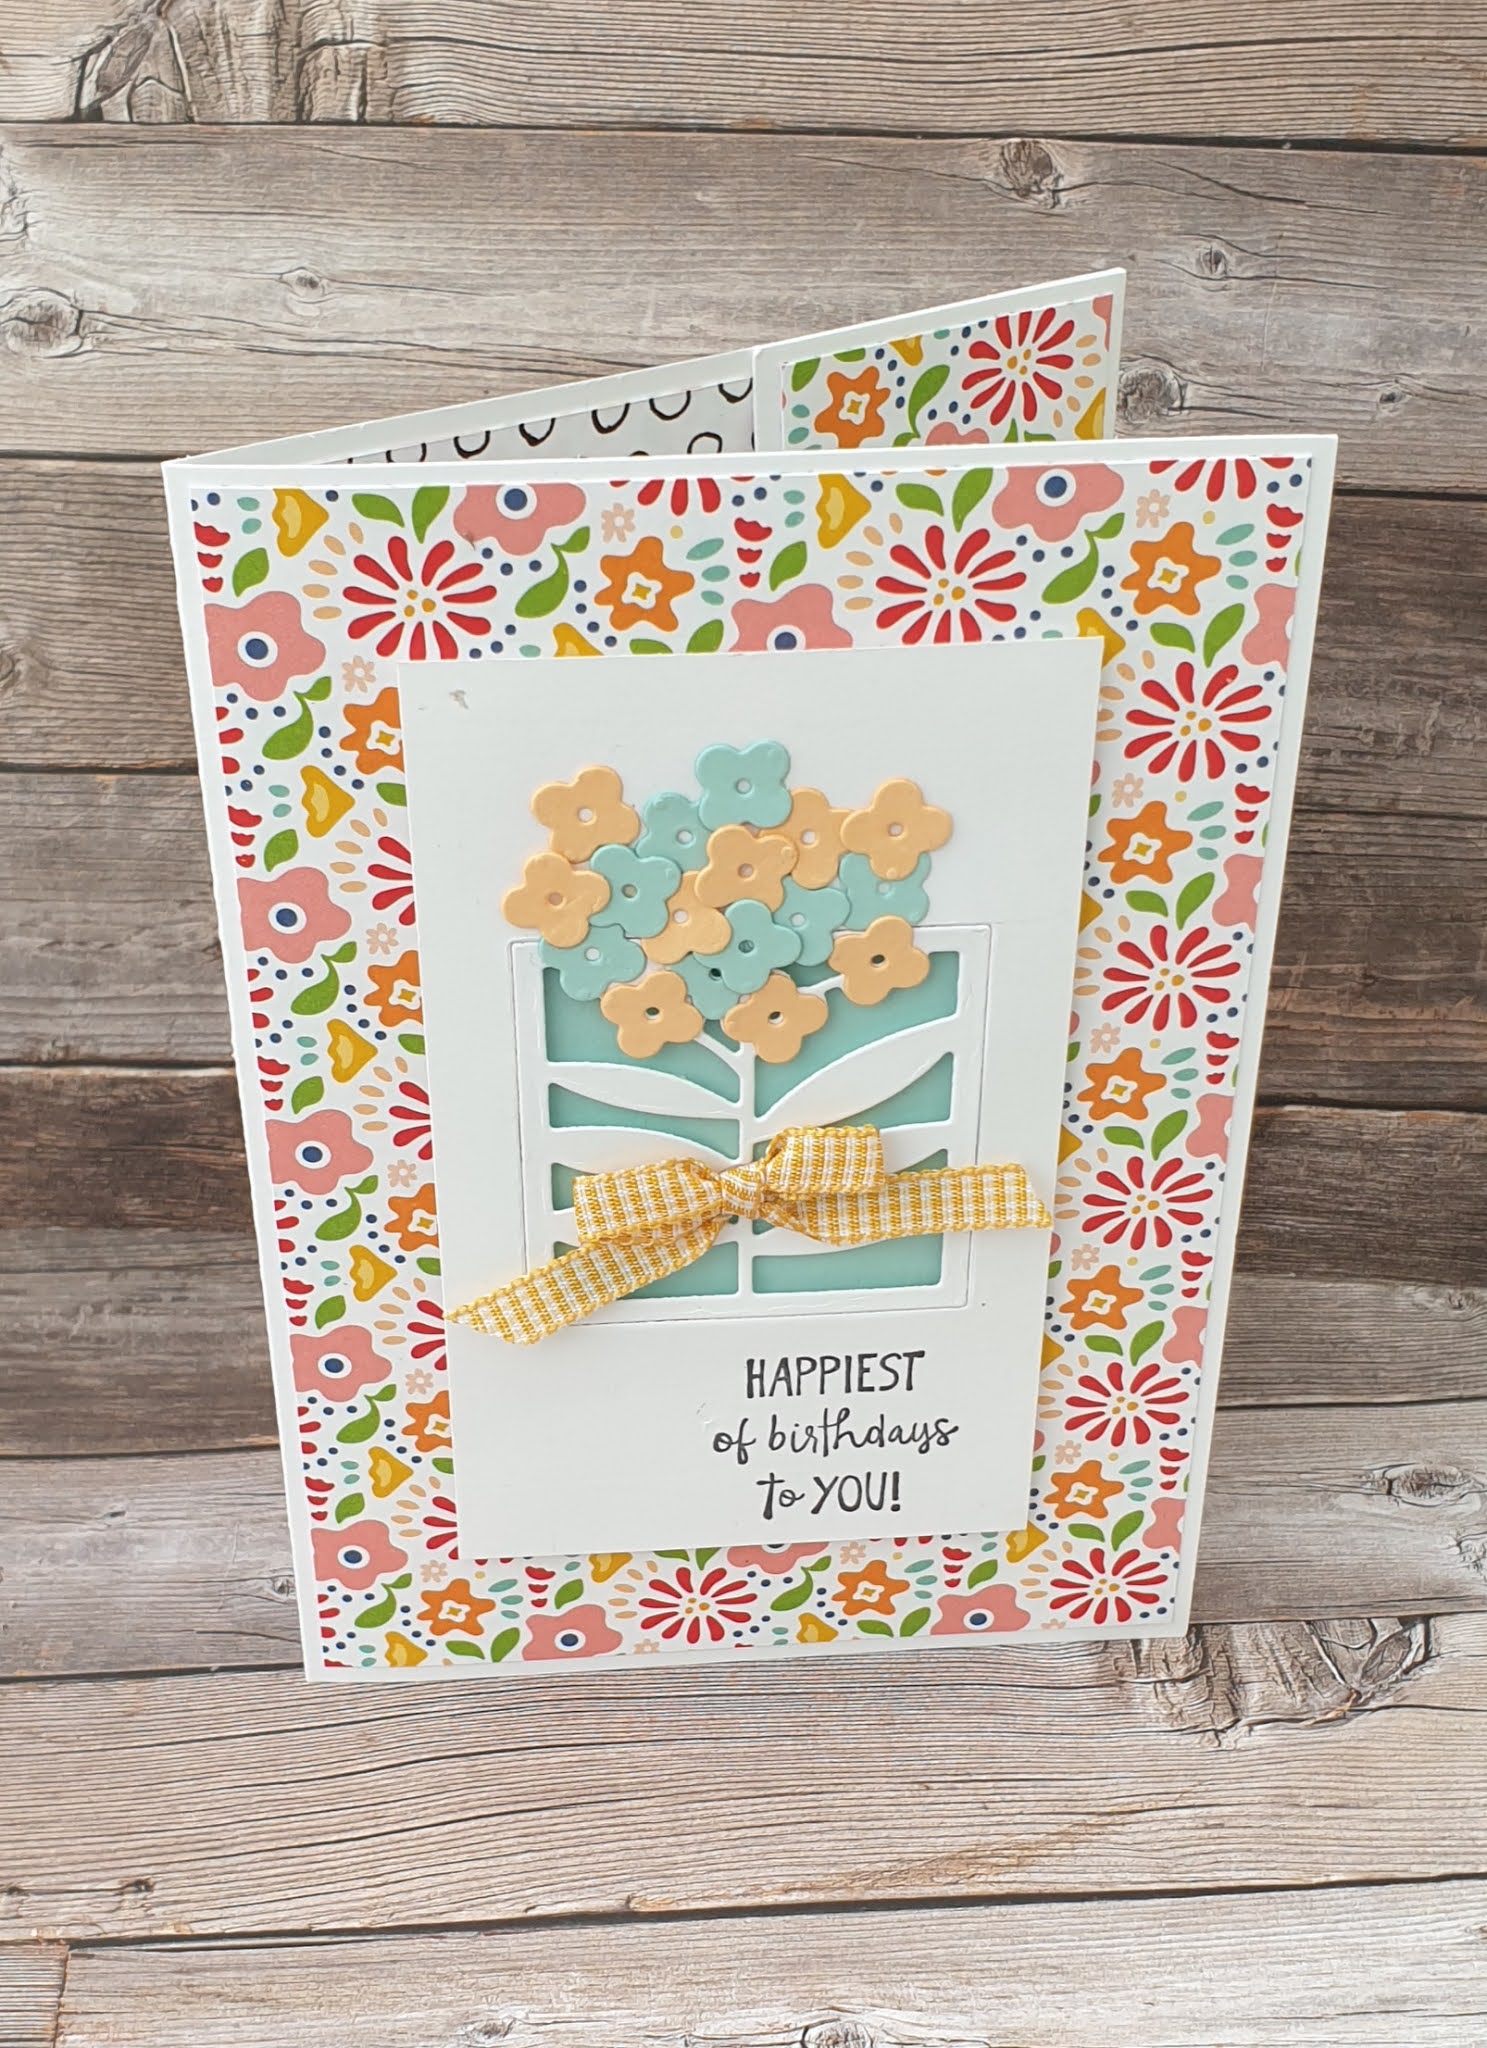
For the last in this weeks All Squared Away Bundle inspiration my fun fold is paired with the gorgeous Pattern party papers for a great card. I first found the fold on the Created the Ottaway YouTube channel. It's called a hidden flap card.
In her video the lady uses inches so I have regigged it for centimetres and to fit in a standard C6 envelope.
Below is a little video of the card in action
The card base is made using a piece of cardstock measuring 14.85cm x 25.5cm scored at 10.5cm and 21cm. The smaller panel folds in from the right-hand side and the larger panel folds on top from the left.
Next add pattern paper to the outside and inside of rhe card base. I cut 1 panel in pattern 1 at 10cm x 14.4cm. I then cut 2 panels in another pattern for the inside at 10cm x 14.4cm. The final panel is 4.5cm x 14.4cm and fits on the small panel when it is folded in so that it is face up when the front of the card is opened.

Now it's time to create the inside hidden card. Take a piece of cardstock measuring 11.5cm x 18.5cm and score it at 1.5cm, 8.5cm,10cm and 11.5cm along the long side. Now fold all the score lines as mountain folds. Next cut 3 panels measuring 6.5cm 11cm. I used 2 pattern papers and 1 piece of white cardstock.
Fold the 1.5cm panel behind the first 7 cm panel then apply adhesive to the next 1.5cm panel and fold over . It should now look like a right hand opening card with a narrow flat spine on the right and a narrow stip on the left folded under.

Use the pattern paper and cardstock panels to decorate the 3 surfaces. Now take the narrow strip and with it still folded line the open edge to the left hand side of the fold in ths card base. With it placed upto the fold secure it.
Now the hidden flap card lays over the fold onto the right-hand side of the card base. Take the narrow right-hand panel of the card base and apply adhesive to the top and bottom of the panel only and fold over and secure into place over the undecorated panel of the inner card creating a pocket. The inner card should move freely in and out of the pocket with out completely pulling out.
Now reinforce the fold of the hidden flap card and complete decorations as you like. I used the All Squared Away Bundle to decorate mine as a birthday card.

Well that's it from me for this week I do hope you've enjoyed the projects I've shared this week featuring the All Squared Away Bundle .
Gill will be sharing here inspiration with us here next week so please pop by and see what she has been playing with.
Have a crafty weekend filled with laughter where ever you are.
Have fun
Cary xx
As always all the products I've used this week are available in our Shop. We'd love for you to shop with us if you live in the Uk, France, Austria, Germany or the Netherlands.
If you'd like to join our fantastic team of fellow demonstrators please ask us for more details or click Here
I know that this might be a long shot but I was in hopes that you had the measurements to make this card in inches. I've tried to figure it out with no luck. I should of listened more to the teacher in math instead of thinking "I'll never use this out in the world". It's a great card and I've love to make it for a friends birthday.
ReplyDeleteI think these measurements should work for you. First base 5 1/2" x 10 1/5" scored at 4 1/4", 8 1/2". Second base 4 1/2" x 6 1/2" scored at 1/2", 3", 3 1/2" and 4" . Hope these help x
ReplyDelete